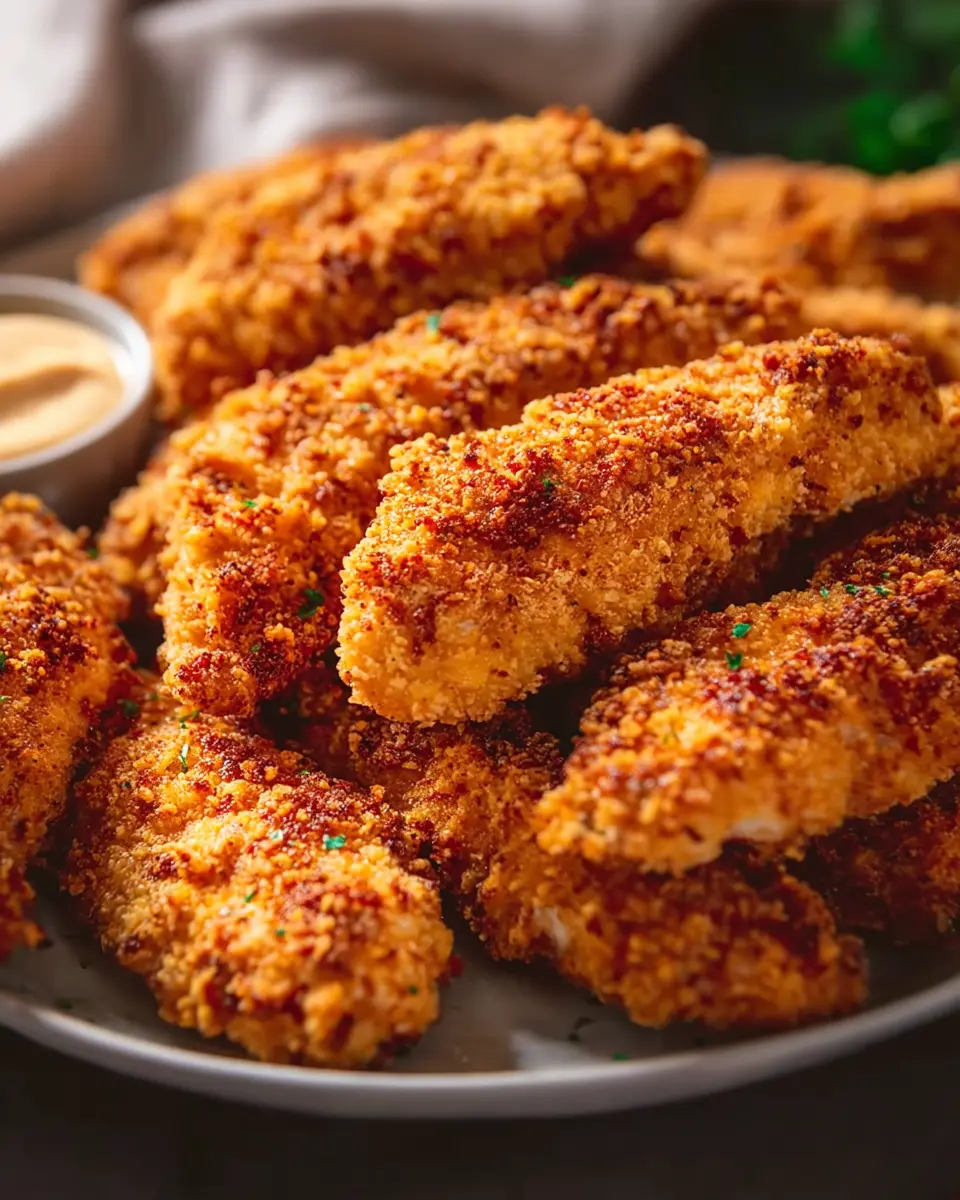
Introduction to Crispy Chicken Tenders
Crispy chicken tenders are more than just a delicious comfort food; they represent a culinary freedom that is especially beneficial for young professionals. Let’s face it: life gets busy. Between juggling work deadlines, social obligations, and the occasional Netflix binge, cooking often takes a back seat. But what if you could whip up a batch of homemade crispy chicken tenders oven or fried that not only indulges your cravings but also aligns with your healthier eating goals?
Why Homemade Crispy Chicken Tenders Are a Game Changer for Young Professionals
Homemade crispy chicken tenders can be a true lifesaver. They’re easy to prepare, allow for customization, and can help transform your weeknight dinners from bland to brilliant. Here are a few reasons why these tenders deserve a spot in your recipe rotation:
-
Convenience: With only a handful of ingredients, such as chicken breasts, breadcrumbs, and your choice of seasoning, you can prepare a tasty meal in no time. A study found that cooking at home saves money and is often healthier than dining out.
-
Customization: Whether you prefer spicy, herb-infused, or a more classic taste, the beauty of making your own chicken tenders is the ability to adjust flavors to your liking. Want to experiment with garlic powder or even a hint of cayenne? Go for it!
-
Healthier Options: Making chicken tenders at home means you can control the oil and ingredients, making it easier to craft a dish that aligns with your dietary preferences. Use whole grain breadcrumbs or air fry for a healthier take.
-
Meal Prep Friendly: Cook a large batch during the weekend, and you have quick lunches or snacks ready to go. Pair them with a fresh salad or some homemade dipping sauce, and you’re all set.
Ready to dive deeper? Check out some of our favorite dipping sauce recipes here. Everyone loves a good sauce to elevate the flavors of those crispy chicken tenders oven or fried.
In short, creating your own chicken tenders is not just about satisfying hunger—it’s about enhancing your cooking skills and enjoying delicious meals that fuel your busy lifestyle. So grab that apron, and let’s get started!
Ingredients for Crispy Chicken Tenders
Creating delicious, crispy chicken tenders oven or fried starts with the right ingredients. Let’s break down what you’ll need to achieve that perfect crunch and flavor.
Essential ingredients list
To make your chicken tenders irresistible, gather the following essentials:
- Chicken Breast: Fresh, boneless chicken breasts provide the best texture.
- Breadcrumbs: Use panko for extra crispiness or traditional breadcrumbs for a classic touch.
- Eggs: A couple of beaten eggs act as a binding agent to help crumbs stick.
- Flour: For dredging, all-purpose flour adds that necessary layer to trap moisture.
- Seasonings: Don’t skip out on salt, pepper, and garlic powder to infuse flavor.
Optional ingredients for customization
Want to elevate your chicken tenders? Consider these enhancements:
- Spices: Add some heat with cayenne or paprika for a spicy kick.
- Parmesan Cheese: Mixing grated Parmesan into your breadcrumbs gives a savory depth.
- Herbs: A sprinkle of dried herbs like oregano or thyme can brighten the dish.
These choices not only add layers of flavor but also allow you to tailor your crispy chicken tenders to your taste. Why not experiment by mixing and matching? You’re in for a treat!
For more tips and techniques, check out the informative guide on cooking chicken here.
Step-by-Step Preparation of Crispy Chicken Tenders
Making crispy chicken tenders oven or fried is an art that can elevate your culinary skills and impress your friends or family. Let’s dive into the step-by-step preparation process, ensuring you get perfectly golden and flavorful chicken tenders every time.
Preparing the Ingredients
First things first—prep work is essential. Gather your ingredients to set the stage for success. Here’s what you will need:
- Chicken breast: 1-2 pounds, cut into strips
- Flour: 1 cup, seasoned with salt and pepper
- Eggs: 2, beaten (you might also like to add a splash of milk for extra moisture)
- Panko breadcrumbs: 1 cup (for that extra crunch)
- Seasonings: Your favorites—think garlic powder, paprika, or Italian herbs
- Oil: For frying (if you choose that method)
To save time and minimize clutter in your kitchen, chop the chicken and measure out your ingredients in advance. This way, when you’re ready to cook, everything is at your fingertips, and you can focus on the process rather than fumbling around.
Set Up Your Breading Stations
Creating a designated space for breading your chicken is key. Set up three separate bowls as follows:
- Flour Station: Add your seasoned flour to this bowl.
- Egg Station: Beat the eggs (and milk if you’re using it) until well combined.
- Breading Station: Fill this bowl with panko breadcrumbs mixed with your chosen spices.
This assembly line method not only makes the process faster but also minimizes mess, letting you enjoy cooking without a mountain of dishes to tackle afterward.
Coat the Chicken Strips
Now, it’s time to get hands-on. Take each chicken strip and go through the following coating process:
- Dunk in Flour: Roll the chicken strip in the flour, coating it thoroughly. This helps the egg wash stick.
- Dip in Egg Wash: Shake off any excess flour and dip it into the beaten eggs. Ensure it’s well-covered.
- Coat with Panko: Finally, roll that strip in the panko breadcrumbs until you achieve a thick, even layer.
Pro tip: For an extra crispy finish, consider repeating the egg and panko steps for a double coat. This technique is what transforms your chicken into mouthwatering crispy chicken tenders that everyone will love.
Choose Your Cooking Method
Now that your chicken is beautifully breaded, decide on how you want to cook it. Here are the two main approaches:
-
Baking: For a healthier option, preheat your oven to 425°F (220°C) and lightly grease a baking sheet. Arrange your breaded chicken strips in a single layer for even cooking.
-
Frying: If you’re in the mood for indulgence, heat about 2 inches of oil in a heavy skillet to 350°F (175°C). Fry the chicken strips until golden brown and cooked through, which usually takes about 3-5 minutes per side.
Curious about which method would yield the best results? You might want to try both—baking offers a lighter option while frying gives you that beloved crunch.
Bake or Fry to Perfection
Whether you’ve chosen to bake or fry, cooking your chicken tenders to perfection is crucial.
-
For Baking: Bake the chicken tenders for 15-20 minutes or until they reach an internal temperature of 165°F (75°C). To maximize crispiness, flip them halfway through.
-
For Frying: Make sure the oil is hot enough—test it by dropping in a piece of bread; it should sizzle. Cook the strips until they are golden brown and have that irresistible crunch.
Once cooked, place your crispy chicken tenders on a paper towel to soak up any excess oil if you fried them, helping to maintain that crispness.
And there you have it! You’re now ready to serve your crispy chicken tenders oven or fried with your favorite dipping sauces. Whether you pair them with honey mustard, barbecue, or ranch, these tenders are sure to please. Enjoy your culinary adventure!
Variations on Crispy Chicken Tenders
Crispy chicken tenders are a beloved favorite, and the great news is that you can easily customize them to match your mood or dietary needs. Here are a few delightful variations that will have you enjoying these delectable bites in new ways.
Spicy Crispy Chicken Tenders
If you crave a kick, try adding some heat to your crispy chicken tenders oven or fried. To make them spicy, incorporate cayenne pepper or chili powder into your breadcrumb mixture. You could also marinate the chicken in a blend of hot sauce and buttermilk for that extra zing. Serve them with a refreshing ranch dip to balance the heat!
Honey Mustard Glazed Chicken Tenders
For a touch of sweetness, honey mustard glazed chicken tenders are an outstanding choice. Prepare your usual crispy coating, but before baking or frying, brush the chicken with a mixture of honey and Dijon mustard. The result? A savory yet sweet flavor that’s absolutely irresistible. Pair these tenders with a side of roasted veggies for a well-rounded meal that will keep you coming back for more.
Gluten-Free Chicken Tenders
Eating gluten-free doesn’t mean you have to miss out on these delicious chicken tenders. Simply substitute regular breadcrumbs with almond flour or crushed gluten-free cornflakes. Not only will you still enjoy that crunchy goodness, but you’ll also be catering to dietary preferences with style. Websites like Gluten-Free Living offer great tips and alternatives.
With these variations, you’ll never get bored of this classic dish. Whether you like them spicy, sweet, or gluten-free, there’s a crispy chicken tender recipe here just for you! Happy cooking!
Cooking Tips and Notes for Crispy Chicken Tenders
Ensuring the Perfect Crispiness
Achieving crispy chicken tenders oven or fried is all about technique. Here are a few key tips:
- Pat Dry: Before coating, make sure your chicken is patted dry. This helps the breadcrumbs stick better and enhances crispiness.
- Chill the Coated Tenders: After breading, let the tenders rest in the fridge for about 30 minutes. This keeps the coating intact during cooking.
- Use Baking Sheets: If baking, line your sheets with parchment paper and lightly grease them. This promotes even cooking and reduces sticking.
Common Pitfalls to Avoid While Cooking
Even seasoned cooks can stumble when making these tenders! Avoid these common pitfalls:
- Crowding the Pan: Whether frying or baking, give each tender some space. Overcrowded pans lead to steaming, not frying.
- Skipping the Temperature Check: If frying, ensure the oil is at the right temperature (around 350°F). Too cool means soggy tenders; too hot risks burning.
- Rushing the Cooking Time: Cooking too quickly can result in undercooked chicken. Use a meat thermometer to ensure they reach 165°F—safety first!
With these tips, you’ll be well on your way to mastering crispy chicken tenders! For more culinary advice, consider checking out resources like Serious Eats or America’s Test Kitchen. Happy cooking!
Serving Suggestions for Crispy Chicken Tenders
Best dips and sauces to pair with your tenders
When it comes to enjoying crispy chicken tenders oven or fried, the dipping sauces can truly elevate your meal. Here are some crowd-pleasers:
- Classic Ranch: Creamy and zesty, ranch dressing complements the crispy texture beautifully.
- Honey Mustard: A sweet and tangy blend that takes your tenders to the next level.
- Buffalo Sauce: For those who love a kick, this fiery option is a game changer.
- Sweet Chili Sauce: A unique twist that adds a delightful sweetness paired with a slight heat.
Feeling adventurous? Why not try a homemade garlic aioli? It’s simple to whip up and adds a gourmet touch!
Creative side dishes for a complete meal
Complete your crispy chicken tender experience with some mouthwatering side dishes:
- Sweet Potato Fries: Their natural sweetness pairs well with tenders and offers a nutritious alternative to regular fries.
- Coleslaw: This crunchy, tangy side adds a refreshing contrast to your crispy meal.
- Roasted Vegetables: Colorful roasted veggies not only add nutrition but create an appealing plate.
For a hearty option, consider serving the tenders over a bed of quinoa salad, and elevate your dining experience. With these suggestions, your dinner is sure to impress!
For those interested in deepening their culinary skills, check out this guide on sauce-making for more ideas on creating your ideal dipping companion.
Time Breakdown for Crispy Chicken Tenders
Preparation Time
Getting started on your crispy chicken tenders oven or fried is a breeze! You’ll need about 15 minutes to prep your chicken, set up your breading station, and gather all ingredients. It’s a quick yet essential step to ensure your tenders are tasty and well-seasoned.
Cooking Time
For cooking, if you choose to bake, expect around 25-30 minutes in the oven. Frying, on the other hand, will take about 10-15 minutes, depending on your skillet’s heat. In both cases, keep an eye on those tenders; nobody likes a soggy bite!
Total Time
In total, you’re looking at roughly 40-45 minutes to enjoy these delicious crispy chicken tenders. Whether you opt for baking or frying, the joy of bites taken at dinner is worth every moment spent.
Feel free to explore more tips on preparing chicken at reliable sources like USDA chicken guidelines and The Chicken Chick’s tips. Happy cooking!
Nutritional Facts for Crispy Chicken Tenders
Calories per serving
When making crispy chicken tenders oven or fried, a typical serving of about four tenders contains approximately 350 calories. This makes them a satisfying yet manageable option, especially when paired with fresh veggies or a light salad.
Protein and key nutrients
These tenders pack a punch with around 25 grams of protein per serving, making them perfect for a post-workout meal. They’re also a solid source of essential nutrients like niacin, selenium, and phosphorus. Feel free to explore sources like NutritionData for a deeper dive into their content.
Suggested portion size
For a balanced meal, consider enjoying 3 to 4 tenders along with a side of roasted veggies or a refreshing salad. This combination not only adds color but also ups your fiber intake—an excellent way to keep you feeling full longer.
So, whether you’re dipping into homemade ranch or spicy honey mustard, you’ll feel good knowing those crispy chicken tenders are nourishing your body while delighting your taste buds.
FAQs about Crispy Chicken Tenders
Are you craving crispy chicken tenders oven or fried but have a few questions before you start? You’re in the right place! Let’s dive into some frequently asked questions that might help you whip up the perfect tenders.
Can I make chicken tenders ahead of time?
Absolutely! You can prepare your chicken tenders ahead of time. Just bread them and place them on a baking sheet lined with parchment paper. Store them in the refrigerator until you’re ready to bake or fry. For longer storage, consider freezing the uncooked tenders; they can stay fresh for up to three months. Just cook them straight from the freezer—no need to thaw!
What’s the best way to reheat leftover chicken tenders?
Reheating can sometimes lead to soggy tenders, and nobody wants that! For the best results, pop your leftover tenders in the oven at 375°F (190°C) for about 10-15 minutes. This method revives their crunchiness better than a microwave, keeping that delightful texture you love. Alternatively, you can briefly pan-fry them in a little oil to get that crispy exterior back.
Are there healthier alternatives for breading?
Definitely! If you’re looking for a healthier option, consider using almond flour or panko breadcrumbs instead of traditional breadcrumbs. You might also try a blend of ground oats and seasonings for a nutty flavor boost! Additionally, replacing the oil with olive oil or avocado oil can elevate your dish health-wise.
Curious to learn more about making the most of your chicken tenders? Check out this guide for tips on marinating and seasoning! Feel empowered to make crispy, delicious chicken tenders with ease!
Conclusion on Crispy Chicken Tenders
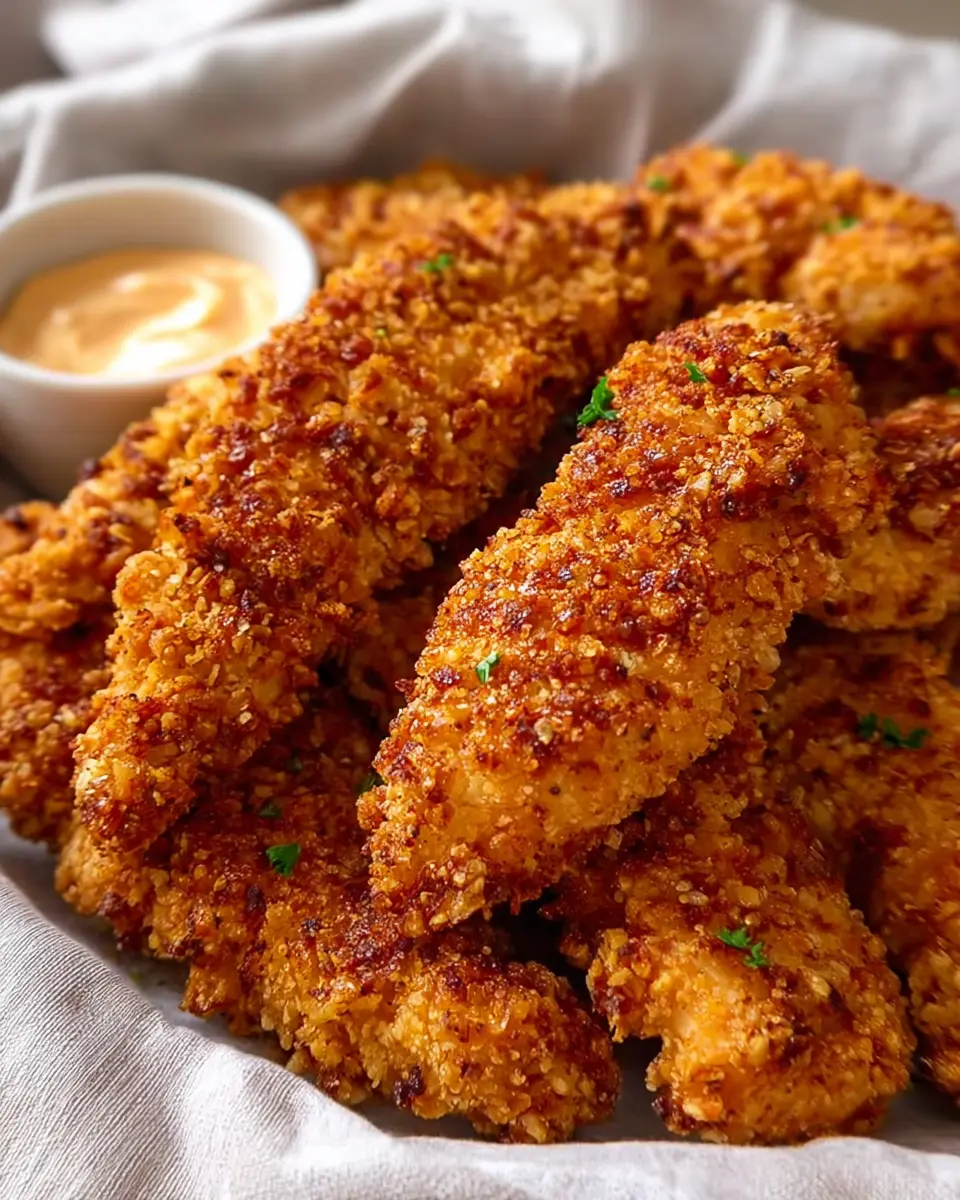
Recap the Joy of Homemade Crispy Chicken Tenders
There’s something truly special about creating your own crispy chicken tenders oven or fried. The joy of biting into a perfectly crunchy exterior that gives way to tender, juicy chicken inside is unbeatable. Plus, making them at home allows you to customize flavors and dip options to suit your taste, from classic BBQ sauce to zesty ranch dressing.
Whether you’re whipping up a quick weeknight dinner or impressing friends at a weekend gathering, these tenders are sure to be a hit. So grab some fresh chicken and dive into this delicious culinary adventure—you won’t regret it! For more tips on sauce pairings, check out our favorite sauces for chicken.
PrintCrispy Chicken Tenders Oven or Fried: Easy Family Favorite Recipe

This crispy chicken tenders recipe is a delicious and easy option for family meals, whether baked in the oven or fried.
- Prep Time: 20 minutes
- Cook Time: 20 minutes
- Total Time: 40 minutes
- Yield: 4 servings 1x
- Category: Main Dish
- Method: Baking, Frying
- Cuisine: American
- Diet: Gluten-free option available
Ingredients
- 1 pound chicken breast, cut into strips
- 1 cup breadcrumbs
- 1/2 cup all-purpose flour
- 2 eggs, beaten
- 1 teaspoon salt
- 1/2 teaspoon pepper
- 1/2 teaspoon garlic powder
- 1/2 teaspoon onion powder
- 1/4 teaspoon paprika
- 1/4 cup cooking oil (for frying, optional)
Instructions
- Preheat the oven to 400°F (200°C) or heat oil in a frying pan over medium heat.
- Prepare three bowls: one with flour, one with beaten eggs, and one with breadcrumbs mixed with spices.
- Coat chicken strips in flour, dip in egg, then coat with breadcrumbs.
- For oven-baked tenders, place on a baking sheet and spray with cooking spray. Bake for 15-20 minutes until golden and crispy.
- For fried tenders, fry in hot oil until golden, about 3-4 minutes per side.
- Serve hot with your favorite dipping sauces.
Notes
- For extra flavor, marinate chicken strips in buttermilk for 1-2 hours before breading.
- Experiment with different spices in the breadcrumb mixture.
Nutrition
- Serving Size: 4 pieces
- Calories: 350
- Sugar: 1g
- Sodium: 700mg
- Fat: 20g
- Saturated Fat: 3g
- Unsaturated Fat: 15g
- Trans Fat: 0g
- Carbohydrates: 30g
- Fiber: 2g
- Protein: 25g
- Cholesterol: 70mg
Keywords: Crispy Chicken Tenders, Easy Chicken Recipe, Family Favorite