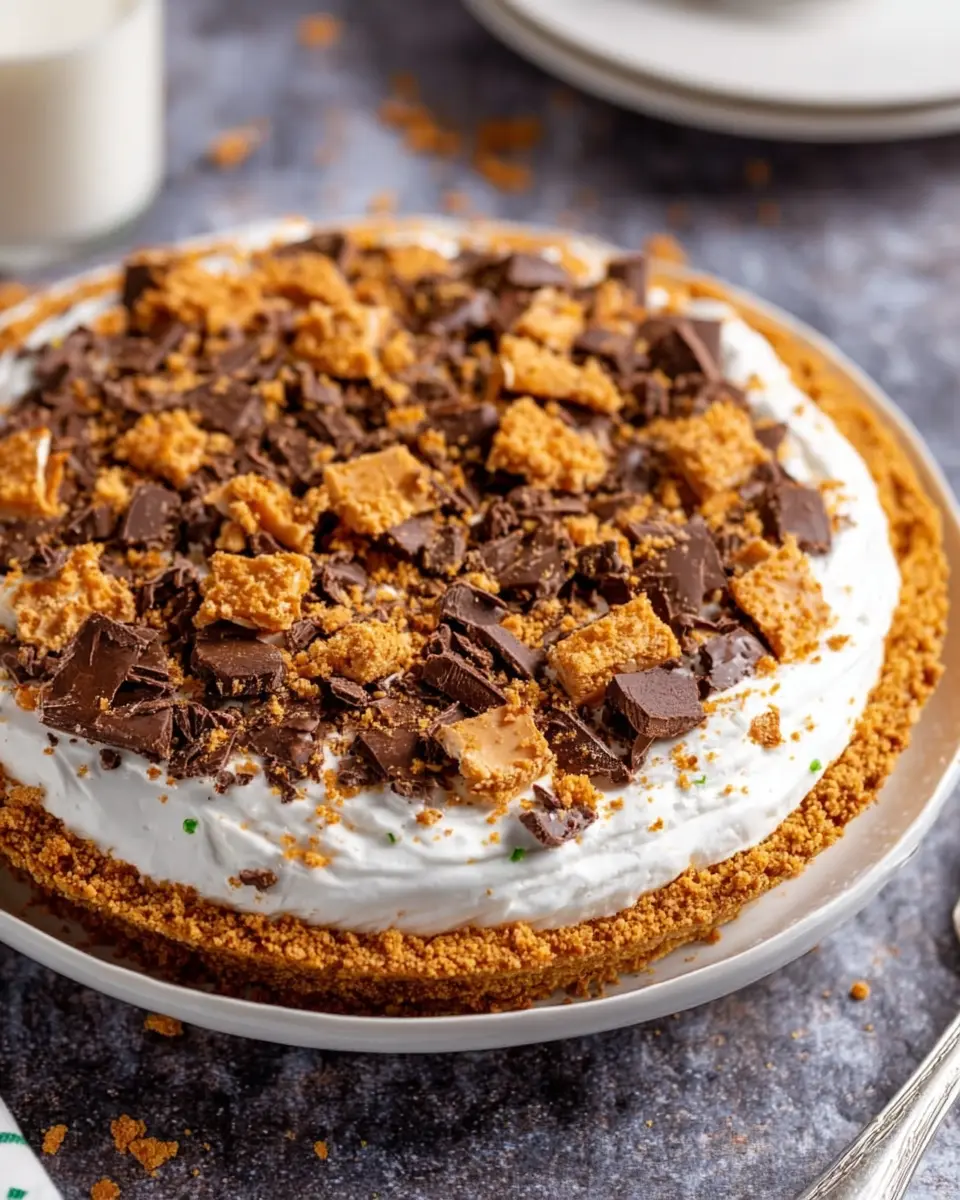
Introduction to No Bake Butterfinger Pie
When you think of dessert after a long day at work, the last thing you want is to spend hours fussing in the kitchen. Enter the no bake butterfinger pie. Not only is it a deliciously sweet indulgence, but it also fits perfectly into the busy lifestyle of young professionals like you.
Why No Bake Desserts are Perfect for Young Professionals
Let’s face it: our lives are fast-paced. Between meetings, projects, and the occasional social outing, who has the time (or energy!) to bake? That’s where no bake desserts come to the rescue. They allow you to whip up something delicious without the hassle of preheating the oven or measuring out flour.
-
Time-Saving Delight: Preparing your no bake butterfinger pie can take as little as 15 to 20 minutes. Imagine sitting down to a slice of creamy goodness within half an hour of starting. It’s a true lifesaver for those evenings when you need something sweet but don’t have the energy for a lengthy baking session.
-
Minimal Clean-Up: One of the best aspects of no bake recipes is that they often require fewer tools and ingredients. This means less time spent washing dishes, which is a huge perk for anyone living in a small space. You can enjoy your dessert without facing a mountain of dishes afterward.
-
Flexibility and Creativity: No bake desserts often let you customize flavors according to your preference. Don’t like chocolate? Swap it out for your favorite fruit or nut flavors. You can experiment with various ingredients, making each pie unique to your taste.
If you’re not sure where to start with no bake desserts, check out this guide on no bake recipes to expand your options. And as you dive into making the no bake butterfinger pie, you’ll discover just how enjoyable and stress-free dessert can be.
So, whether you’re entertaining friends or just indulging after a busy week, the no bake butterfinger pie is a delightful option that’ll leave you feeling accomplished without the stress of baking.
Ingredients for No Bake Butterfinger Pie
Essential Ingredients for a No Bake Treat
Creating a delightful no bake Butterfinger pie is all about simplicity and flavor. Here’s what you’ll need to whip up this decadent dessert:
- Butterfinger Bars: The star of the show! These candy bars will provide that classic peanut butter and chocolate flavor.
- Cream Cheese: A crucial ingredient for that rich creaminess you want in a pie.
- Whipped Topping: Light and fluffy, this will make your filling airy and delightful.
- Powdered Sugar: For a touch of sweetness, balance it out perfectly.
- Graham Cracker Crust: Whether store-bought or homemade, this base adds that perfect crunchy texture.
- Peanut Butter: Add a creamy layer that complements the Butterfinger flavor.
- Chocolate Sauce: For drizzling on top—who can resist chocolate?
With these ingredients, you’ll be well on your way to a satisfying treat. You can find the Graham cracker crust recipe on allrecipes.com. Why not also check out some tips for using Cream Cheese at foodnetwork.com?
Ready to create memories over dessert? Let’s dive into the preparation!
Step-by-Step Preparation for No Bake Butterfinger Pie
If you’re itching for a sweet pick-me-up, the No Bake Butterfinger Pie is the perfect treat to satisfy your cravings. Not only is it easy to make, but it’s also indulgent and sure to impress your friends or loved ones. Follow these simple steps to create a dessert that tastes like it took hours in the kitchen, but really, it didn’t!
Gather Your Ingredients
First things first — let’s start with the essentials. Here’s what you’ll need to whip up this no bake Butterfinger pie:
- 8 oz of cream cheese (softened)
- 1/2 cup of creamy peanut butter
- 1 cup of powdered sugar
- 1 container (8 oz) of whipped topping
- 4 Butterfinger bars (chopped)
- 1 pre-made graham cracker crust (or chocolate crust for a twist)
Give yourself about 15 minutes to gather everything. It’s always helpful to have everything laid out so you can dive right into the mixing process.
Mix Cream Cheese and Peanut Butter
In a large mixing bowl, combine the softened cream cheese and peanut butter. Use a hand mixer or a whisk to mix them until you achieve a smooth and creamy consistency. This is a vital step — the creaminess of the mixture is what makes this pie incredibly delightful. For some fun flavor variations, you might consider experimenting with other nut butters, though peanut butter is classic for this recipe.
Pro tip: If you want more practical kitchen tips, you can check out resources like The Kitchn for more user-friendly food advice.
Fold in Whipped Topping
Once your cream cheese and peanut butter are well-mixed, it’s time to add the whipped topping. Gently fold in the whipped topping using a spatula. You want to keep that airiness in the whipped topping, which helps give the pie its light and fluffy structure. Any abrupt mixing can deflate it and lead to a denser pie — and who wants that?
Incorporate Candy Pieces
Next, it’s time to get to the fun part — the candy! Take your chopped Butterfinger bars and fold them into the mixture. Feel free to reserve a few pieces for topping later. The crunchiness of the Butterfingers against the creamy filling adds a delightful textural contrast that you’ll absolutely love.
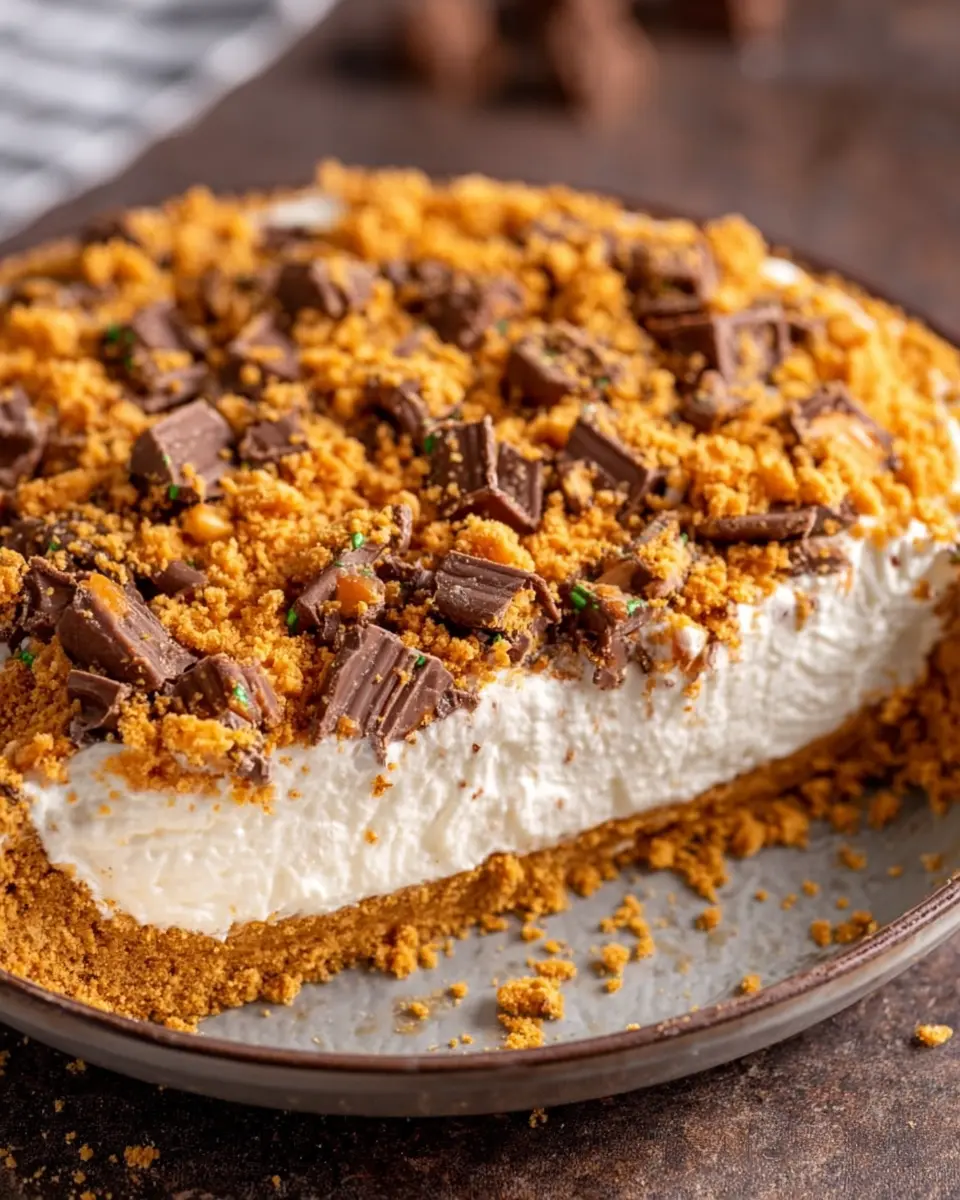
Assemble Pie in Crust
Carefully spoon the filling into your pre-made crust. You can use a spatula or the back of a spoon to smooth out the top. If you’ve saved some of the chopped Butterfinger pieces, sprinkle them on top for an extra wow factor. Remember, presentation matters; a delightful-looking pie adds to the overall experience!
Chill the Pie
No bake means less wait time in the kitchen, but you do need to let your pie chill in the refrigerator for at least four hours before serving. This step is crucial as it allows the filling to set properly. Want to make it even easier? Make your pie the night before an event and it’ll be ready for you when you want it!
When it’s ready to serve, slice up your delectable no bake Butterfinger pie and watch the joy on your friends’ faces. It’s the perfect combination of sweet and salty, and you might just become the go-to dessert maker in your friend group.
Enjoy your delicious creation, and don’t forget to share your experience with others! If you have any variations or tips, I’d love to hear about them. Happy baking!
Variations on No Bake Butterfinger Pie
Peanut Butter Lovers Variation
If you’re a fan of Peanut Butter, this variation on the classic no bake Butterfinger pie will have you doing a happy dance. Simply add an extra layer of creamy peanut butter to the filling. Combine ½ cup of smooth peanut butter with your cream cheese mixture for that dreamy, nutty goodness. For a little texture, consider folding in some chopped peanut butter cups or crushed peanut butter cookies. And as a final touch, sprinkle some chopped peanuts on top for that perfect crunch.
Want to make it even more indulgent? Drizzle chocolate syrup over the top before serving. You can also take a look at Serious Eats for more peanut butter treats that will surely tickle your taste buds!
Chocolate Mint Twist
Craving something a bit more adventurous? Try a Chocolate Mint version of the no bake Butterfinger pie. Start by adding a teaspoon of peppermint extract to your cream cheese filling. This little kick transforms the flavor profile beautifully! Replace some of the crushed Butterfinger bars with crushed thin mint cookies or chocolate wafer cookies for a delightful crunch. The mix of minty freshness and chocolatey goodness will surprise and impress anyone you share it with.
For a decorative touch, top your pie with a layer of whipped cream, a sprinkle of crushed cookies, and a few mint leaves. You can also explore more creative ideas at Bon Appétit.
With these fun variations on the no bake Butterfinger pie, you’re equipped to cater to different tastes while still enjoying the ease of this delightful dessert. Whether you go for the peanut butter or the mint, each version is sure to be a crowd-pleaser!
Cooking Tips and Notes for No Bake Butterfinger Pie
Keep Your Ingredients at Room Temperature
For the best results with your no bake Butterfinger pie, ensure that your cream cheese and whipped topping are at room temperature before mixing. This simple step helps achieve a smoother, creamier filling that’s easy to spread and tastefully delightful. A good tip is to take them out of the fridge about 30 minutes before you start your prep. Trust me; your taste buds will thank you!
Proper Storage Techniques
Once you’ve made this no bake Butterfinger pie, it’s crucial to store it correctly. Use an airtight container to keep it fresh and prevent it from absorbing unwanted odors from your fridge. If you’re planning to serve it later, a quick tip is to cover it tightly with plastic wrap, or you can use a pie keeper if you have one. This pie can usually last for about 3 to 4 days in the refrigerator, but I doubt it’ll last that long—it’s just too delicious!
For more tips on storing desserts, check out articles on Food Network or Bon Appétit.
Serving Suggestions for No Bake Butterfinger Pie
Pairing with Fresh Fruit
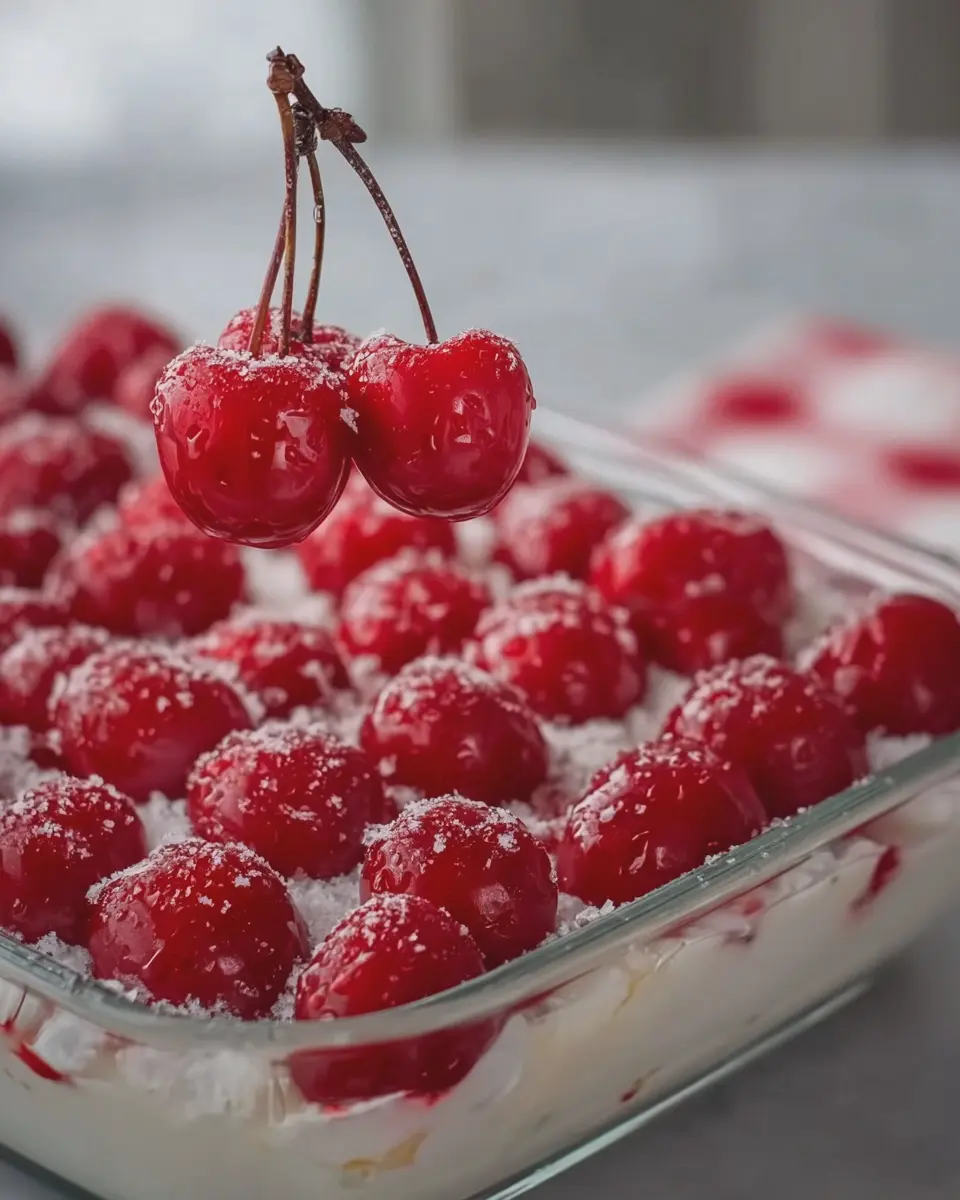
Elevate your no bake Butterfinger pie experience by serving it alongside fresh fruit. The natural sweetness of fruits like strawberries, raspberries, or even banana slices creates a delightful contrast against the rich, creamy filling. Seasonal fruits not only enhance the flavor profile but also add a pop of color to your dessert table. Plus, they’re a great way to balance out the indulgence of the pie. Try creating a fruit salad for a refreshing side, or simply place a few vibrant slices on each plate for a touch of brightness.
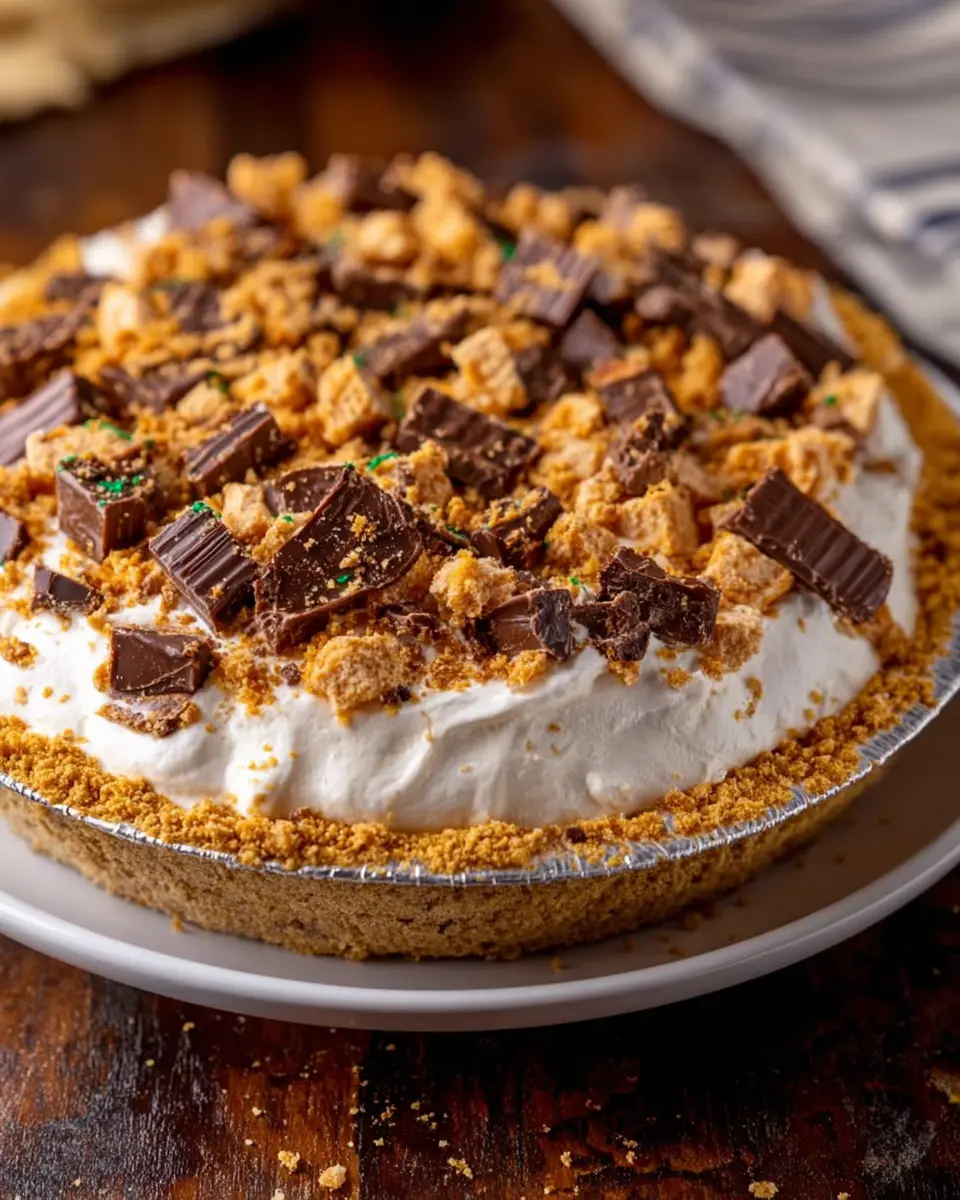
Perfect Toppings for Added Flavor
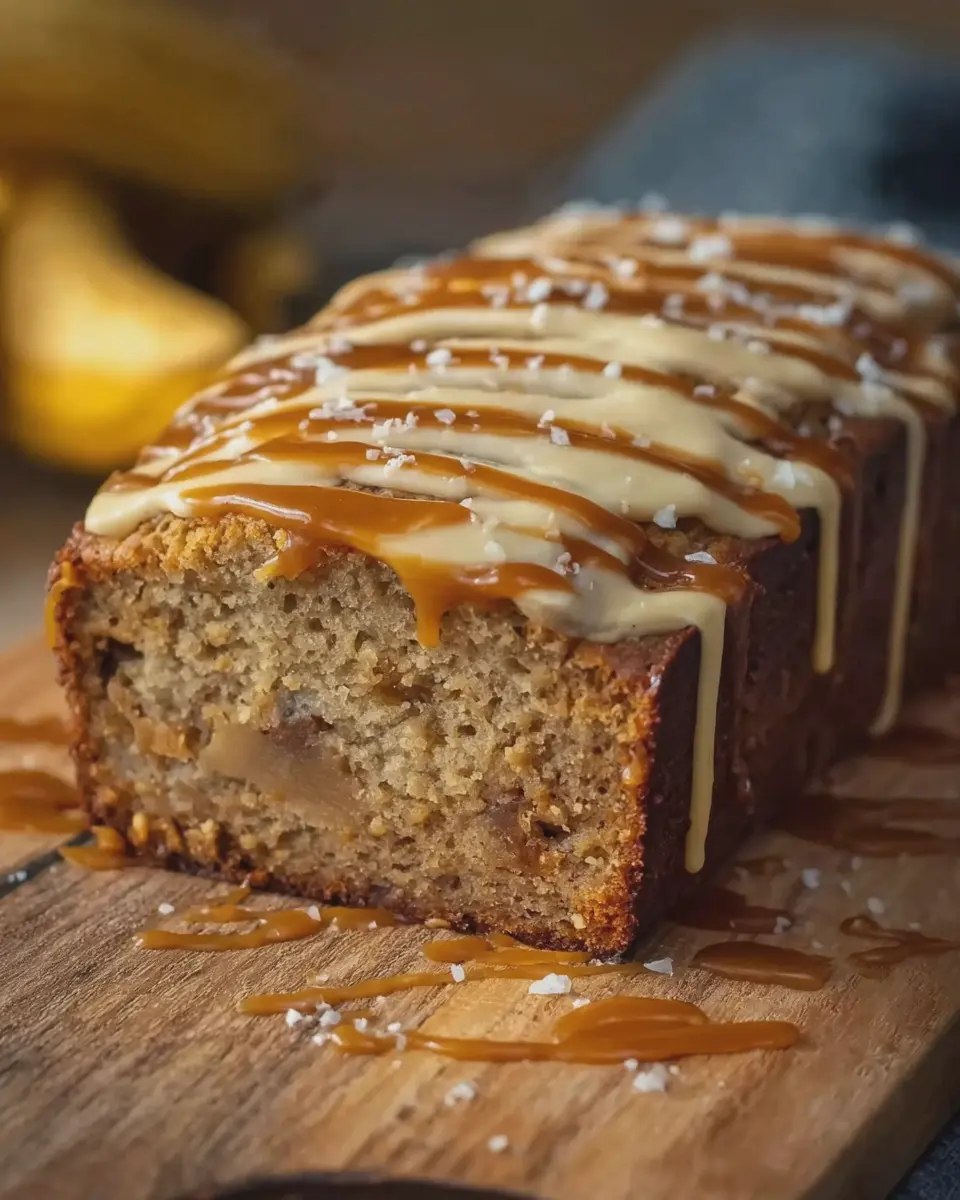
The beauty of a no bake Butterfinger pie is its versatility. Consider garnishing with a dollop of whipped cream for added creaminess, or sprinkle crushed Butterfinger candies on top for that extra crunch. You can also drizzle caramel or chocolate sauce for a truly decadent finish. Want to impress? Use a combination of toppings—perhaps a few chocolate shavings, a sprinkle of sea salt, or even shaved coconut. Each addition can provide a new layer of flavor, making your dessert not just delicious, but visually stunning as well.
For more inspiration on dessert pairings, check out Food Network’s tips on enhancing your sweet treats here.
Time Breakdown for No Bake Butterfinger Pie
When it comes to whipping up a delicious no bake Butterfinger pie, it’s all about simplicity and timing. Here’s a handy breakdown to help you navigate through each step with ease.
Preparation Time
Getting started on your no bake Butterfinger pie takes about 15 minutes. It’s a quick process where you mix delightful ingredients like cream cheese and crushed Butterfinger bars, making it perfect for a busy weeknight or last-minute gatherings.
Chilling Time
After your pie is assembled, it needs approximately 4 hours in the fridge to set properly. This chilling time is essential; it allows the flavors to meld and the pie to firm up, ensuring a delightful slice every time.
Total Time
In total, you’re looking at around 4 hours and 15 minutes from start to finish. It’s well worth the wait for a delicious treat that’s sure to impress your friends. Need tips on storage? Check out this guide on keeping desserts fresh for some helpful advice!
Now that you have the timing sorted, you can enjoy making this creamy, mouthwatering dessert without any hitches.
Nutritional Facts for No Bake Butterfinger Pie
Calories Per Serving
If you’re looking to satisfy your sweet tooth without going overboard, a slice of no bake butterfinger pie is a delightful option. On average, each generous serving contains around 250-300 calories. Not too shabby for a dessert that feels so indulgent, right?
Sugar Content
Be mindful of that sugary goodness! The no bake butterfinger pie packs in about 18-22 grams of sugar per serving, primarily from the creamy filling and the buttery crust. If you’re curious about sugar’s impact on our diet, check out this helpful guide for more insights.
Protein and Fat Breakdown
As for protein and fat, a slice offers around 4-5 grams of protein alongside 15-20 grams of fat, mainly from the cream cheese and whipped topping. While it may not be your go-to for a protein boost, it’s definitely a treat to balance out with healthier meals throughout the day. Enjoy it mindfully, and feel free to explore lower-fat versions if that’s your style!
With these nutritional highlights in mind, you can savor a slice of no bake butterfinger pie guilt-free. Who says dessert can’t be delicious and still fit into your healthy lifestyle?
FAQ about No Bake Butterfinger Pie
How long can I store the pie?
You can keep your No Bake Butterfinger Pie in the refrigerator for about 3 to 5 days. Make sure to store it in an airtight container to prevent it from absorbing any odors or moisture. If you’re like me and don’t want to risk it getting soggy, consider cutting it into slices and wrapping individual pieces in plastic wrap. This way, you can grab a slice whenever that sweet craving strikes!
Can I use a different crust?
Absolutely! While a traditional graham cracker crust is popular, feel free to get creative. You could opt for an Oreo crust for a rich, chocolatey twist or even try a nut-based crust for a gluten-free option. Just remember to adjust the quantities accordingly, especially if you use a store-bought crust that might be thicker or thinner than a homemade one. If you’re looking for more crust variations, check out this resource on pie crusts.
Is there a way to make this recipe healthier?
Definitely! To lighten up your No Bake Butterfinger Pie, consider these tips:
- Use reduced-fat cream cheese or Greek yogurt instead of regular cream cheese.
- Swap out traditional whipped topping for a lighter homemade version using whipped coconut cream.
- And if you’re feeling adventurous, you can replace some of the sugar with a natural sweetener like maple syrup or honey.
These adjustments maintain the pie’s delicious flavor while providing a healthier alternative. After all, enjoying dessert doesn’t have to come with a side of guilt! For more healthy dessert ideas, visit the USDA’s ChooseMyPlate.gov for inspiration.
Keeping your No Bake Butterfinger Pie a delightful indulgence while making it a tad healthier can make dessert feel even more satisfying!
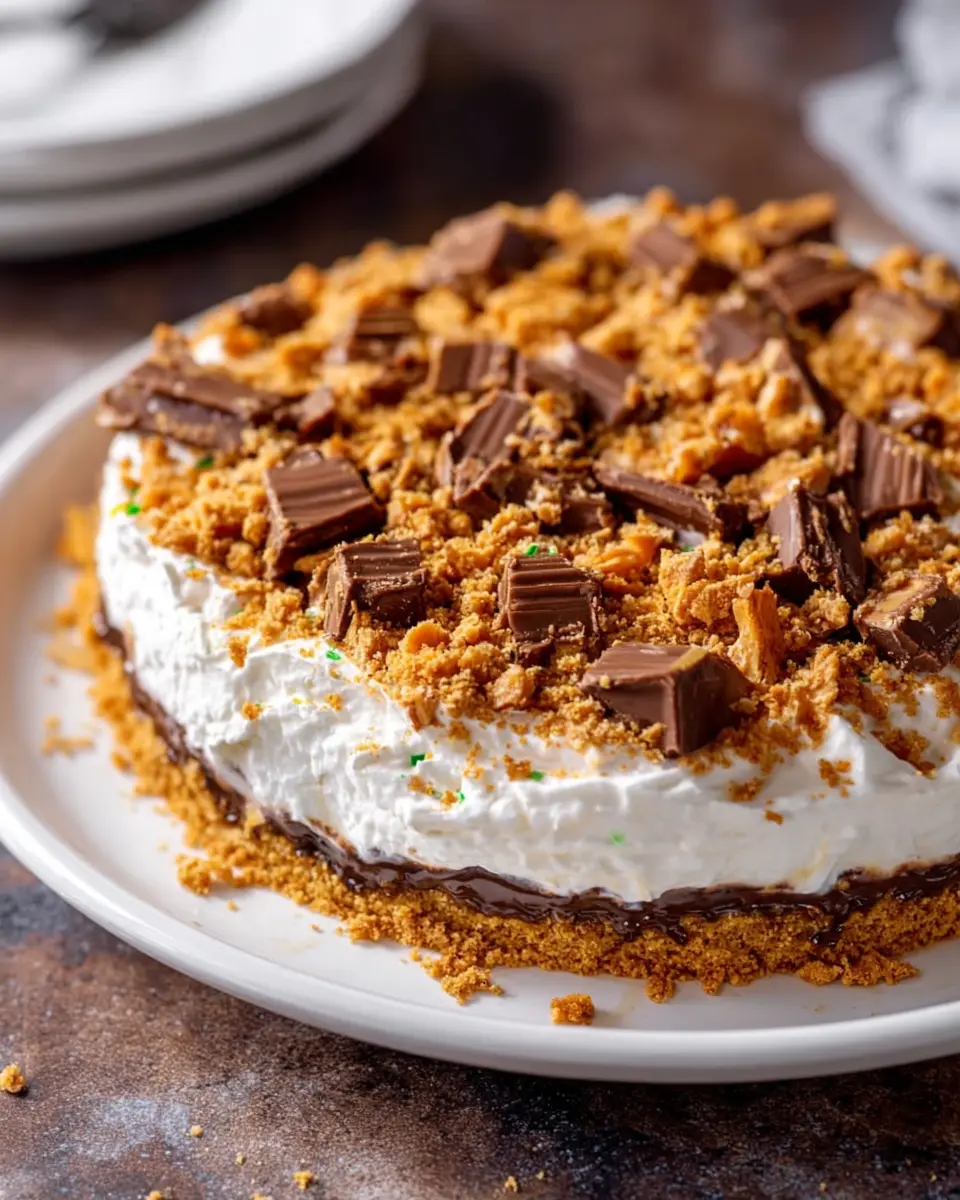
Conclusion on No Bake Butterfinger Pie
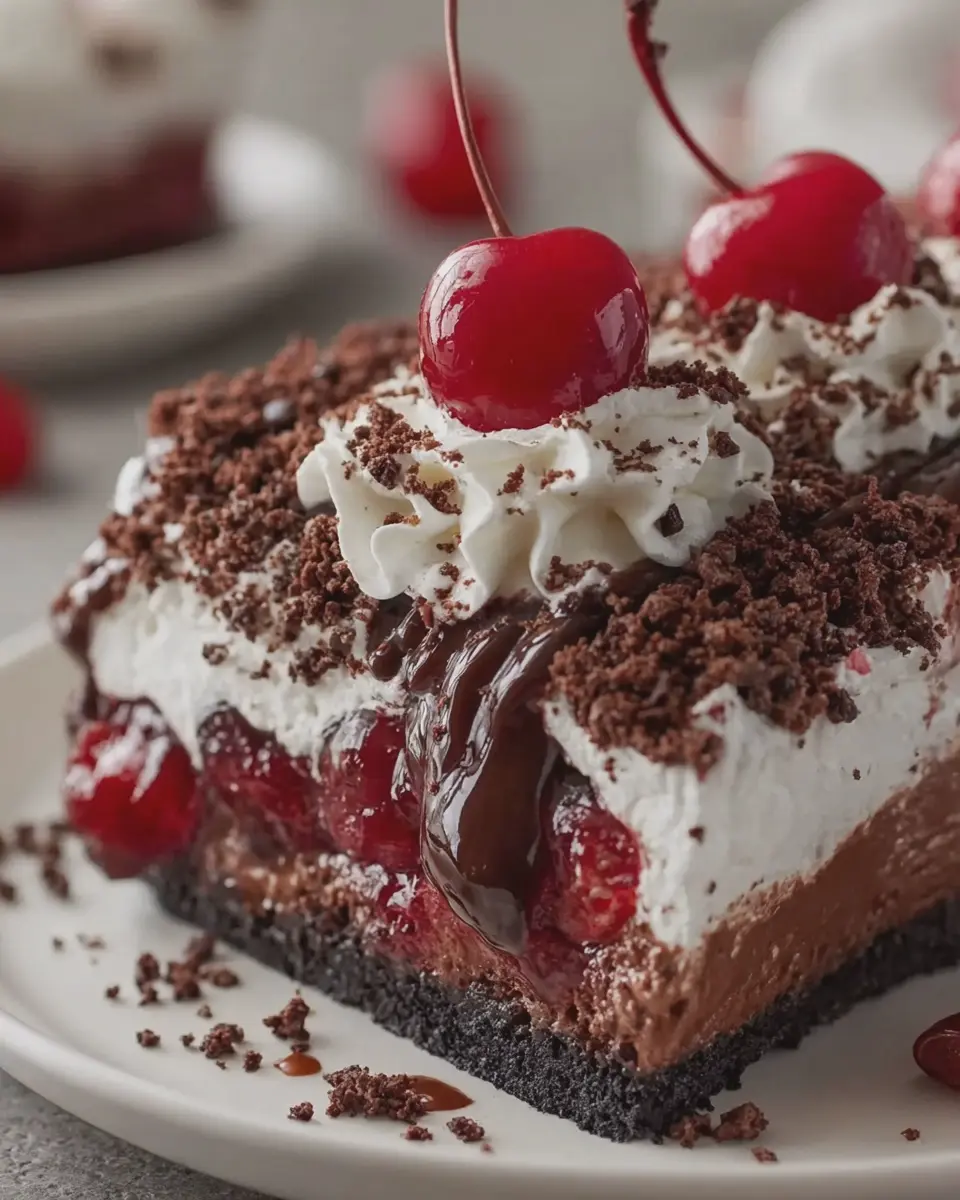
As we wrap up our journey through the delightful world of no bake Butterfinger pie, it’s easy to see why this dessert is a crowd-pleaser. Its creamy, rich filling, combined with the crunch of crushed Butterfinger bars, creates a delightful contrast that’s hard to resist.
- Perfect for Any Occasion: Whether it’s a summer barbecue, holiday gathering, or just an indulgent treat at home, this pie adapts beautifully.
- Quick and Simple: No baking means you can whip it up in no time, freeing you to focus on enjoying time with friends or family.
Having it for dessert is a great way to unwind and indulge a bit. The next time you crave something sweet, consider treating yourself to this easy no bake Butterfinger pie. If you’re eager to try variations, sites like Food Network offer a range of creative twists. Happy baking, or in this case, happy assembling!
PrintNo Bake Butterfinger Pie: The Easy Indulgence You’ll Love
Indulge in the rich and creamy No Bake Butterfinger Pie that combines the delightful flavors of chocolate and peanut butter.
- Prep Time: 20 minutes
- Total Time: 4 hours 20 minutes
- Yield: 8 servings 1x
- Category: Desserts
- Method: No Bake
- Cuisine: American
- Diet: Vegetarian
Ingredients
- 1 package chocolate sandwich cookies
- 1/2 cup butter, melted
- 1 cup creamy peanut butter
- 1 package cream cheese, softened
- 1 cup powdered sugar
- 1 cup whipped topping
- 3 Butterfinger bars, crushed
Instructions
- In a bowl, combine the crushed chocolate sandwich cookies and melted butter.
- Press the mixture into the bottom of a pie dish to form the crust.
- In another bowl, beat together the peanut butter, softened cream cheese, and powdered sugar until smooth.
- Fold in the whipped topping and crushed Butterfinger bars.
- Spread the filling over the cookie crust.
- Refrigerate the pie for at least 4 hours before serving.
Notes
- For a richer flavor, let the pie sit overnight in the fridge.
- You can replace the Butterfinger bars with any chocolate candy of your choice.
Nutrition
- Serving Size: 1 slice
- Calories: 320
- Sugar: 22g
- Sodium: 150mg
- Fat: 18g
- Saturated Fat: 9g
- Unsaturated Fat: 8g
- Trans Fat: 0g
- Carbohydrates: 36g
- Fiber: 1g
- Protein: 5g
- Cholesterol: 30mg
Keywords: No Bake Butterfinger Pie, dessert, easy pie, no bake recipe