Introduction to Red Velvet Brownies
The allure of red velvet desserts
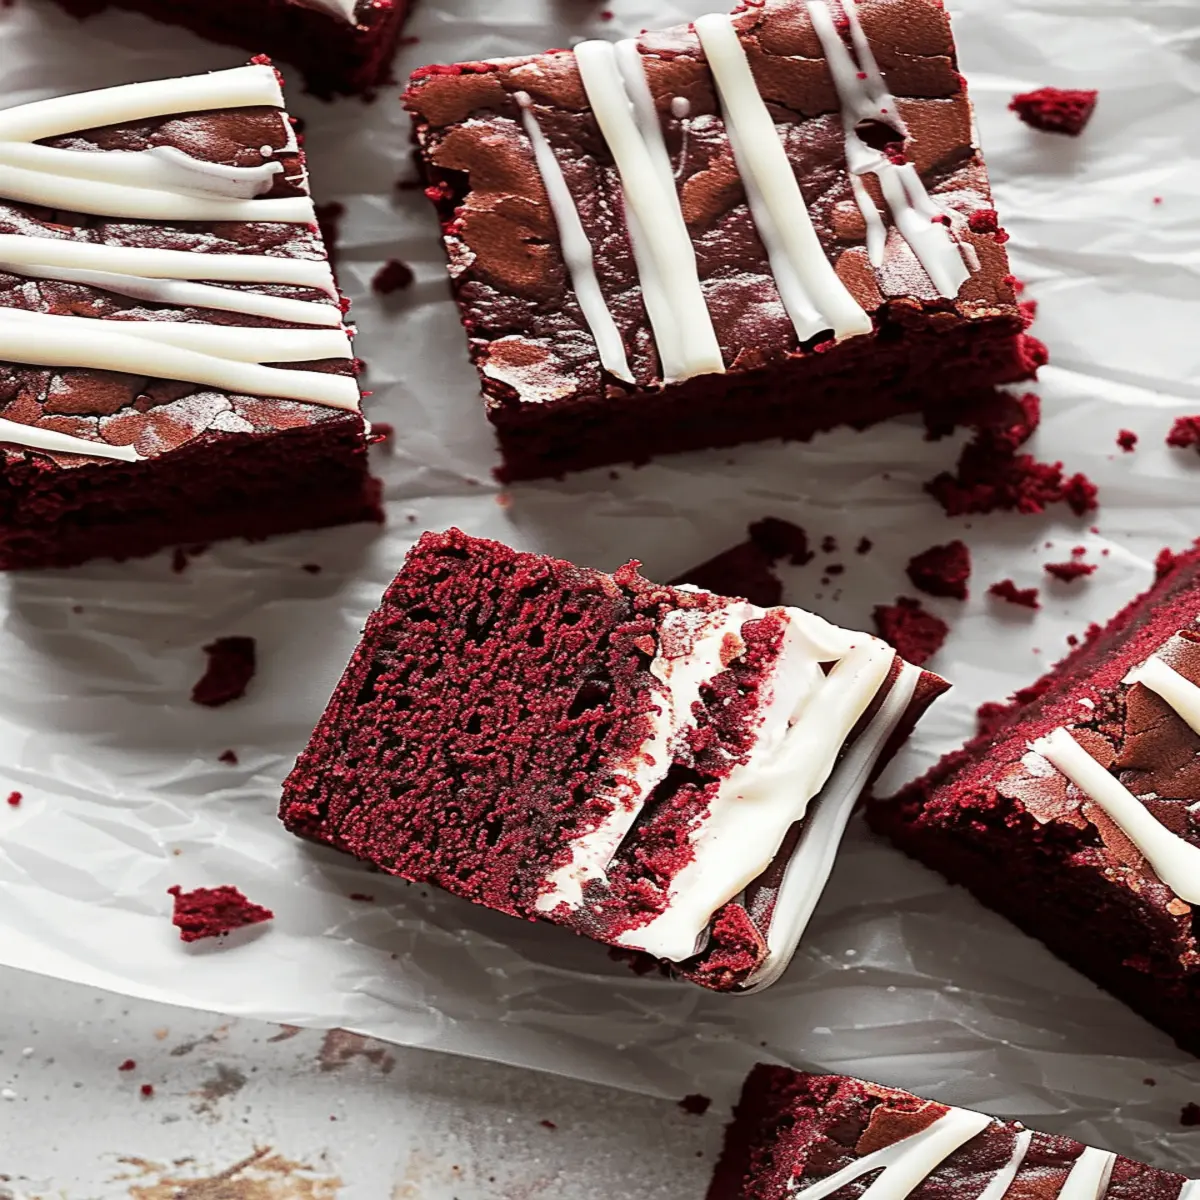
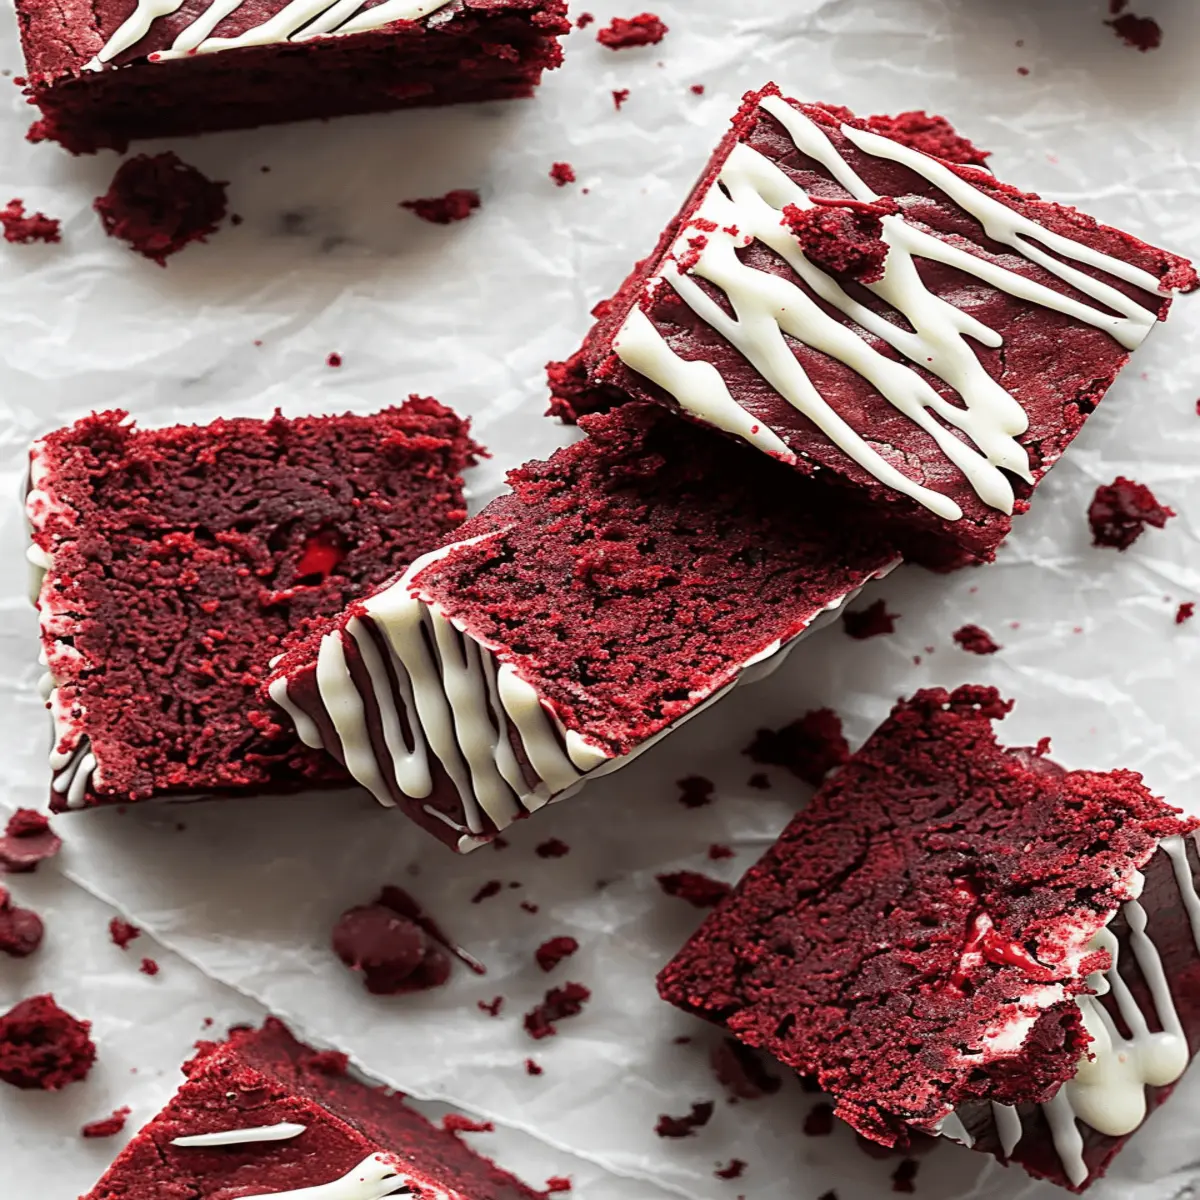
There’s something intrinsically captivating about red velvet desserts. With their vibrant hue and decadent flavor, they transform any occasion into something truly special. While classic red velvet cake has long held a place in our hearts, red velvet brownies are emerging as a delightful contender. Imagine the same rich, velvety taste, but in a chewy, fudgy form that makes them irresistibly tempting.
What makes red velvet so special? According to Serious Eats, the unique combination of cocoa, buttermilk, and tangy cream cheese frosting creates a flavor profile that is both rich and refreshing. When you merge that with a beloved brownie recipe, you get a dessert that’s not only visually stunning but also brimming with complexity.
But let’s be honest—it’s not just about taste. The striking red color of these brownies makes them perfect for any celebration, from birthdays to holidays. Just picture a dessert table adorned with these luscious, red treats, drawing everyone’s gaze. Your friends will surely ask, “Where did you get these?” and you’ll proudly say, “I made them!”
Why try red velvet brownies?
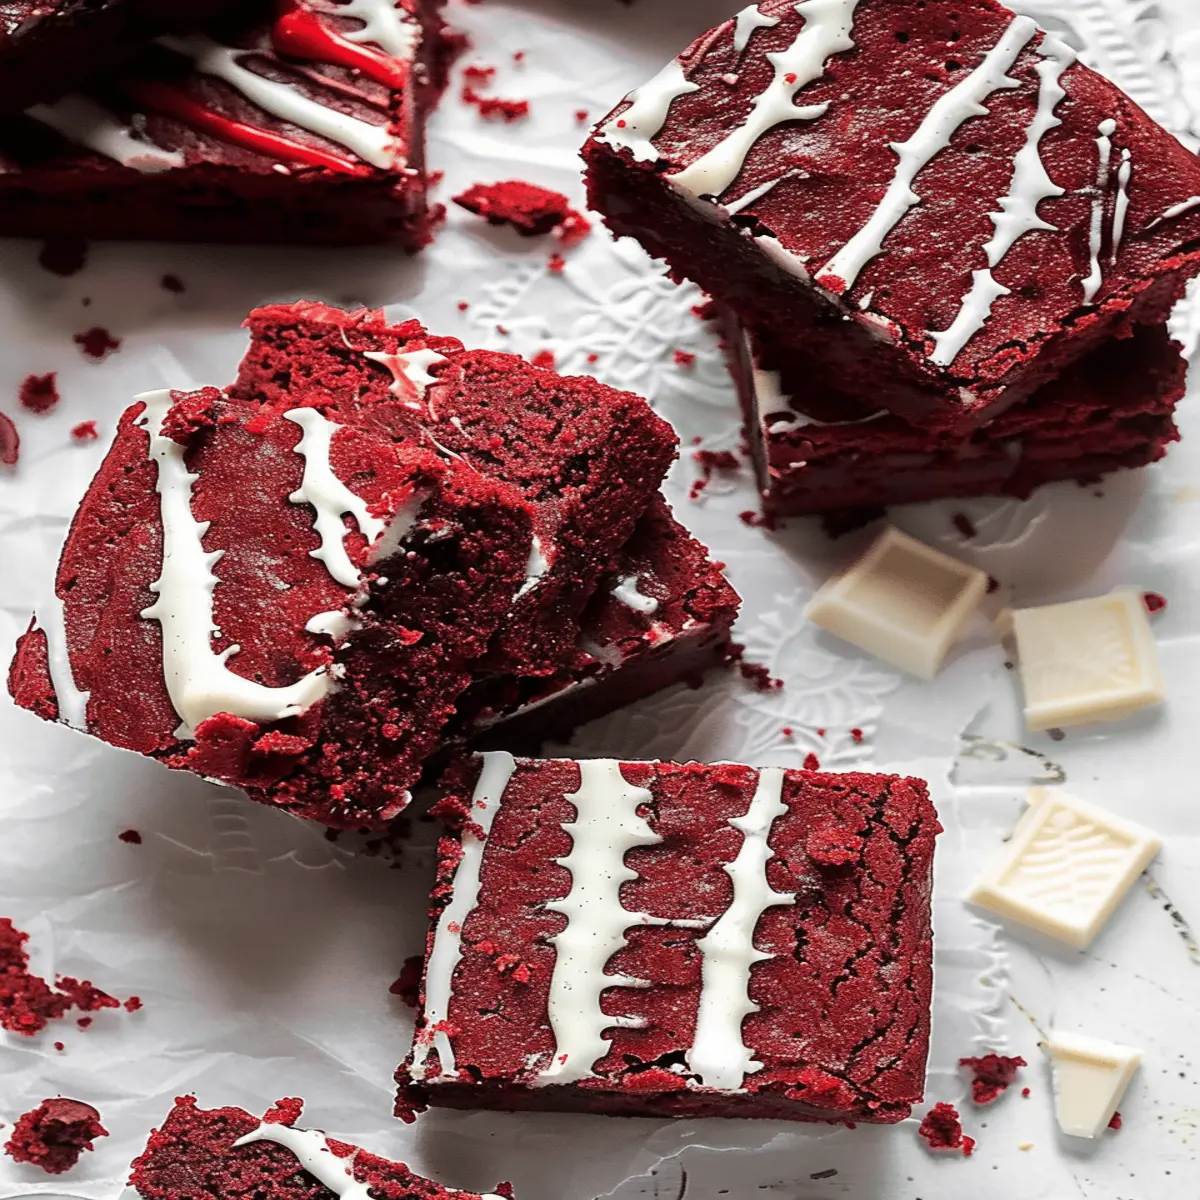
If you love classic chocolate brownies but crave something different, red velvet brownies offer the best of both worlds. They maintain the rich chocolate flavor while introducing a subtle tanginess that elevates the overall experience. Plus, the swirls of cream cheese frosting can take the deliciousness to another level.
- Perfect for any occasion: Whether it’s a cozy gathering or an extravagant celebration, red velvet brownies fit right in.
- Great for sharing: Slice them into bite-sized pieces, and you’ve got the perfect treat for friends and family.
- A recipe worth mastering: Once you try making these beauties, they may just become your go-to dessert.
In this article, we’ll dive into how to create these captivating brownies, ensuring your next baking experience is not just good, but truly unforgettable. So grab your apron, and let’s get started!
Ingredients for Red Velvet Brownies
When it comes to red velvet brownies, the right ingredients are essential for capturing that rich flavor and luscious texture. Here’s a rundown of what you’ll need for this delightful dessert.
Essential ingredients list
- Butter: About ½ cup of unsalted butter, melted to ensure a fudgy texture.
- Sugar: A cup of granulated sugar to sweeten and add moisture.
- Brown Sugar: ½ cup for that extra depth of flavor and chewiness.
- Eggs: Two large eggs help bind everything together while providing richness.
- Vanilla Extract: A splash of pure vanilla adds a lovely aroma.
- Red Food Coloring: A couple of tablespoons to achieve that iconic red hue.
- Cocoa Powder: Use quality unsweetened cocoa for a subtle chocolate flavor.
- Flour: About a cup of all-purpose flour balances the chocolatey richness.
Optional mix-ins for extra flavor
To elevate your red velvet brownies, consider including some mix-ins:
- Chocolate Chips: Semi-sweet or white chocolate for gooey pockets of sweetness.
- Nuts: Chopped pecans or walnuts add a satisfying crunch.
- Marshmallows: For a chewy surprise that makes every bite delightful.
Feel free to check out more baking tips from sources like King Arthur Baking for inspiration and technique advice. These ingredients form the foundation of your decadent red velvet brownies, so choose wisely and get ready to indulge!
Step-by-Step Preparation of Red Velvet Brownies
Creating scrumptious red velvet brownies is a delightful adventure that not only satisfies your sweet tooth but also makes your kitchen smell heavenly. If you’ve ever wondered how to achieve that iconic rich red color and buttery texture, look no further. Let’s walk through the preparation together!
Gather and prepare your ingredients
Before diving into the mixing bowl, make sure you have everything you need. Collecting your ingredients first will save you from any last-minute panic. Here’s what you’ll need for your red velvet brownies:
- 1 cup (unsalted) butter
- 2 cups sugar
- 4 large eggs
- 2 teaspoons vanilla extract
- 2 cups all-purpose flour
- ½ cup cocoa powder
- 1 teaspoon baking powder
- ½ teaspoon salt
- 1-2 tablespoons red food coloring
- Optional: white chocolate chips or chopped nuts for added texture
Having these items on hand ensures a smooth sailing in the kitchen. If you’re uncertain about any specific ingredient, take a moment to visit trusted culinary sites like Bon Appétit for insights on ingredient substitutions.
Mix the dry ingredients
Start by whisking together the dry ingredients in a medium bowl. Combine the flour, cocoa powder, baking powder, and salt. Whisking these dry ingredients thoroughly ensures that your brownies have an even crumb and that the cocoa is well distributed. This is a crucial step, because no one enjoys encountering a clump of cocoa powder in a brownie!
Cream the butter and sugar
In a separate large bowl, use an electric mixer to cream the softened butter and sugar together until the mixture is light and fluffy. This usually takes about 2-3 minutes. Why is this step important? Creaming incorporates air into the butter, which helps create a fluffy texture in your finished brownies. The magical transformation through mixing is fascinating, isn’t it?
Combine wet and dry ingredients
Now, let’s bring the best of both worlds together. Add the eggs and vanilla extract to your creamed mixture, and mix until everything is well combined. Gradually add your dry mixture, mixing just until incorporated. Be cautious not to overmix at this stage; a few lumps are perfectly fine. We want chewy, moist red velvet brownies, not a dense cake!
Add red food coloring and mix well
Now for the moment of truth! Stir in the red food coloring until you reach your desired shade of crimson. Whether you prefer a deep ruby red or a pastel hue, this is where you make it yours. Don’t forget to wipe your hands and counter afterward—red dye can be tricky to clean up!
Pour into a baking dish and spread evenly
Prepare your baking dish by greasing it or lining it with parchment paper. Pour your vibrant red batter into the dish and use a spatula to spread it evenly. A well-distributed batter will bake more uniformly, giving you those perfectly gooey brownies.
Bake and check for doneness
Preheat your oven to 350°F (175°C) and bake your brownies for about 25-30 minutes. The aroma will be intoxicating! To check for doneness, insert a toothpick in the center; it should come out with a few moist crumbs. Resist the temptation to overbake—those gooey edges are what make red velvet brownies absolutely irresistible!
Once done, let them cool in the pan for about 15 minutes before transferring them to a wire rack. Now you have a delicious treat to savor, share, or hide away for yourself!
Enjoy the fruits of your labor and don’t forget to experiment with toppings like cream cheese frosting or a sprinkle of powdered sugar—your taste buds will thank you. Happy baking!
Variations on Red Velvet Brownies
Red velvet brownies are a delightful twist on the classic dessert, but why stop there? Here are some delicious variations to elevate your baking game and cater to different preferences.
Cream Cheese Frosting Option
Nothing pairs quite like the rich, creamy goodness of cream cheese frosting with red velvet treats. To achieve that perfect topping:
- Whip together 8 oz of cream cheese and 1 stick of softened butter until smooth.
- Gradually add 2 cups of powdered sugar and a splash of vanilla extract.
- Spread this luscious frosting over your cooled brownies, and watch them transform into crowds-pleasers. For more tips, check out this comprehensive guide on frosting types.
Gluten-Free Red Velvet Brownies
Who says you have to miss out on red velvet goodness? Making gluten-free red velvet brownies is simpler than you think.
- Substitute all-purpose flour with almond flour or a gluten-free blend.
- Ensure your cocoa powder and food coloring are gluten-free too.
- These adjustments will result in an equally tender and flavorful brownie that everyone can enjoy.
Adding Swirls of Nutella
For chocolate lovers, why not introduce Nutella swirls into your red velvet brownies?
- Once your batter is spread in the pan, dollop spoonfuls of Nutella on top.
- Use a knife to create beautiful marbled patterns before baking.
- This decadent addition will provide a rich chocolate contrast to the tangy red velvet base.
Each of these variations not only brings a new flavor profile but also keeps your baking exciting and engaging. Whether you’re preparing for a gathering or a cozy night in, these tweaks will surely impress!
Cooking Tips and Notes for Red Velvet Brownies
Ensuring the perfect texture
To achieve that moist, fudgy consistency that makes red velvet brownies irresistible, pay attention to a few key factors. First, avoid overmixing the batter—this can lead to tough brownies. Mix just until the ingredients are combined. Use high-quality cocoa powder and ensure that your butter is melted but not too hot; this helps maintain that rich flavor. Lastly, let your brownies cool in the pan before cutting; this allows the texture to set just right.
Common mistakes to avoid
Even seasoned bakers can fall into traps when making red velvet brownies. Here are some pitfalls to sidestep:
- Too much flour: Measuring your ingredients accurately is crucial. Consider using a kitchen scale for precision.
- Not using enough cocoa: This can dull the flavor. Remember, the cocoa is integral to that beloved red velvet taste.
- Skipping the food coloring: Don’t underestimate the impact of that vibrant hue! A lack of coloring can leave you with a bland appearance.
For more insights on baking basics, check out this baking guide from Better Homes & Gardens. Each tip can help elevate your brownie game!
Serving Suggestions for Red Velvet Brownies
Pairing with Ice Cream
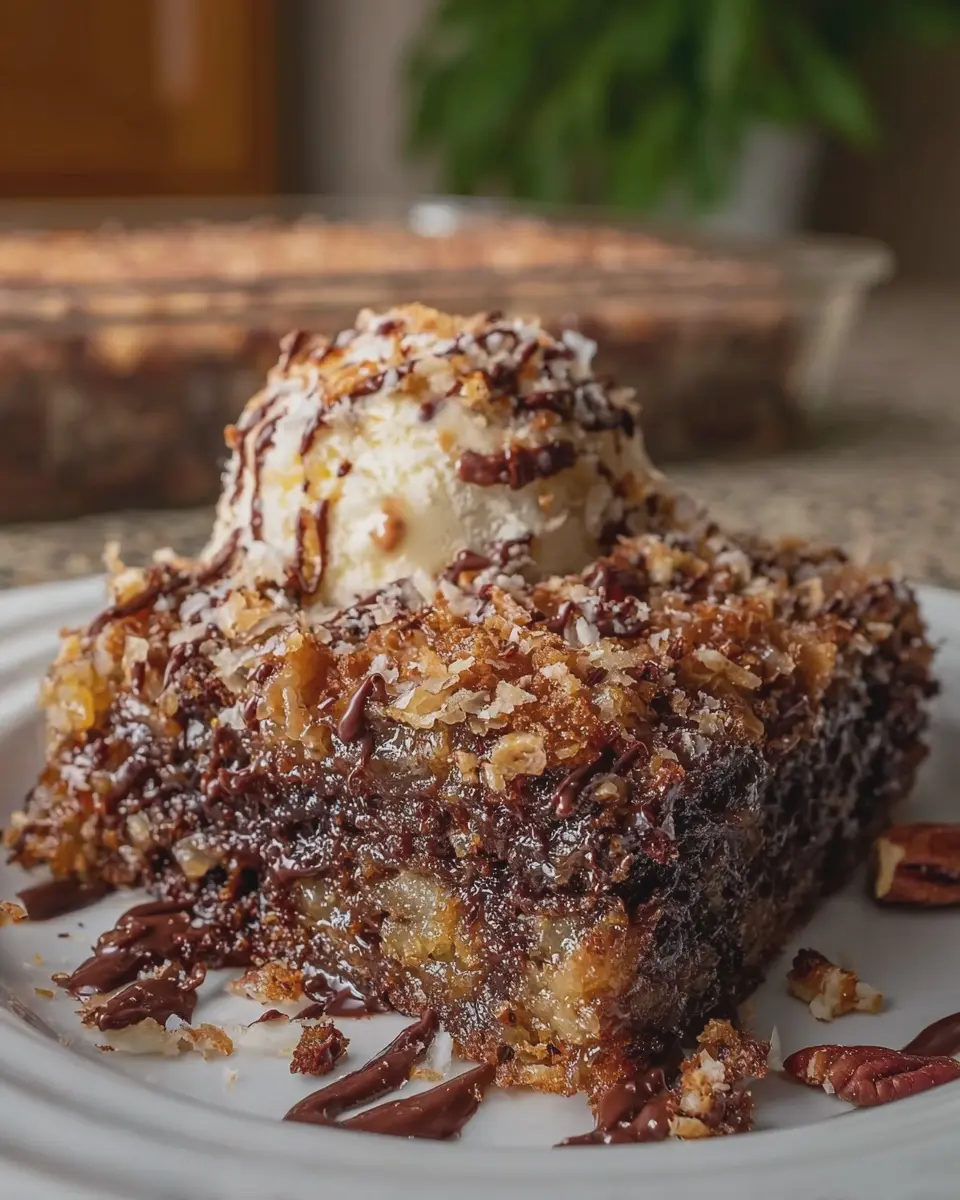
What could be better than rich red velvet brownies paired with a scoop of velvety ice cream? The creaminess of the ice cream perfectly complements the dense texture of the brownies. Here are a few classic pairings to elevate your dessert experience:
- Vanilla Bean: The neutral sweetness highlights the chocolate notes in the brownies.
- Cream Cheese: This pairing enhances the semi-tangy flavor profile of red velvet.
- Mint Chip: For a refreshing twist, try a scoop of mint chocolate chip ice cream.
Adding a drizzle of warm chocolate sauce or dusting with powdered sugar will make this treat even more indulgent.
Creative Plating Ideas
Plating can truly transform your dessert into an art form. Here are some fun, creative ideas for your red velvet brownies:
- Stacked Layers: Create individual servings by stacking brownies and ice cream for a delicious, layered treat.
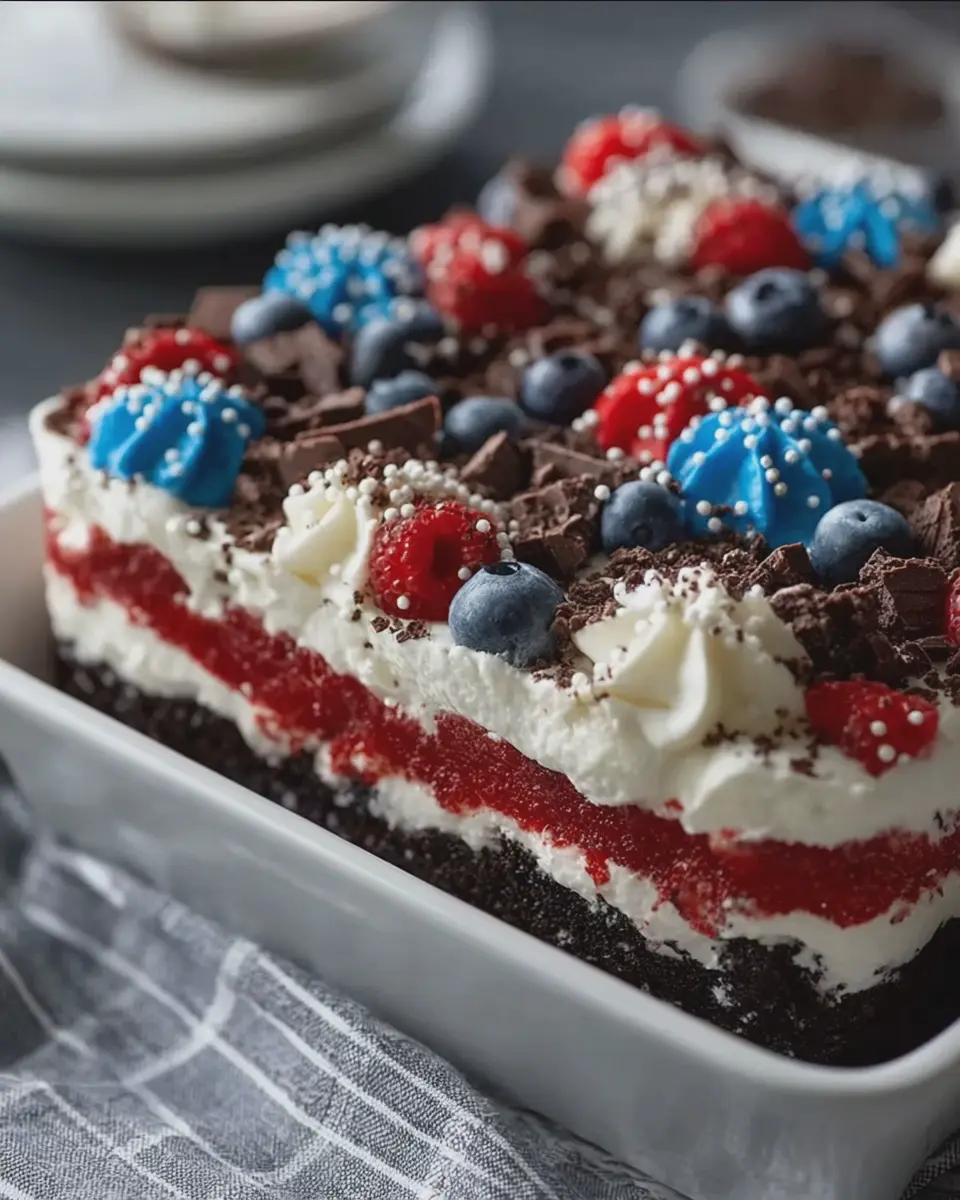
- Dessert Board: Arrange brownies with fresh berries, whipped cream, and nuts for a buffet-style presentation.
- Rustic Charm: Simply place a brownie on a plate, dust it with powdered sugar, and garnish with a sprig of mint.
For more plating inspiration, check out The Kitchn’s guide on dessert presentation.
With these serving suggestions, your red velvet brownies will be the star of any gathering! Don’t be surprised if they disappear quickly!
Time Breakdown for Red Velvet Brownies
When you’re craving a delectable treat, knowing the time breakdown can make all the difference. Making red velvet brownies is quick and satisfying, so let’s dive into the nitty-gritty.
Preparation Time
The preparation time for these brownies is about 15 minutes. This includes gathering your ingredients—like cocoa powder, sugar, and butter—and mixing them together. It’s a great way to unwind after a busy day.
Baking Time
Once you pop the batter in the oven, the baking time is around 25-30 minutes. Keep an eye on them, as all ovens can vary. Your goal? A soft, moist center that’s perfect for indulging.
Total Time
In total, you’re looking at about 45 minutes from start to finish. That’s hardly any time at all for a batch of fudgy, delicious red velvet brownies! For tips on perfecting your brownies, check out sources like The Kitchn for expert baking advice.
Make sure to enjoy the process—baking should be fun!
Nutritional Facts for Red Velvet Brownies
When you’re indulging in delicious red velvet brownies—a delightful treat—it’s good to know what you’re savoring. Here’s a quick breakdown of their nutritional profile:
Calories per serving
Each serving typically contains around 200-250 calories. Depending on how you prepare them, calories can vary, especially when adding frosting or toppings.
Sugar content
Watch out for the sweetness! A standard brownie can have 15-20 grams of sugar. While this gives that delightful flavor, be mindful if you’re monitoring your sugar intake.
Key nutrients
Besides being a delightful dessert, red velvet brownies have some interesting nutritional aspects:
- Protein: Approximately 3-4 grams
- Fat: About 10-12 grams, mainly from butter and eggs
- Carbohydrates: Roughly 30 grams
While they aren’t a health food, enjoying these in moderation can fit into a balanced diet. For a deeper dive into nutritional needs, the USDA FoodData Central offers great resources on the nutrients in baked goods.
FAQs about Red Velvet Brownies
Can I make red velvet brownies ahead of time?
Absolutely! You can prepare red velvet brownies a day or two in advance. In fact, letting them sit for a bit enhances their flavors and gives them a fudgier texture. Just bake them according to your recipe, let them cool completely, and then wrap them tightly in plastic wrap. You can also store them in an airtight container. The longer they sit, the more delicious they become—if you can resist the temptation to eat them immediately!
How do I store leftover brownies?
Storing your delicious leftover red velvet brownies properly is key to keeping them fresh. Here are a few simple tips:
- Room temperature: If you plan to eat them within a couple of days, leave them out in an airtight container. Keep them away from direct sunlight.
- Refrigeration: For longer storage, pop them in the fridge. They typically last up to a week when chilled.
- Freezing: Want to save some for a later date? Wrap individual brownies in plastic wrap and put them in a freezer-safe bag. They freeze well for up to three months. Just remember to let them thaw at room temperature before enjoying!
What can I substitute for red food coloring?
If you’re not keen on using artificial red food coloring, there are some great natural alternatives:
- Beet juice or beet powder: This is a fantastic natural option, imparting both color and a subtle earthiness.
- Pomegranate juice: Another vibrant choice, though it may alter the flavor slightly.
- Hibiscus powder: Not only does it give a lovely hue, but it also adds a floral note to your brownies.
These substitutions can maintain that iconic red hue while keeping your dessert healthier. For more information on natural coloring options, consider checking out resources like the FDA on food additives. Happy baking!
Conclusion on Red Velvet Brownies
Recap the joy of homemade brownies
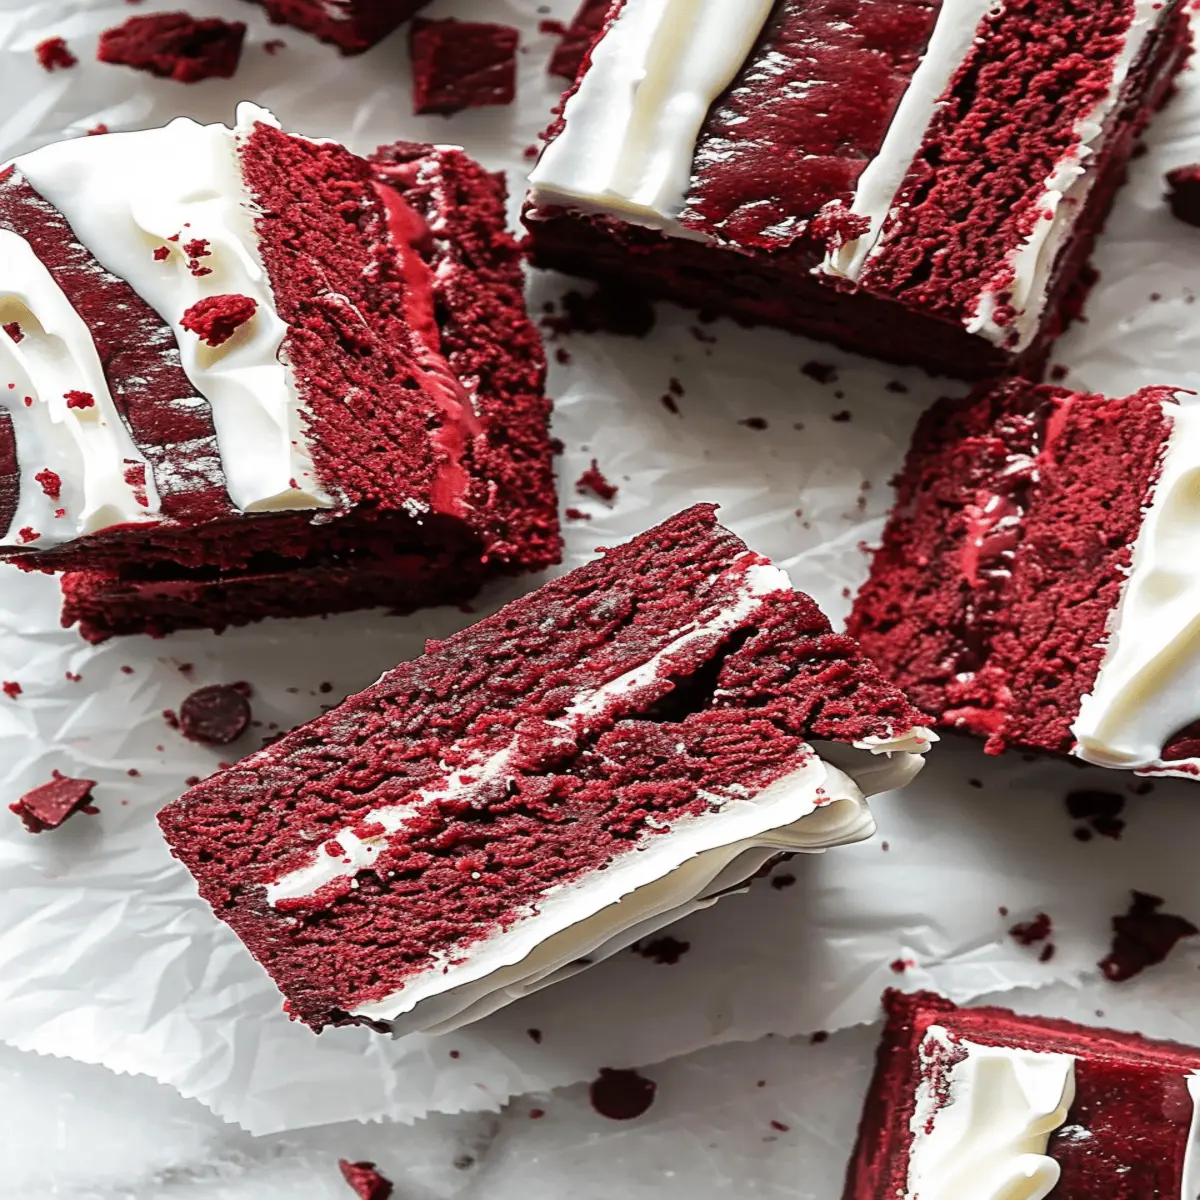
There’s something truly special about creating homemade brownies, especially when they take on the iconic red velvet twist. Their rich, fudgy texture paired with that vibrant color makes them a feast for both the eyes and the palate. As you savor these delightful red velvet brownies, you’ll find that the satisfaction of baking them yourself adds an extra layer of joy.
Encouragement to try the recipe
If you haven’t yet taken the plunge into making these mouthwatering treats, I urge you to give the recipe a shot! It’s an enjoyable venture—one that promises delectable results that you can share (or keep all to yourself!). Plus, there’s no better conversation starter than a plate of red velvet brownies at your next gathering. Dive into this experience; you won’t regret it! For more practical baking tips, check out resources like King Arthur Baking and Taste of Home for inspiration. Happy baking!
PrintRed Velvet Brownies: Indulgently Rich and Oh-So-Satisfying

Indulge in the rich and satisfying flavor of red velvet brownies that are perfect for any occasion.
- Prep Time: 15 minutes
- Cook Time: 30 minutes
- Total Time: 45 minutes
- Yield: 16 brownies 1x
- Category: Dessert
- Method: Baking
- Cuisine: American
- Diet: Vegetarian
Ingredients
- 1 cup all-purpose flour
- 1/2 cup cocoa powder
- 1 cup sugar
- 1/2 cup unsalted butter, melted
- 2 large eggs
- 1 teaspoon vanilla extract
- 1 tablespoon red food coloring
- 1/2 teaspoon baking soda
- 1/4 teaspoon salt
- 1 cup chocolate chips
Instructions
- Preheat the oven to 350°F (175°C) and grease a 9×9 inch baking dish.
- In a bowl, combine the melted butter and sugar until well mixed.
- Add eggs and vanilla extract, and mix until smooth.
- In a separate bowl, whisk together flour, cocoa powder, baking soda, and salt.
- Gradually add dry ingredients to wet ingredients, mixing until just combined.
- Stir in red food coloring and chocolate chips.
- Pour the batter into the prepared baking dish and spread it evenly.
- Bake for 25-30 minutes, or until a toothpick comes out clean.
- Allow to cool before cutting into squares.
Notes
- For an extra touch, top the brownies with cream cheese frosting.
- Store leftovers in an airtight container.
Nutrition
- Serving Size: 1 brownie
- Calories: 250
- Sugar: 20g
- Sodium: 170mg
- Fat: 12g
- Saturated Fat: 7g
- Unsaturated Fat: 4g
- Trans Fat: 0g
- Carbohydrates: 35g
- Fiber: 2g
- Protein: 3g
- Cholesterol: 50mg
Keywords: Red Velvet Brownies, dessert, rich brownies