Introduction to Vintage BTS Cake
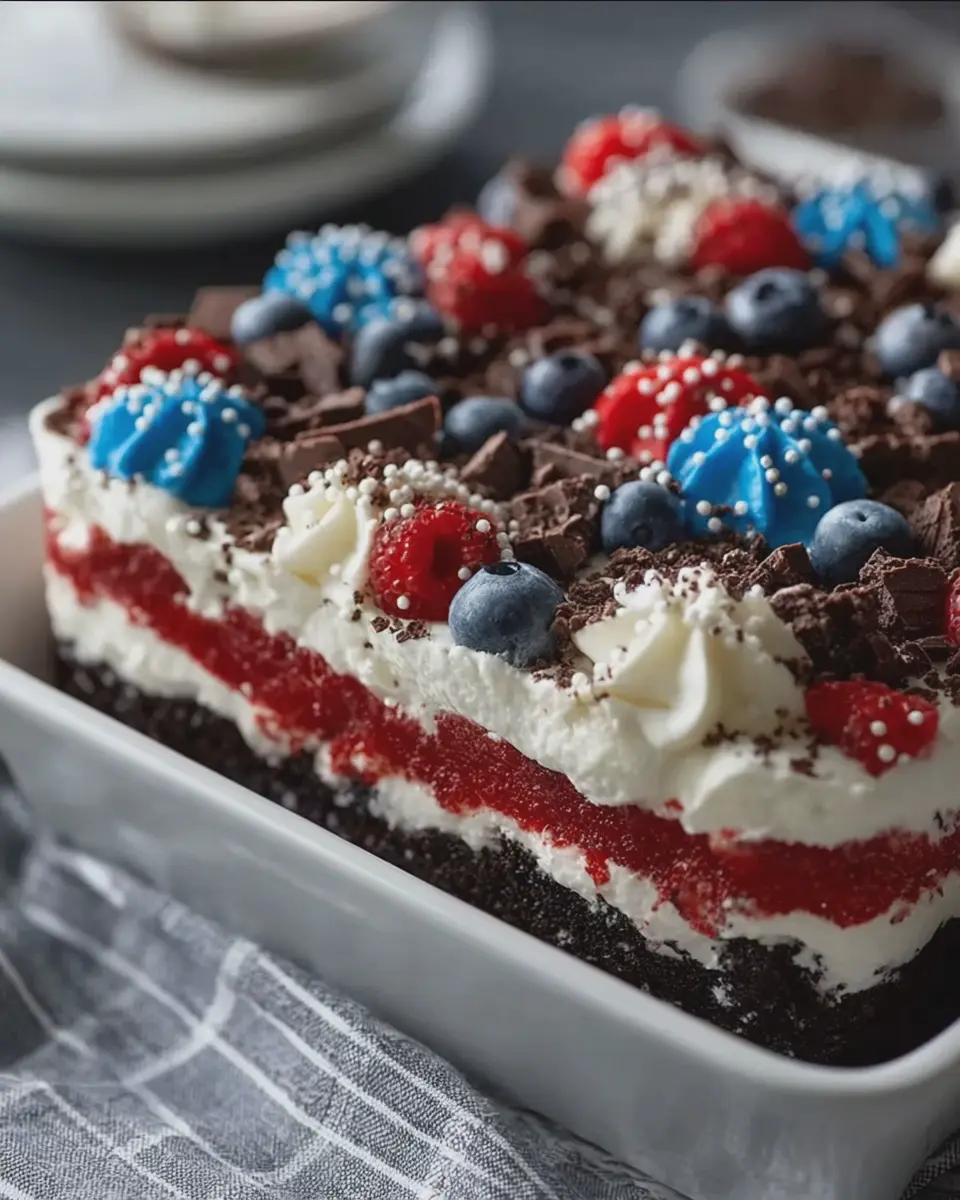
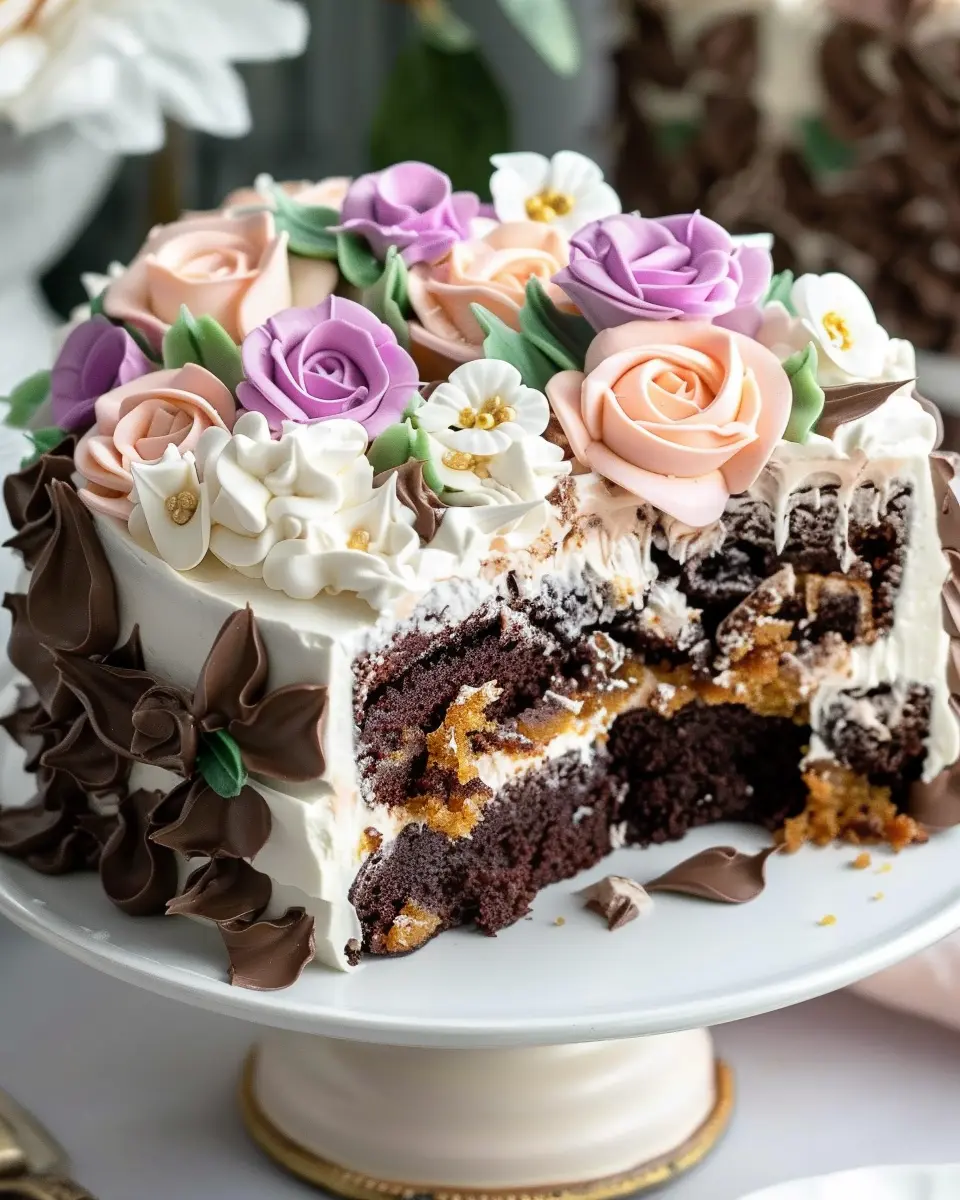
Baking has a magical way of connecting us to the past, where the simple act of stirring batter can evoke nostalgia. Vintage baking holds a special allure — think of the textured layers, the rich flavors, and those delightful memories spent in the kitchen! The vintage BTS cake you’re about to discover encapsulates all these feelings, transporting both the baker and the taster to a simpler time.
The Allure of Vintage Baking
What makes baking from yesteryears so charming? For many, it’s about tradition and emotion. Vintage recipes often tell a story, passed down through generations, carrying not just ingredients but also cherished memories. With this vintage BTS cake, you’re not just creating a dessert; you’re crafting a piece of history that can spark conversations and rekindle family traditions.
Moreover, vintage cakes often rely on basic pantry staples, minimizing the need for costly or hard-to-find ingredients. This simplicity means anyone can enjoy the process of baking, making it accessible for everyone, especially young professionals learning their way around the kitchen. Curious about these delightful vintage recipes? You might find inspiration in The Joy of Baking, where vintage classics are celebrated!
A Modern Twist on the Classic
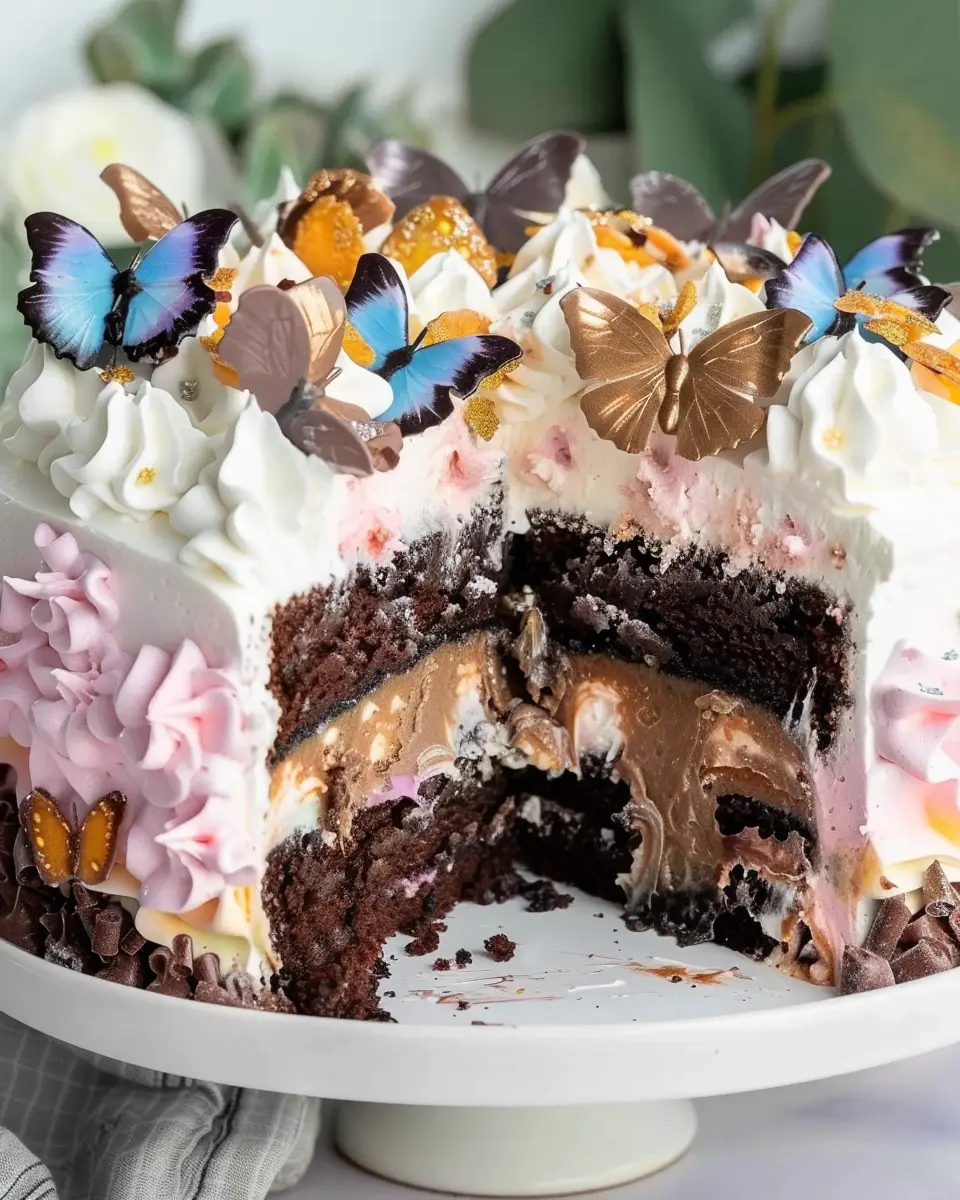
The vintage BTS cake marries nostalgic flavors with a modern flair that resonates with today’s tastes. While it embraces a traditional base, creative additions bring a new life to this retro treat. Are you a fan of modernizing recipes? Think of how flavor pairings can elevate the cake, making it perfect not just for nostalgic gatherings but also for today’s vibrant celebrations.
To ensure your experience is enjoyable, consider the balance of flavors and textures in the vintage BTS cake. Its layers might remind you of your childhood while still satisfying your contemporary palate. So, grab your mixing bowls and follow this recipe to create something extraordinary that’s bound to impress your friends and family.
With the perfect blend of history and innovation, this vintage BTS cake is more than just dessert; it’s a delightful journey through time that’s waiting for you to explore. Are you ready to bring a slice of history to your table? Let’s dive into the recipe!
Ingredients for Vintage BTS Cake
Essential ingredients for the ultimate treat
Creating an unforgettable vintage BTS cake starts with the right ingredients. Here’s a breakdown of what you’ll need:
-
Cake Layers:
-
2 cups all-purpose flour
-
1 ½ cups granulated sugar
-
1 cup unsalted butter (softened)
-
4 large eggs
-
1 cup milk (or a non-dairy alternative)
-
2 tsp baking powder
-
1 tsp vanilla extract
-
Frosting Adventure:
-
1 cup butter (at room temperature)
-
4 cups powdered sugar
-
2-4 tbsp heavy cream (or coconut cream for a vegan twist)
-
Food coloring (in BTS-themed colors)
-
Flavor Boosters:
-
A splash of almond extract
-
Fresh berries or fruit preserves for the filling
Each ingredient plays a pivotal role in crafting the rich flavors of this nostalgic cake. It’s important to source fresh produce and quality pantry staples to capture that authentic vintage vibe. Remember, good ingredients make all the difference! For more tips on ingredient quality, check out The Kitchn.
So, are you ready to create a masterpiece? Let’s bake this vintage BTS cake together!
Preparing Vintage BTS Cake
Creating a vintage BTS cake might sound like an ambitious task, but with a little guidance and enthusiasm, it can become one of your favorite baking adventures. Whether you’re a baking aficionado or just starting, this cake’s unique flavor and delightful presentation will charm everyone. So, put on your apron, and let’s dive into this nostalgic baking journey.
Gather Your Ingredients
Before you start, it’s essential to have all your ingredients on hand. This saves time and ensures that you create a top-notch vintage BTS cake. Gather the following:
- 2 cups of all-purpose flour
- 1 ½ cups of granulated sugar
- ½ cup of unsweetened cocoa powder
- 1 ½ teaspoons of baking powder
- 1 teaspoon of baking soda
- 1 teaspoon of salt
- 2 large eggs
- 1 cup of milk
- ½ cup of vegetable oil
- 2 teaspoons of vanilla extract
- 1 cup of boiling water
For the delicious filling:
- 1 can of sweetened condensed milk
- 1 cup of caramel sauce
And to top it off:
- 1 container of Cool Whip
- 1 cup of crushed Heath bars
With everything ready to go, you’ll find the process so much smoother.
Preheat and Prepare Your Baking Dish
The first step after gathering your ingredients is to preheat your oven to 350°F (175°C). While it warms up, grease and flour two 9-inch round cake pans. This is crucial because it prevents the batter from sticking and ensures you have perfectly cake forms to layer. If you want to get fancy, you can line the bottom of the pans with parchment paper for extra protection.
Make the Cake Batter
Now, let’s whip up that batter! In a large bowl, combine the flour, sugar, cocoa powder, baking powder, baking soda, and salt. Whisking these together first ensures all the dry ingredients mix evenly. Then, add the eggs, milk, oil, and vanilla extract. Mix until smooth, but don’t overdo it— a few lumps are fine.
Next, carefully stir in the boiling water. This step may seem unusual, but it makes the cake incredibly moist. Once blended, divide the batter evenly between the prepared pans.
Bake the Cake to Perfection
Pop the pans in the preheated oven and let them bake for 30 to 35 minutes. To check for doneness, gently press the center of each cake; if it springs back, it’s done! Otherwise, a toothpick inserted into the center should come out clean. Once baked, let them cool in the pans for about 10 minutes, then move them to a wire rack to cool completely. Patience is key here; you want to keep that vintage BTS cake moist!
Create the Filling with Sweetened Condensed Milk and Caramel
While your cakes are cooling, it’s the perfect time to prepare the filling. In a bowl, mix the sweetened condensed milk and caramel sauce together until smooth. This luscious filling adds an extra layer of sweetness that complements the chocolate cake beautifully.
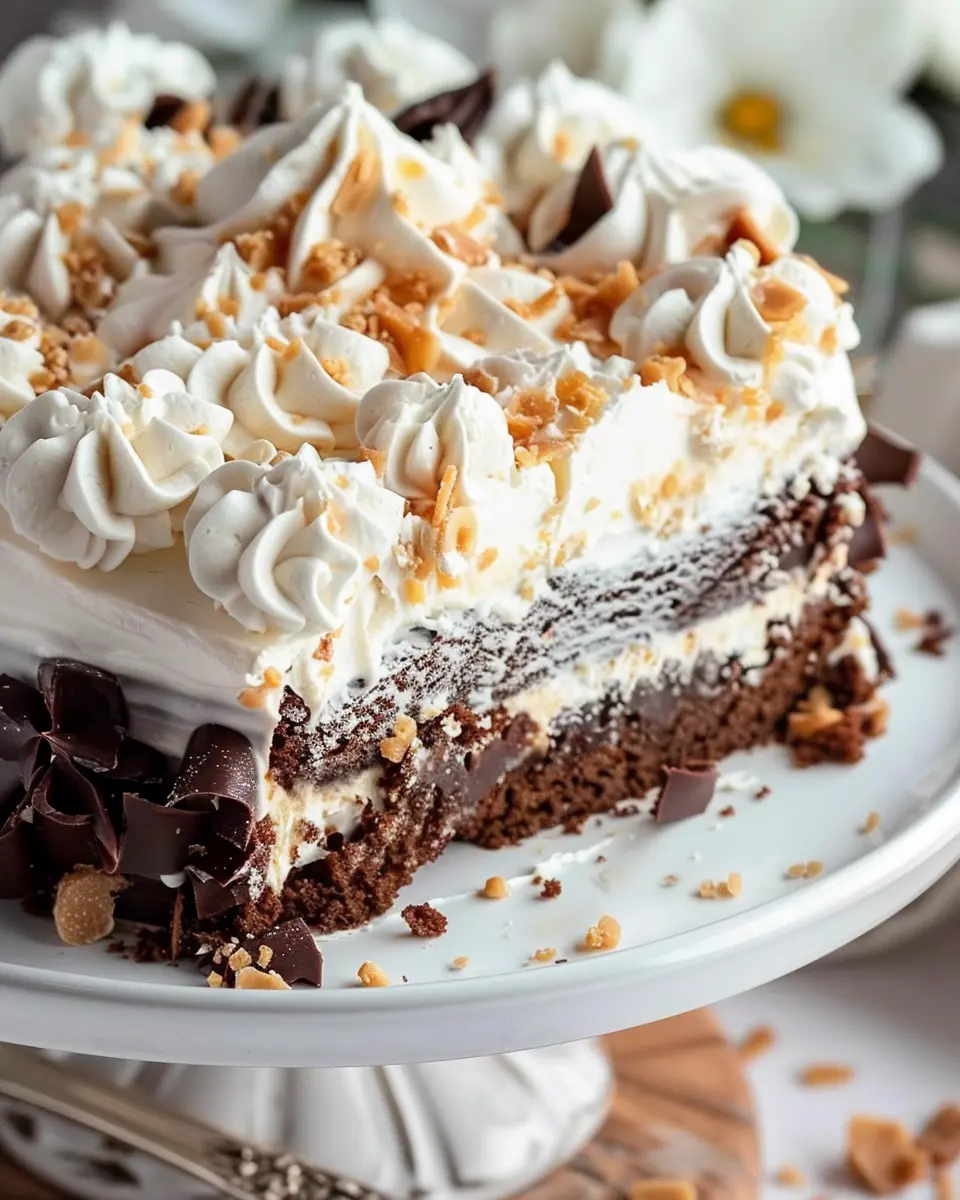
Chill and Top with Cool Whip and Heath Bars
Once your cakes are completely cooled, it’s assembly time! Place one layer on a serving platter and spread a generous amount of the caramel filling over the top. Then, gently position the second cake layer on top. Now for the fun part—top the entire cake with Cool Whip. For that extra crunch and flavor, sprinkle the crushed Heath bars on top.
And there you have it, a stunning vintage BTS cake ready to wow your family and friends. Serve it at your next gathering or simply enjoy it with a warm cup of coffee. Your taste buds will thank you for this delightful treat!
If you’re looking for more baking tips, check out King Arthur Baking for expert advice and inspiration. Happy baking!
Variations on Vintage BTS Cake
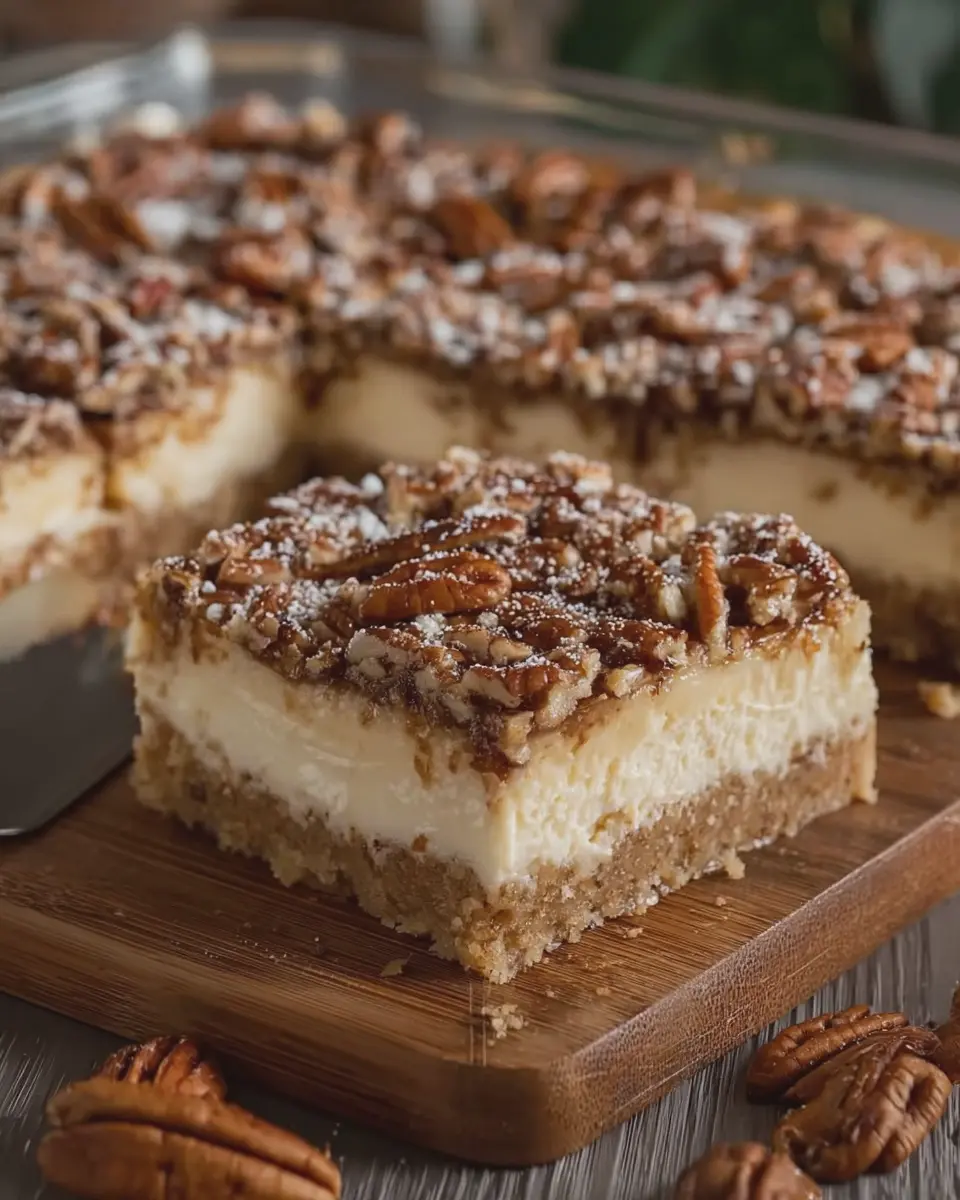
Layered vintage BTS cake with different flavors
Let’s face it: one flavor might not be enough to satisfy a crowd! Creating a layered vintage BTS cake allows for a fun combination of flavors that can reflect your personal taste or the preferences of your guests. Why not try:
- Chocolate and Vanilla Combo: Alternate rich chocolate layers with classic vanilla, topped with a chocolate ganache.
- Strawberry and Lemon: For a bright twist, layer sweet strawberry and zesty lemon cakes, finished with a light cream cheese frosting.
- Caramel and Coffee: Indulge in a decadent experience by layering caramel-flavored cakes with a coffee-infused frosting—perfect for a brunch gathering.
The beauty of this approach is that you can mix and match flavors based on what you have on hand or what’s in season. Plus, it adds that vintage flair to your presentation!
Gluten-free version of vintage BTS cake
Having dietary restrictions shouldn’t mean you miss out on the delightful vintage BTS cake experience. Making a gluten-free version is simpler than you’d think.
Consider using:
- Almond Flour: This gives your cake a rich, moist texture. Just make sure to adjust liquid ingredients accordingly!
- Coconut Flour: For a tropical twist, incorporate coconut flour, but remember this absorbs moisture quickly, so you’ll need to add a bit more liquid to your batter.
While substituting ingredients, look to resources such as the Gluten-Free Baking Academy for expert tips on ratios and additional flavor bursts.
So, whether you’re crafting a layered masterpiece or seeking a gluten-free alternative, there’s a vintage BTS cake variation perfect for every palate. Happy baking!
Baking Notes for Vintage BTS Cake
Tips for Achieving the Perfect Bake
Baking a vintage BTS cake can be a delightful yet challenging experience. Here are some tips to ensure your creation turns out beautifully every time.
-
Measure Ingredients Accurately: Precision is key. Use a digital scale for dry ingredients and liquid measuring cups for wet ones. This ensures your ratios are spot on, leading to a well-structured cake.
-
Room Temperature Ingredients: Let your butter, eggs, and any dairy sit out for about 30 minutes before mixing. This step helps them incorporate more easily for a fluffy texture.
-
Don’t Overmix: It’s tempting to whip that batter until smooth, but overmixing can lead to a dense cake. Mix just until combined for that light, airy bite.
-
Preheat the Oven: Make sure to preheat your oven to the right temperature before you start baking. An uneven oven can affect your cake’s rise.
-
Test for Doneness: Use a toothpick; if it comes out clean or with a few crumbs, your cake is ready.
Armed with these tips, your vintage BTS cake is sure to impress—happy baking! For more essential baking wisdom, check out the American Baking Association’s resources for fun and innovative techniques.
Serving Suggestions for Vintage BTS Cake
When it comes to enjoying your vintage BTS cake, there are endless delightful ways to elevate this charming dessert into a true experience. Here are a couple of ideas that will surely impress your guests and satisfy your sweet tooth!
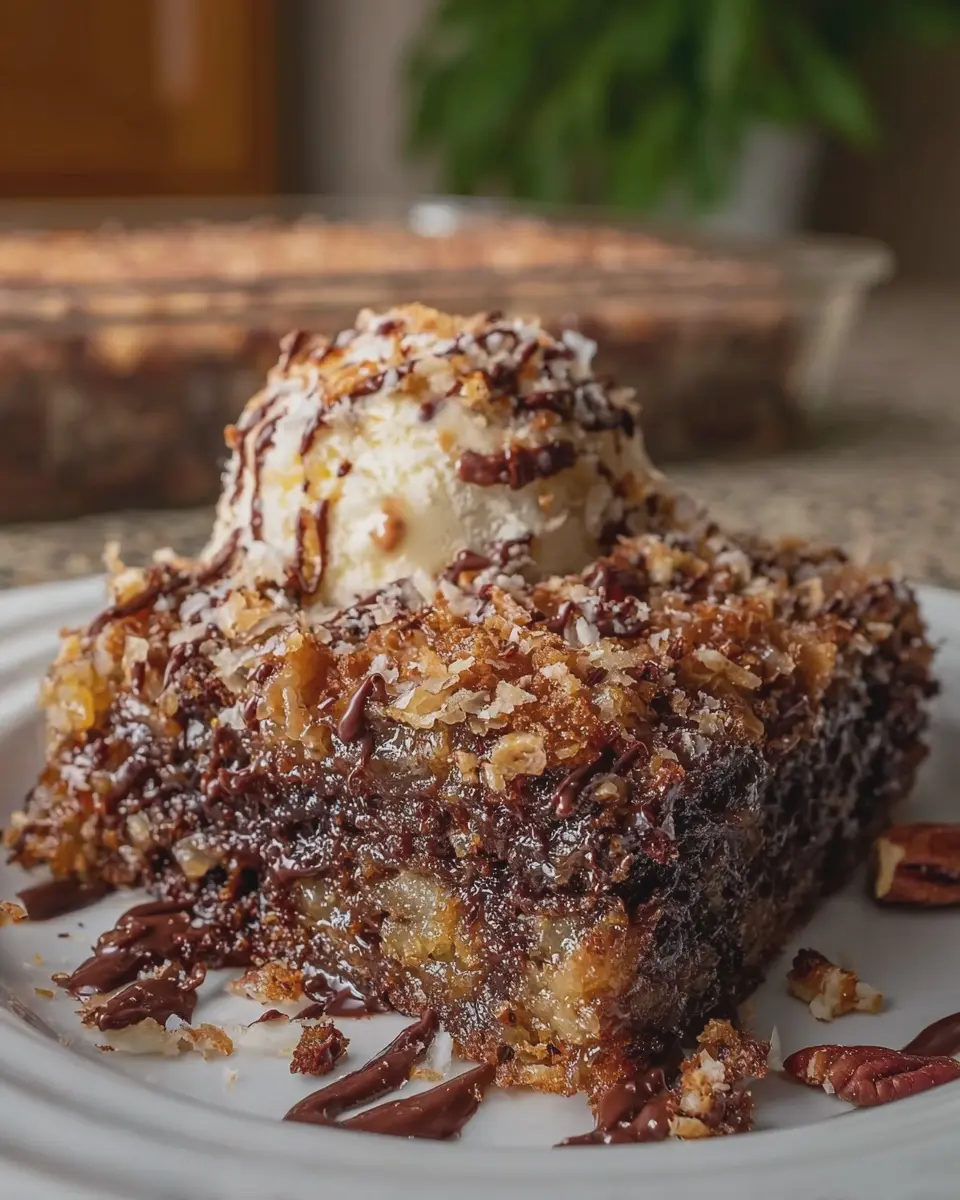
Pairing with Ice Cream or Coffee
Imagine slicing into that beautifully layered cake, with its rich flavors and moist texture. The first way to enhance this experience is by pairing it with some creamy ice cream. A classic vanilla or even a fruity sorbet can create a lovely contrast to the cake’s sweetness. Alternatively, for the coffee lovers out there, a freshly brewed cup of rich coffee can provide a wonderful balance. The bitter notes of the coffee meld beautifully with the cake’s sweetness, creating an irresistible duo.
Feel free to experiment too! A scoop of salted caramel ice cream or a spiced chai latte could add an exciting twist to your dessert moment. For more pairing ideas, check out resources like Serious Eats for expert recommendations.
No matter how you choose to serve it, the vintage BTS cake is sure to be a showstopper, bringing smiles and sweet memories to your table.
Tips for Making Perfect Vintage BTS Cake
Creating a vintage BTS cake is a delightful journey, but it’s important to sidestep common pitfalls to achieve that perfect bake. Here are some tips to help you avoid mistakes and make your cake the center of attention at any celebration.
Common Mistakes to Avoid in Baking
-
Misjudging Ingredients: Precision is key in baking. Use a kitchen scale for your dry ingredients and measure wet ingredients in liquid measuring cups. An extra tablespoon of flour can make your cake dense.
-
Skipping Room Temperature Ingredients: Cold eggs or butter can lead to an uneven batter. Take your eggs and butter out of the fridge about 30 minutes before you start baking.
-
Overmixing the Batter: It can be tempting to mix until perfectly smooth, but overmixing can develop gluten, resulting in a tough cake. Mix just until combined for that soft, velvety texture.
-
Neglecting Oven Temperature: Preheat your oven and use an oven thermometer to ensure accuracy. A too-hot oven can cause the cake to rise rapidly and then collapse.
-
Not Testing for Doneness: Instead of relying solely on baking time, test with a toothpick or cake tester. It should come out clean or with just a few crumbs attached.
For more insights on baking techniques, check out The Culinary Institute of America for expert advice. Remember to keep some of these tips handy as you embark on your vintage BTS cake adventure! Happy baking!
Time details for Vintage BTS Cake
Preparation time
Getting ready for your vintage BTS cake is a breeze! You’ll want to set aside about 20-25 minutes for this step. This time includes gathering your ingredients, measuring them out, and mixing everything together. It’s perfect for a cozy weekend afternoon when you want to indulge in some baking therapy.
Baking time
Once your batter is ready, pour it into your prepared pans and slide them into the oven. The baking time typically ranges from 25-30 minutes. It’s the moment where your kitchen transforms into a heavenly aroma haven, and you can almost taste the deliciousness.
Total time
In total, from prep to plating, you’ll be looking at approximately 55-60 minutes. Perfect for those who may want to indulge in a sweet treat during a quick break from work. If you’re feeling adventurous, consider pairing your vintage BTS cake with a refreshing homemade lemonade for a delightful afternoon!
For further baking tips and tricks, check out resources like King Arthur Baking or Serious Eats for inspiration. Happy baking!
Nutritional information for Vintage BTS Cake
When indulging in a slice of Vintage BTS Cake, it’s essential to know what you’re treating yourself to without going overboard. Here’s a quick breakdown of its nutritional value.
Calories
Each slice contains approximately 300 calories, making it a delightful but moderate treat for special occasions.
Sugar content
With about 20 grams of sugar per serving, it satisfies your sweet tooth without being overly sugary. It’s a perfect dessert for those who still want to enjoy a little sweetness in their lives!
Key nutrients
Not only is this vintage BTS cake delicious, but it also packs some nutritional benefits:
- Protein: Around 3 grams, thanks to the eggs and milk.
- Fiber: Approximately 1 gram, primarily from the flour and any fruits you might add.
- Vitamins: It can even contain vitamins like B12 and D, depending on your chosen ingredients.
For a deeper dive into nutritional benefits, check out sources like the USDA FoodData Central for comprehensive data on ingredients. Enjoy your cake guilt-free, knowing that it’s a delightful balance of taste and nutrition!
FAQs about Vintage BTS Cake
Can I substitute ingredients in the vintage BTS cake?
Absolutely! One of the beauties of baking is that it allows for flexibility. If you’re out of a specific ingredient for your vintage BTS cake, here are some popular substitutions:
- Flour: You can swap all-purpose flour for a gluten-free blend if needed.
- Butter: Unsalted butter can be substituted with coconut or vegetable oil for a dairy-free option.
- Sugar: If you’re looking to reduce sugar, consider using honey or a natural sweetener like maple syrup—just adjust the liquid ratios accordingly.
Feel free to experiment, but remember that baking is part science, so too many substitutions might impact the result.
How do I store leftover vintage BTS cake?
Storing your leftover vintage BTS cake properly will keep it fresh for longer. Here’s the best approach:
- Room Temperature: If consumed within a couple of days, you can cover the cake with plastic wrap or a cake dome and let it sit at room temperature.
- Refrigeration: For longer storage, wrap it in plastic wrap and place it in the fridge. This will help to maintain moisture.
- Freezing: You can also freeze individual slices in airtight containers for up to three months. Just allow them to thaw overnight in the fridge before enjoying.
Can I modify this recipe for dietary restrictions?
Yes! The vintage BTS cake can be easily modified for various dietary needs:
- Vegan Options: Use flax eggs or applesauce instead of regular eggs and opt for plant-based milk.
- Low Carb: Consider almond flour or coconut flour as a substitute for regular flour if you’re on a low-carb diet.
- Nut-Free: If you have nut allergies, ensure you use nut-free alternatives for any nut products.
Always read labels to avoid hidden ingredients. You can also explore reliable resources like The Vegan Society or Celiac.org for more tips on baking for specialty diets.
By staying creative, you can enjoy baking and savoring your vintage BTS cake no matter your dietary preferences!
Conclusion on Vintage BTS Cake
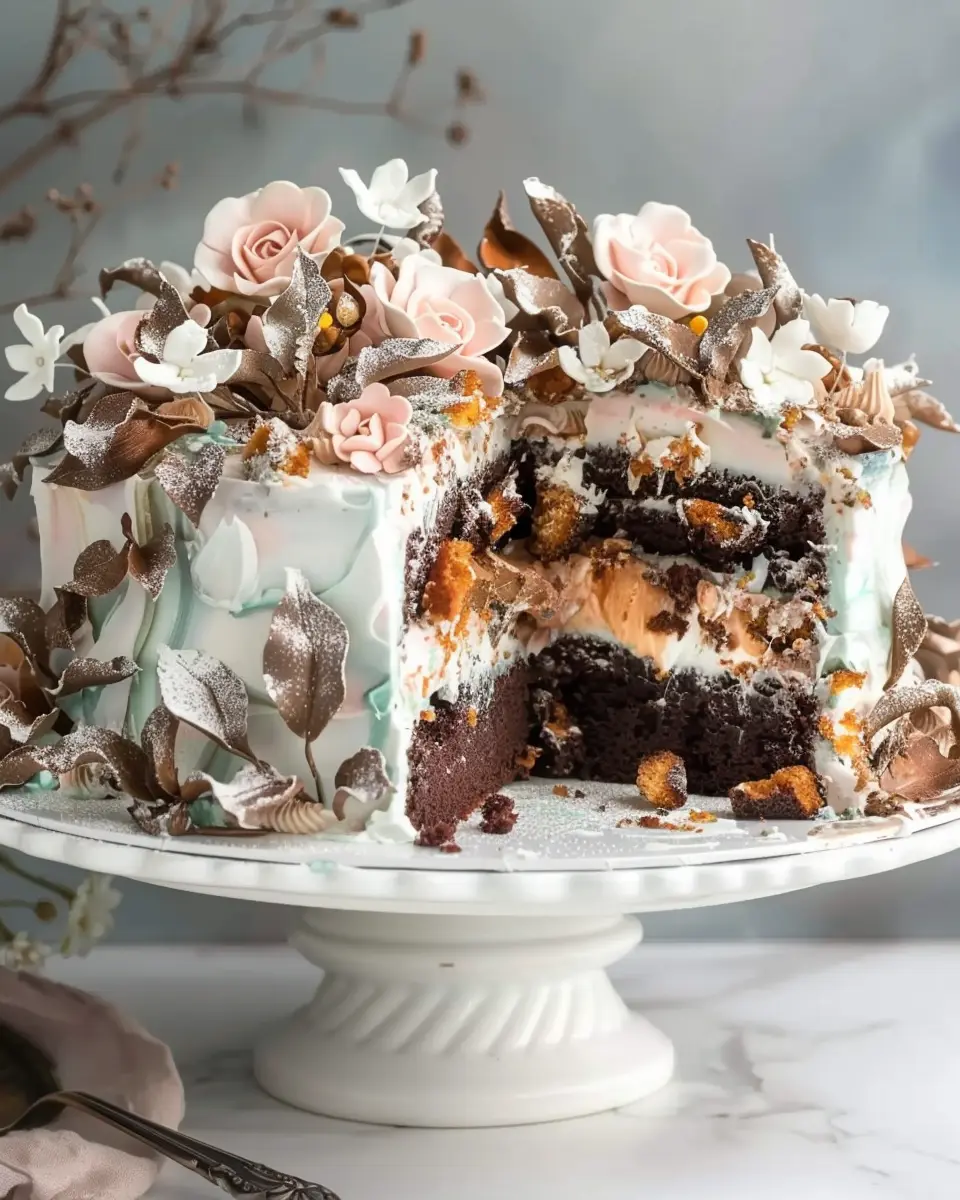
Why this cake deserves a spot in your recipe arsenal
The vintage BTS cake isn’t just a dessert; it’s a celebration of flavors and nostalgia. Its rich layers and moist texture make it perfect for birthdays, anniversaries, or even a cozy weekend treat. Each bite tell a story, evoking memories of simpler times while impressing friends with its delightful appearance.
When you serve this cake, you’re not just offering food; you’re creating moments. Share it at gatherings, and watch how it sparks conversations about tastes and traditions. Plus, the beauty of this recipe is its versatility—you can customize it to match the occasion.
Interested in exploring more classic desserts? Check out sites like Taste of Home or Serious Eats for additional inspiring ideas. Embrace the charm of the vintage BTS cake, and let your culinary journey begin!
PrintVintage BTS Cake: Indulge in a Whimsical Treat for Any Occasion
Indulge in a whimsical treat with this Vintage BTS Cake, perfect for any occasion.
- Prep Time: 30 minutes
- Cook Time: 30 minutes
- Total Time: 1 hour
- Yield: 12 servings 1x
- Category: Dessert
- Method: Baking
- Cuisine: American
- Diet: Vegetarian
Ingredients
- 2 cups all-purpose flour
- 1 ½ cups granulated sugar
- ½ cup unsalted butter
- 1 cup milk
- 3 large eggs
- 2 teaspoons vanilla extract
- 1 tablespoon baking powder
- ½ teaspoon salt
- food coloring (various colors for decoration)
Instructions
- Preheat your oven to 350°F (175°C).
- In a large bowl, cream together the butter and sugar until light and fluffy.
- Add the eggs one at a time, mixing well after each addition.
- Stir in the vanilla extract.
- In another bowl, mix the flour, baking powder, and salt.
- Gradually add the dry ingredients to the creamed mixture, alternating with the milk.
- Mix until just combined.
- Divide the batter into separate bowls and add food coloring to each for a colorful effect.
- Pour the colored batters into prepared cake pans.
- Bake for 25-30 minutes or until a toothpick comes out clean.
- Allow to cool before decorating.
- Decorate with your favorite frosting and additional edible decorations.
Notes
- Ensure that all ingredients are at room temperature for better mixing.
- Experiment with different colors for a fun, vibrant cake.
Nutrition
- Serving Size: 1 slice
- Calories: 350
- Sugar: 30g
- Sodium: 200mg
- Fat: 15g
- Saturated Fat: 8g
- Unsaturated Fat: 5g
- Trans Fat: 0g
- Carbohydrates: 45g
- Fiber: 1g
- Protein: 4g
- Cholesterol: 60mg
Keywords: Vintage BTS Cake, whimsical cake, decorative cake