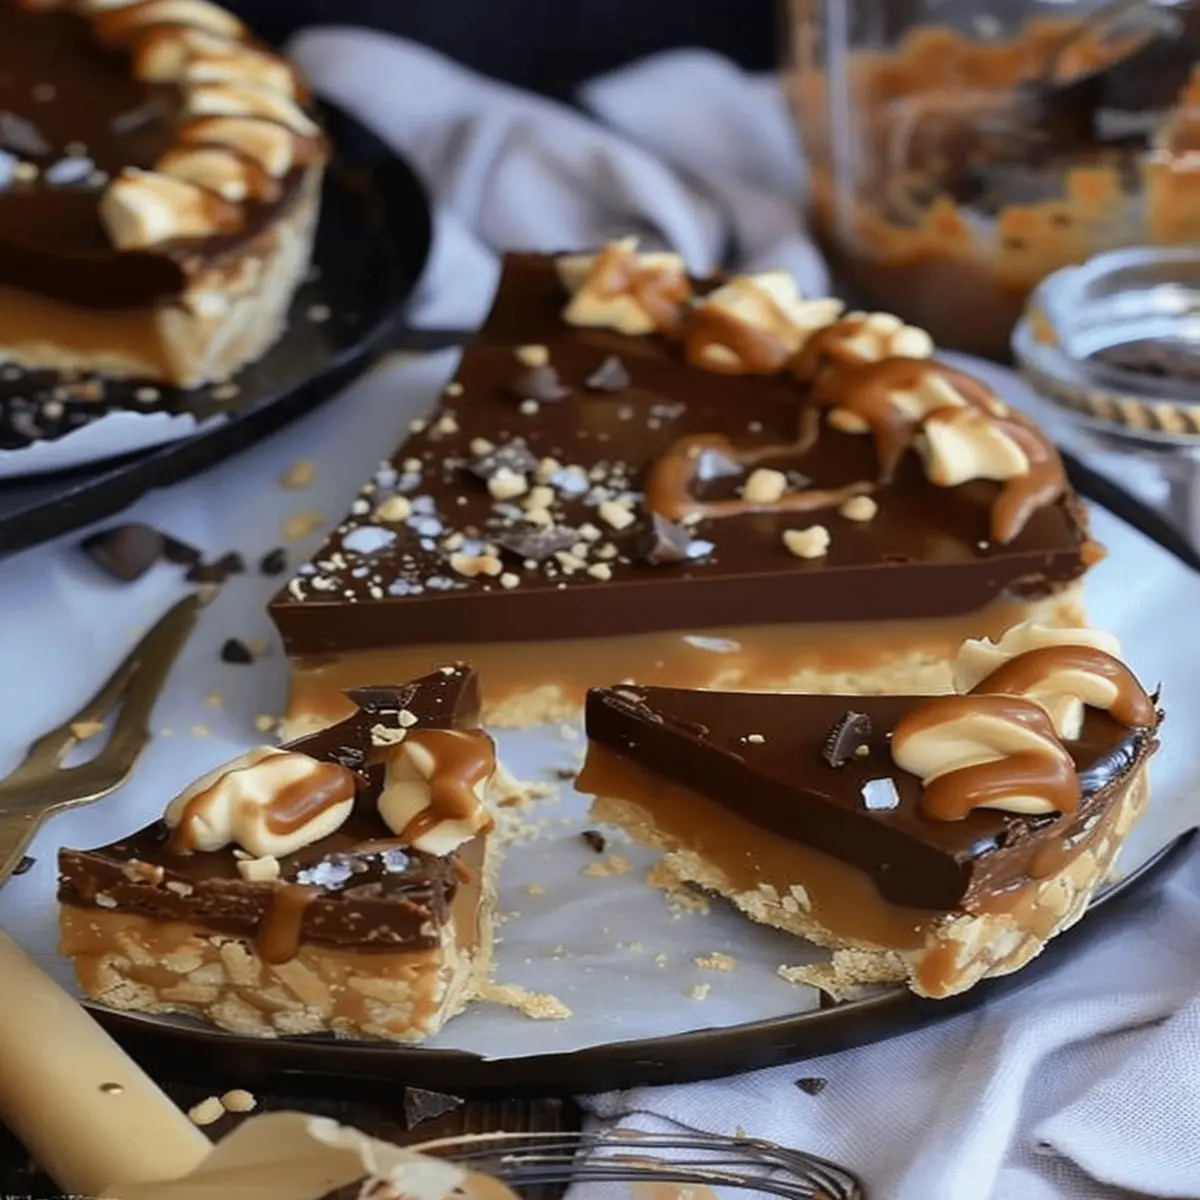
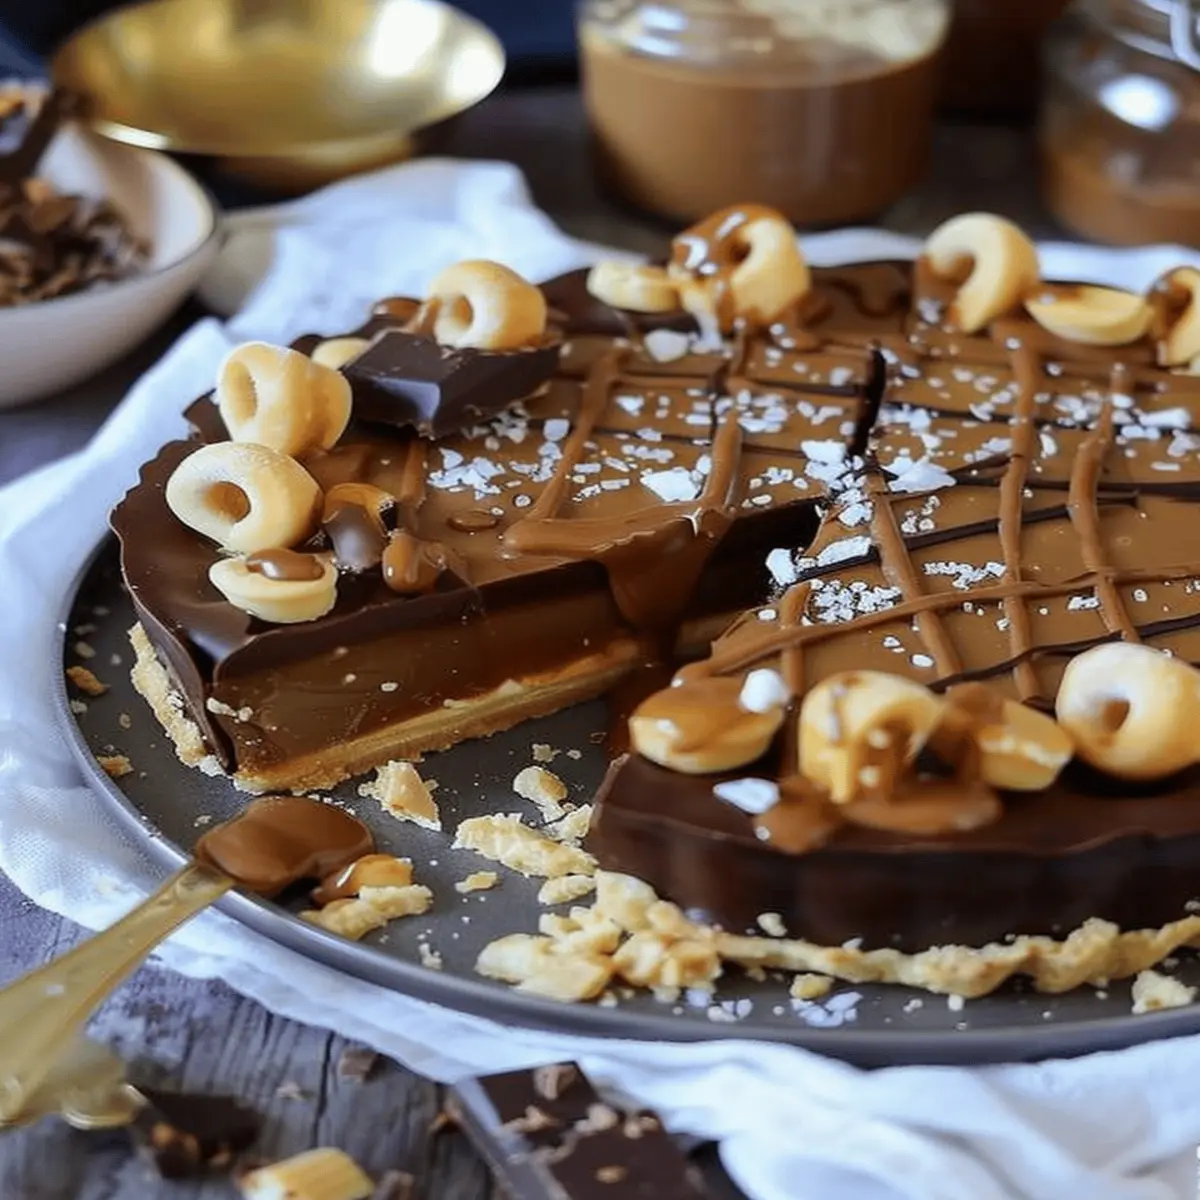
Introduction to Salted Caramel Chocolate Tart
If you’ve been on the dessert scene for a while, you’ve probably witnessed the sweet and salty love affair taking over our taste buds. One of the standout stars of this flavor combination is none other than the decadent salted caramel chocolate tart. This delightful dessert beautifully balances rich chocolate with a luscious caramel topping, seasoned just right with a sprinkle of sea salt. It’s a showstopper that’s perfect for both special occasions and cozy nights at home.
The Sweet and Salty Love Affair of Flavors
Why is it that we’re so drawn to the pairing of sweet and salty? Science suggests that it’s a delightful dance of flavors on our palate that sparks joy and comfort. According to researchers at the Institute of Food Technologists, the combination triggers our brain’s reward system, making us crave more. That’s why a slice of salted caramel chocolate tart can feel like pure bliss, delivering that undeniable hit of happiness with every mouthful.
Imagine sinking your fork into a velvety chocolate filling, only to discover a layer of gooey caramel that perfectly harmonizes with a hint of salt. Each bite is an interplay of textures and temperatures, from the crispy tart shell to the creamy filling. It’s no wonder this dessert has become a favorite around dining tables and in dessert bars alike.
Getting Started with Salted Caramel Chocolate Tart
Creating this indulgent treat is easier than you might think. With a few basic ingredients and some love in the kitchen, you can impress your friends or treat yourself after a long day. Plus, it’s a great way to explore your culinary skills, as this recipe allows for both creativity and expression in dessert-making.
If you’re excited to give this a try, make sure to gather these essential components:
- High-quality dark chocolate
- Creamy butter
- Granulated sugar for that perfect caramel texture
- A pinch of sea salt to elevate the flavors
So, are you ready to embark on this scrumptious baking adventure? Let’s dive into the details of how to craft your own exquisite salted caramel chocolate tart!
Ingredients for Salted Caramel Chocolate Tart
Basic ingredients you’ll need
If you’re dreaming of a decadent salted caramel chocolate tart, let’s first gather the essential ingredients that will bring your confection to life. You’ll need:
-
For the crust:
-
1 ½ cups all-purpose flour
-
½ cup unsweetened cocoa powder
-
¼ teaspoon salt
-
½ cup unsalted butter, chilled and diced
-
⅓ cup powdered sugar
-
1 egg yolk
-
2 tablespoons cold water
-
For the filling:
-
200g dark chocolate (70% or higher for best flavor)
-
1 cup heavy cream
-
½ cup granulated sugar
-
½ cup homemade or store-bought salted caramel sauce
-
A pinch of sea salt for garnish
These basic ingredients will create the foundation of your tart, leading to a mouth-watering dessert that will wow friends and family.
Optional ingredients for that extra flair
Once you’ve nailed the basics, you might want to elevate your salted caramel chocolate tart with a few optional ingredients:
-
Flavor Enhancers:
-
1 teaspoon vanilla extract for added depth
-
A splash of espresso or coffee to enhance the chocolate richness
-
Textural Elements:
-
Chopped nuts (like pecans or hazelnuts) for crunch
-
Sea salt flakes for an upscale finishing touch
Getting creative with these additions can make a significant difference, adding that personal touch to your tart. Remember, baking is as much about flavors as it is about fun! For more tart ideas, check out resources like BBC Good Food for inspiration.
Step-by-Step Preparation of Salted Caramel Chocolate Tart
Creating a salted caramel chocolate tart may sound intimidating, but don’t worry—I’m here to guide you through each step with care and enthusiasm. This dessert is not just a treat; it’s an experience. Let’s get started!
Step 1: Prepare the Tart Crust
A flaky, buttery crust forms the foundation of our tart, setting the stage perfectly for the decadent chocolate and caramel.
Ingredients:
- 1 ½ cups all-purpose flour
- ½ cup powdered sugar
- ½ cup unsalted butter, chilled and cubed
- 1 egg yolk
- A pinch of salt
Instructions:
- In a large mixing bowl, whisk together the flour, powdered sugar, and salt.
- Add the cubed butter and use a pastry cutter or your fingers to blend until the mixture resembles coarse crumbs.
- Stir in the egg yolk until the dough comes together. If it’s too crumbly, add a teaspoon of cold water.
- Shape the dough into a disk, wrap it in plastic wrap, and chill in the refrigerator for at least 30 minutes.
Why chill the dough? This crucial step helps to prevent shrinkage during baking. Trust me, a well-chilled dough leads to a perfect tart shell.
Step 2: Create the Luscious Salted Caramel
Now, onto the moment you’ve been waiting for: that luscious salted caramel!
Ingredients:
- 1 cup granulated sugar
- 6 tablespoons unsalted butter, cubed
- ½ cup heavy cream
- 1 teaspoon sea salt
Instructions:
- In a medium saucepan over medium heat, melt the sugar, stirring constantly until it turns a deep amber color—about 8-10 minutes. Keep a close eye; sugar can go from golden to burnt quickly!
- Remove the pan from heat and carefully whisk in the butter until melted.
- Gradually add the heavy cream and continue to whisk until smooth. Be cautious; the mixture will bubble up.
- Stir in the sea salt to taste. Set aside to cool.
This salted caramel adds that delicious contrast to the rich chocolate, providing a taste explosion that’s utterly rewarding.
Step 3: Melt the Chocolate for the Ganache
A smooth chocolate ganache is the crowning glory of your salted caramel chocolate tart.
Ingredients:
- 8 ounces dark chocolate (at least 70% cocoa)
- 1 cup heavy cream
Instructions:
- Chop the dark chocolate into small pieces and place it in a heatproof bowl.
- Heat the heavy cream in a saucepan until just boiling, then pour it over the chopped chocolate.
- Allow it to sit for a minute, then stir gently until fully combined and silky smooth.
Using high-quality chocolate will yield the most luxurious ganache—feel free to use chocolate with different flavor profiles if you’re adventurous!
Step 4: Assemble the Tart Layers
With all components ready, it’s time to bring your salted caramel chocolate tart together!
Instructions:
- Preheat your oven to 350°F (175°C).
- Roll out the chilled dough and press it into a tart pan. Prick the bottom with a fork to prevent bubbling.
- Bake for about 20 minutes or until golden brown. Let it cool completely.
- Pour the salted caramel into the cooled tart shell, followed by the chocolate ganache on top.
This layering creates an irresistible visual contrast and texture when sliced. Don’t forget to sample each layer along the way to ensure perfection!
Step 5: Chill and Set the Tart
Patience is key!
Instructions:
- Place the assembled tart in the fridge for at least 2 hours to set.
- Once set, you can garnish the tart with flaky sea salt or chocolate shavings for that extra touch.
Enjoying this salted caramel chocolate tart becomes a ritual as you slice into it, revealing those beautiful layers—a showstopper of a dessert you can be proud of.
As you savor each bite, remember this tart is a creation of love, patience, and a little bit of culinary flair! For in-depth baking tips, you can explore sources like King Arthur Baking or Serious Eats for more baking inspiration. Enjoy your sweet journey!

Variations on Salted Caramel Chocolate Tart
Nutty Salted Caramel Chocolate Tart
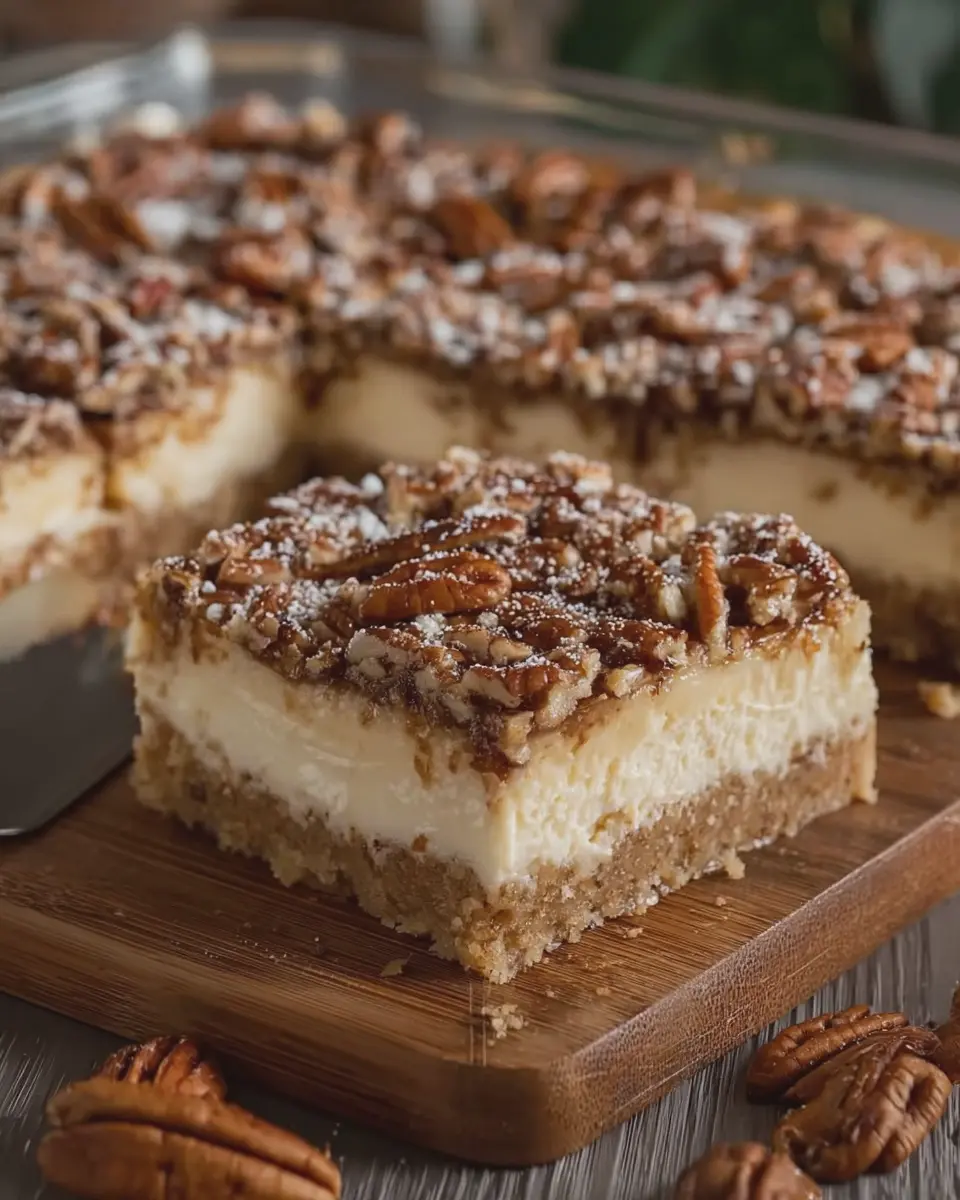
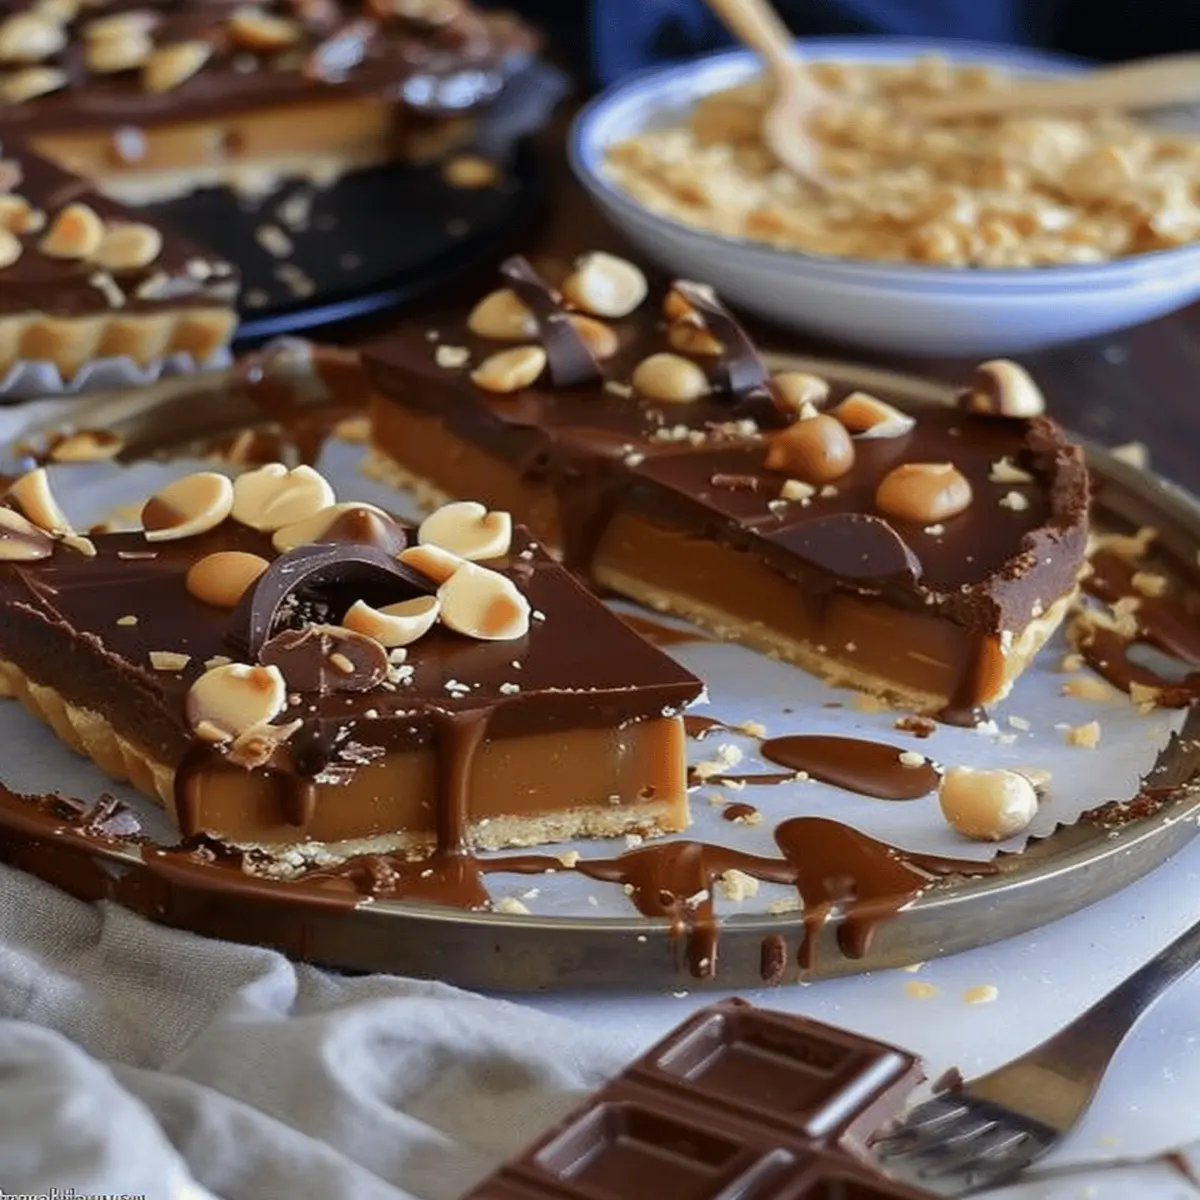
If you’re a fan of both salted caramel and nuts, you absolutely must try a nutty twist on the classic salted caramel chocolate tart. Imagine the rich, creamy chocolate paired with the crunch of toasted nuts.
- Nut Choices: Consider using pecans, hazelnuts, or even cashews for that delightful crunch and flavor enhancement. Simply toss your nuts in a bit of melted butter and a sprinkle of sea salt before adding them to the tart.
- Optional Features: You can also incorporate nut flours into the crust for an extra layer of texture. A combination of almond flour and all-purpose flour results in a beautiful, flavorful base. Check out this resource on nut flour substitutes for more ideas to elevate your tart.
Not only does it taste divine, but it also adds an impressive visual appeal. Who doesn’t want a dessert that looks as good as it tastes?
Vegan Salted Caramel Chocolate Tart
For our plant-based friends, a vegan salted caramel chocolate tart is an absolute must-try! This version is just as indulgent, ensuring no one feels left out at dessert time.
- Ingredient Swaps: Replace traditional dairy with coconut milk or cashew cream for that luscious, creamy texture. For the chocolate filling, opt for dairy-free chocolate chips, which are increasingly available at most grocery stores.
- Sweeteners: Use maple syrup or agave nectar for the caramel, adding a subtle depth of flavor. Not only are these options vegan, but they’re also unrefined sugars, making for a healthier dessert!
Experimenting with these variations not only broadens your culinary horizons but also makes hosting or sharing with friends much more inclusive. So, why not give one (or both) of these variations a whirl? Your taste buds will thank you!
Cooking Tips and Notes for Salted Caramel Chocolate Tart
Common pitfalls and how to avoid them
Making a salted caramel chocolate tart can seem intimidating, but it doesn’t have to be. Here are a few common issues you might encounter and some simple ways to sidestep them:
- Grainy caramel: If your caramel seizes up, try stirring it gently instead of vigorously, and maintain a steady temperature. Using a high-quality thermometer can also help you get it just right.
- Soggy crust: Pre-baking your tart crust (also known as blind baking) is key. Remove it from the oven when it starts to turn golden—this will help maintain its structure when you add that decadent filling.
For more expert tips, this guide from Serious Eats can illuminate the subtleties of caramel making.
How to achieve the perfect drizzle
A beautiful drizzle of warm salted caramel over your tart not only adds flavor but also elevates presentation. To get it right:
- Use a squeeze bottle or a spoon to control the flow.
- Make sure your caramel is slightly warm; if it’s too cool, it won’t flow nicely.
- Drizzle from a height to create that artistic flair.
Remember, practice makes perfect! Happy baking!
Serving Suggestions for Salted Caramel Chocolate Tart
Pairing with Ice Cream or Whipped Cream
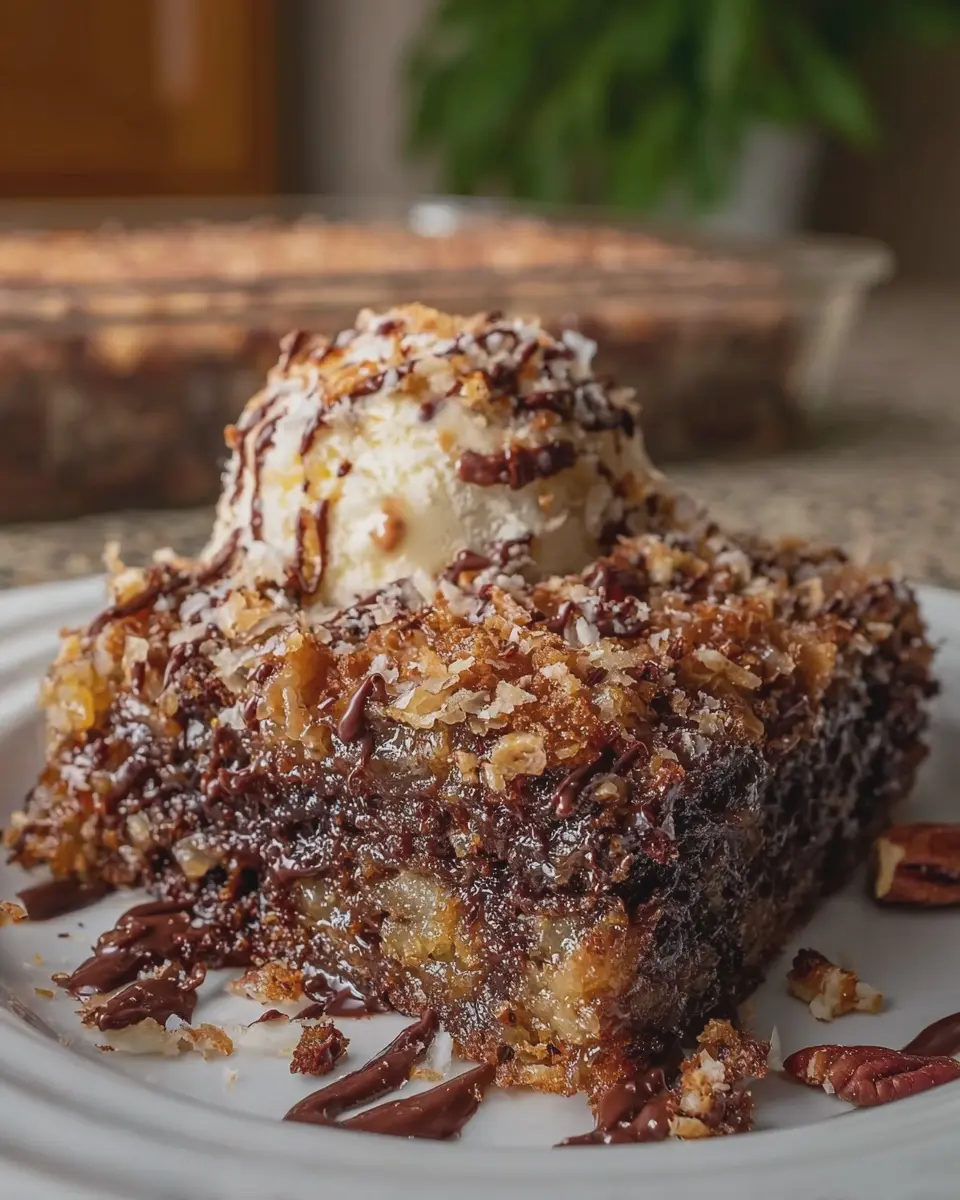
Elevate your salted caramel chocolate tart experience by serving it with a side of creamy goodness. A scoop of vanilla ice cream or a dollop of freshly whipped cream can balance the rich, intense flavors of the tart. The cold contrasting with the warmth of the tart creates a delightful textural experience. Consider artisanal ice creams like salted caramel or coffee for a luxurious twist. Did you know that pairing dessert with ice cream can make flavors pop? According to Food Pairing, complementary flavors can enhance the overall enjoyment of your dish.
Creative Garnishing Ideas
Garnishing can turn a simple dessert into a stunning centerpiece. Here are a few ideas to inspire your creativity:
- Sea Salt Flakes: Sprinkle a few extra grains on top for that salty kick.
- Chocolate Shavings: Use a vegetable peeler on a chocolate bar to create elegant shavings.
- Caramel Drizzle: Pour a bit of warmed caramel over each slice just before serving for an eye-catching finish.
- Fresh Berries: A handful of raspberries or strawberries adds a vibrant color contrast and a tart freshness.
By adding these touches, you not only appeal to the eyes but also enrich the flavor profile of your salted caramel chocolate tart. Try them out and see the difference!
Time Breakdown for Salted Caramel Chocolate Tart
Preparation time
Creating a luscious salted caramel chocolate tart starts with a bit of prep! You’ll need about 30 minutes to gather your ingredients and put together the crust. Allowing everything to come together smoothly makes such a difference, and trust me, the anticipation only adds to the experience.
Cooking time
The baking time for your tart is around 25-30 minutes. During this time, the aroma of melting chocolate and warming caramel will fill your kitchen—it’s like a cozy hug. If you’re new to baking, don’t fret! Keeping an eye on the timer will ensure perfection without any burnt edges.
Total time
All in all, you’re looking at about 1 hour to whip up this delightful tart, plus some chilling time for the caramel to set. This gives you the perfect opportunity to tidy up your kitchen or prepare a quick cup of coffee. Who wouldn’t want to enjoy a warm cup while waiting for such a scrumptious treat to finish?
For more tips on perfecting caramel techniques, you might find this article on the science of caramelization useful!
Nutritional Facts for Salted Caramel Chocolate Tart
Calories per serving
When you indulge in a slice of salted caramel chocolate tart, it’s always nice to know what you’re treating yourself to. Each serving typically contains around 350 calories. Now, for those moments when a little sweetness is just what you need, this tart offers a balance of rich flavors without going over the top.
Key nutrients to note
This decadent dessert not only satisfies your sweet tooth but also brings in some essential nutrients:
- Fat: Primarily from the chocolate and crust, which provides energy.
- Carbohydrates: Sourced from the sugar and flour, fueling your day.
- Protein: A small amount can come from the eggs and chocolate, contributing to satiety.
Curious about how desserts can fit into a balanced diet? Check out resources like Harvard Health for helpful insights. Remember, moderation is key, and enjoying your salted caramel chocolate tart as an occasional treat can be part of a healthy lifestyle!
FAQs about Salted Caramel Chocolate Tart
How can I store my salted caramel chocolate tart?
Storing your salted caramel chocolate tart properly ensures that it stays fresh and delicious. Here are some tips:
- Refrigeration: It’s best to keep your tart in the fridge if you’re not consuming it right away. Cover it with plastic wrap or place it in an airtight container to maintain its flavor and texture.
- Freezing: If you’ve made it in advance, feel free to freeze your tart! Wrap it well in plastic wrap and then in foil. When you’re ready to enjoy, simply transfer it to the fridge to thaw overnight.
Note: The tart is usually best within the first 3 days, but freezing can keep it for up to a month!
Can I substitute ingredients for dietary restrictions?
Absolutely! Making a salted caramel chocolate tart suitable for various dietary needs can be straightforward:
- Gluten-Free: Swap regular flour for almond flour or a gluten-free blend.
- Dairy-Free: Use a dairy-free chocolate and substitute coconut milk or almond milk for creams.
- Vegan: Explore options like aquafaba for eggs and coconut cream for a luscious texture.
Always check individual ingredient labels for hidden allergens.
For more on ingredient substitutes, resources like The Kitchn are great to explore!
What’s the best way to serve it for a party?
Serving your salted caramel chocolate tart at a gathering can be a showstopper! Here are some ideas:
- Presentation: Garnish with a sprinkle of flaky sea salt and a drizzle of chocolate sauce for that wow factor.
- Serving Size: Cut into small slices—after all, it’s rich and decadent, so a little goes a long way.
- Pairing: Consider serving it with fresh berries or a scoop of vanilla ice cream for a delightful contrast in flavors.
Your guests will surely be talking about this sweet treat long after the party is over!
Conclusion on Salted Caramel Chocolate Tart
Final thoughts on indulging in this dessert delight
Indulging in a salted caramel chocolate tart is like giving yourself a warm hug on a plate. The perfect balance of rich chocolate and sweet-salty caramel makes each bite an experience worth savoring. Whether you’re hosting a dinner party or treating yourself after a long week, this tart shines as a decadent centerpiece.
Remember, great desserts can inspire connection, so share it with friends or family (or keep it all for yourself—the choice is yours!). If you’re eager to elevate that taste even further, consider pairing it with fresh berries or a scoop of vanilla ice cream.
For more culinary inspiration, check out Gastronomer’s Guide for delightful dessert ideas and tips! Happy baking!
PrintSalted Caramel Chocolate Tart: Indulgent Bliss Awaits!

Experience the perfect blend of rich chocolate and sweet salted caramel in this indulgent tart.
- Prep Time: 30 minutes
- Cook Time: 10 minutes
- Total Time: 2 hours
- Yield: 8 servings 1x
- Category: Dessert
- Method: Baking
- Cuisine: American
- Diet: Vegetarian
Ingredients
- 1 1/2 cups chocolate cookie crumbs
- 1/2 cup unsalted butter, melted
- 1 cup granulated sugar
- 1 cup heavy cream
- 1/2 cup light corn syrup
- 1 teaspoon sea salt
- 8 ounces dark chocolate, chopped
- 1 teaspoon vanilla extract
Instructions
- Preheat the oven to 350°F (175°C).
- In a bowl, combine chocolate cookie crumbs and melted butter; press into the bottom of a tart pan.
- Bake for 10 minutes, then let cool.
- In a saucepan, combine sugar, cream, corn syrup, and salt; bring to a boil.
- Remove from heat and stir in chopped chocolate and vanilla until smooth.
- Pour the chocolate mixture into the cooled crust and chill until set.
- Serve chilled, topped with additional sea salt if desired.
Notes
- For a richer flavor, use a combination of dark and milk chocolate.
- Let the tart sit at room temperature for 10 minutes before slicing for easier serving.
Nutrition
- Serving Size: 1 slice
- Calories: 350
- Sugar: 25g
- Sodium: 200mg
- Fat: 22g
- Saturated Fat: 12g
- Unsaturated Fat: 8g
- Trans Fat: 0g
- Carbohydrates: 35g
- Fiber: 2g
- Protein: 4g
- Cholesterol: 50mg
Keywords: Salted Caramel, Chocolate Tart, Dessert