Introduction to Kataifi Dough Kunafa Dough
Kunafa, a beloved Middle Eastern dessert, has a rich and vibrant heritage that dates back centuries. This indulgent treat, primarily made from either thin noodle-like strands of dough or semolina, is celebrated not only for its delightful taste but also for its elegant presentation. With roots in the Levant region, Kunafa has evolved into numerous delightful variations across various cultures, from the Turkish version called Künefe to the Greek Kanafeh. Each region presents its unique spin, utilizing regional flavors, fillings, and techniques, making it a versatile dessert worth exploring.
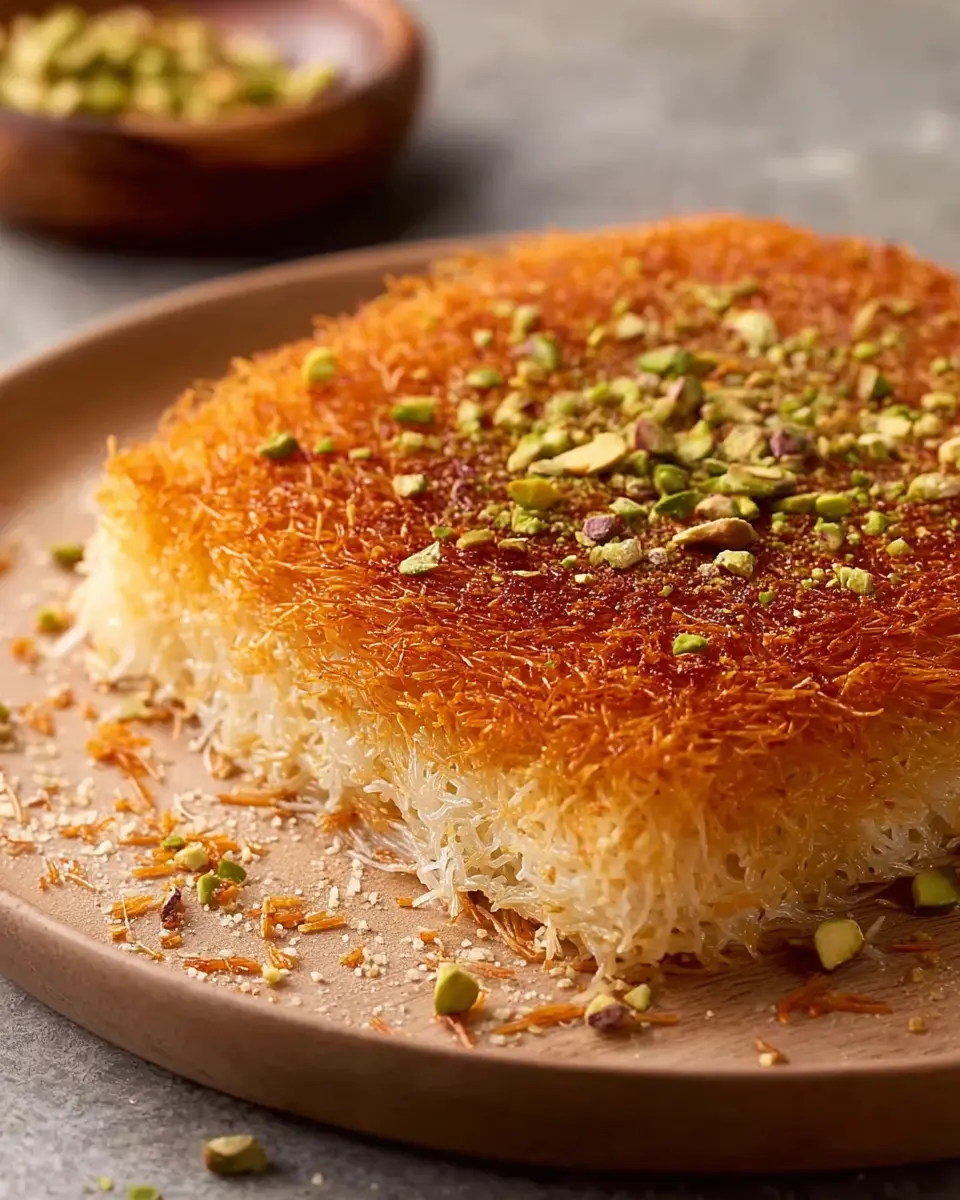
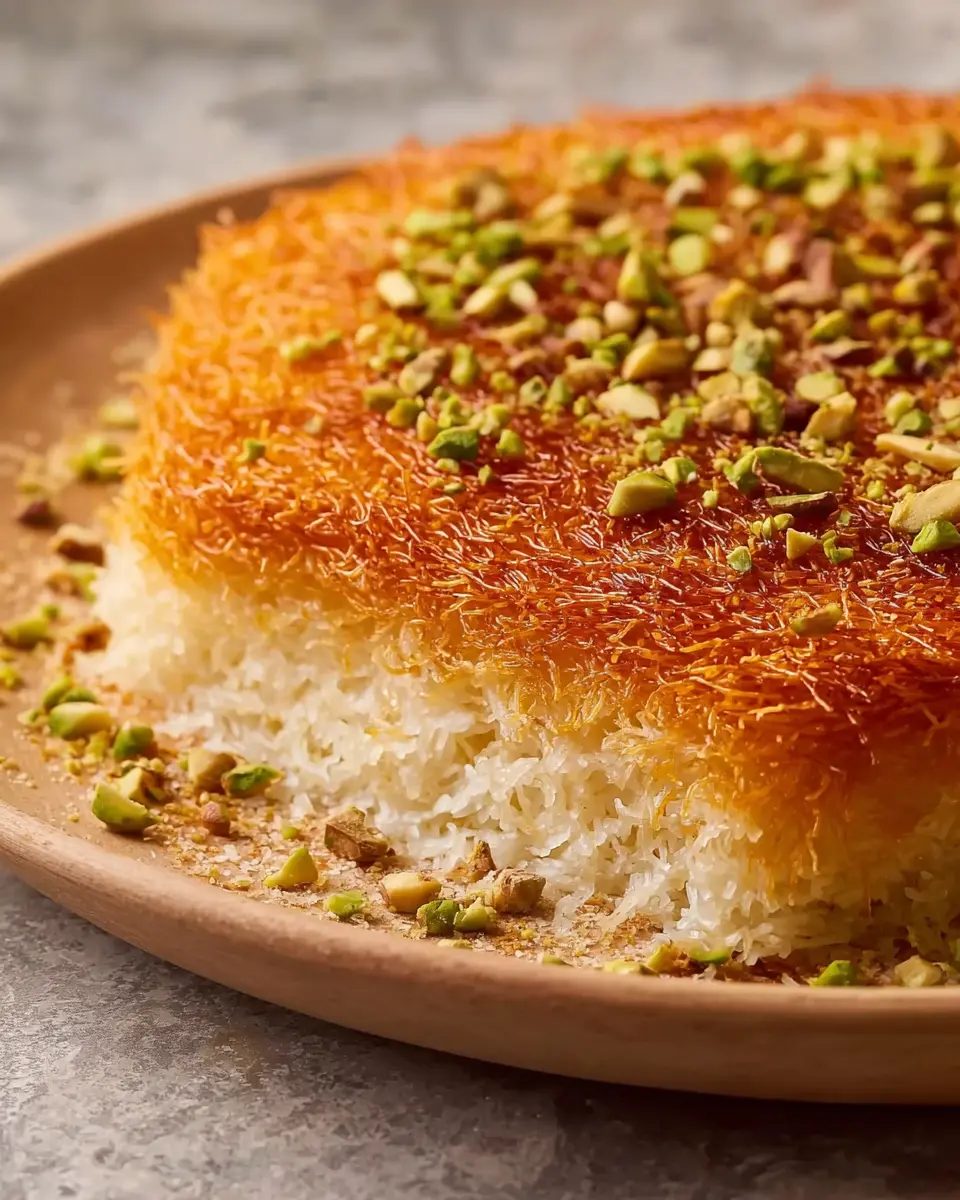
At the heart of many Kunafa recipes is Kataifi dough, a fine, shredded pastry that resembles angel hair pasta. This unique dough allows for an extraordinary texture and a satisfying crunch, especially when baked to golden perfection. The process of creating Kataifi dough can seem daunting, but trust me—once you grasp the fundamentals, you’ll feel like a culinary wizard.
If you’re keen to dive deeper into the heritage of this delectable dessert, consider checking out links on Middle Eastern cuisine from organizations like the James Beard Foundation or services featuring authentic recipes like Medina’s Kitchen. These resources can provide context and further inspiration as you embark on your cooking journey.
The versatility of Kataifi Dough Kunafa Dough lies not only in its texture but also in its potential fillings and toppings. Savory or sweet, the options are endless: from classic cheese and nuts to more adventurous fillings like Turkish delight or rosewater-infused cream. This adaptability is just one reason Kunafa has remained a favorite in households, festivals, and special occasions.
Have you ever had that delightful moment when you uncover a warm slice of Kunafa, oozing with melted cheese and drenched in syrup? It’s an experience that transcends generations and brings people together around the dining table. With this blog series, our aim is to make Kunafa approachable, allowing you to share this delightful journey with friends and family while exploring the art of Kataifi Dough Kunafa Dough. So, roll up your sleeves and let’s get started!
Ingredients for Kataifi Dough Kunafa Dough
Essential ingredients you need
When it comes to creating the perfect Kataifi Dough Kunafa Dough, having the right ingredients is crucial. This dessert is all about texture and flavor, so make sure to gather these essentials before diving in:
- Kataifi Dough: This shredded phyllo dough is the star of your dish, providing that delightful crunch.
- Unsalted Butter: Melted butter is essential for coating the kataifi, delivering that rich taste and helping it to crisp beautifully.
- Water: A little water is necessary for hydrating the dough before baking.
- Sugar: A touch of sugar is added to balance the buttery and crispy elements of your dessert.
- Nuts (optional): Chopped pistachios or walnuts add extra flavor and texture, making your pastry even more indulgent.
Don’t forget to check out sources that dive deeper into the history and variations of kunafa like Taste Atlas or Serious Eats for inspiration.
Remember, the quality of your ingredients can greatly affect the final outcome, so opt for fresh and high-quality options. With these basics, you’re well on your way to creating a delicious kunafa. Happy cooking!
Step-by-step Preparation of Kataifi Dough Kunafa Dough
If you’re craving a delightful dessert with layers of crispy goodness, you’ve landed in the right place! The Kataifi Dough Kunafa Dough is not just a culinary challenge; it’s also a rewarding endeavor that brings a touch of your kitchen to the heart of the Middle East. Let’s walk through the steps to create this intricate dough, bringing you closer to that crispy, delicious treat.
Gather your ingredients
Before diving into the art of making Kataifi Dough Kunafa Dough, ensure you have all your ingredients neatly arranged. This will save you from those frantic moments of searching through your pantry when you’re knee-deep in dough! Here’s what you’ll need:
- 2 cups all-purpose flour
- 1 teaspoon cornstarch
- 1/2 teaspoon salt
- 3/4 cup water
- 1 tablespoon vegetable oil
- 1/4 teaspoon baking soda
- 1 tablespoon lemon juice
Preparation ease is key, so make sure to measure out your ingredients in advance. Everything tastes better when the process is smooth, right?
Mix the batter
Now that your ingredients are ready, it’s time for some mixing magic! Grab a large mixing bowl and combine the flour, cornstarch, salt, and baking soda. Whisk them together to ensure they’re well incorporated.
Next, slowly add in your water and vegetable oil while stirring continuously. The aim is to create a smooth batter without any lumps. If you’re feeling adventurous, you can customize your flavor by adding a splash of rose or orange blossom water, which adds a lovely aroma to your Kataifi Dough Kunafa Dough.
Prepare your squeeze bottle
To achieve those beautiful, delicate strands, a squeeze bottle is a must-have tool. Just any squeeze bottle won’t cut it, though; you’ll need one with a fine tip to allow for precision.
- Fill your squeeze bottle with the prepared batter.
- Be sure to secure the lid tightly to avoid any messy spills.
Having this tool ready will make it easier to create those iconic noodle-like strands essential for this dish.
Heat the pan
Now that your batter is ready and your tool is prepped, let’s warm up the pan!
- Heat a flat non-stick skillet or a special kunafa pan over medium heat.
- You don’t want it too hot; we are going for a gentle cook to create those perfectly crisp strands.
If you have a drop of water handy, try the “water test” — when a drop sizzles, you’re in business!
Create the delicate strands
This is where the fun really begins! With your heated pan and filled squeeze bottle:
- Squeeze the batter into the pan in a zigzag pattern, allowing it to cook for just a minute or two.
- Move the squeeze bottle in a circular or spiral motion to create those beautiful layered strands we all love.
Patience is key here; the thinner the strands, the better the end result. If you’ve created a few thick areas, don’t fret! They will be a little crispy yet delicious.
Transfer and cool the strands
Once you see a beautiful golden-brown hue on your strands, it’s time to transfer them. Gently slide a spatula underneath the cooked dough to remove it from the pan.
- Place the strands on a cooling rack or a plate lined with parchment to let them cool slightly. This is crucial because it helps maintain that signature crunch once you layer them with sweet fillings or syrups.
And there you have it! You’ve just prepared Kataifi Dough Kunafa Dough. With your strands ready, you’re just a step away from bringing your favorite dessert to life. This dough can be filled with different goodies, from nuts to sweet cheese, and drizzled with syrup to satisfy any sweet tooth.
Feeling inspired? Why not look into traditional Middle Eastern desserts to further expand your baking repertoire? Happy cooking!
Variations of Kataifi Dough Kunafa Dough
Kataifi Dough, known for its unique shredded appearance, opens doors to a world of culinary creativity. When it comes to crafting your Kataifi Dough Kunafa Dough, you can play around with both sweet and savory flavors, making this dish incredibly versatile!
Sweet Fillings to Try
When indulging your sweet tooth, consider these delicious fillings:
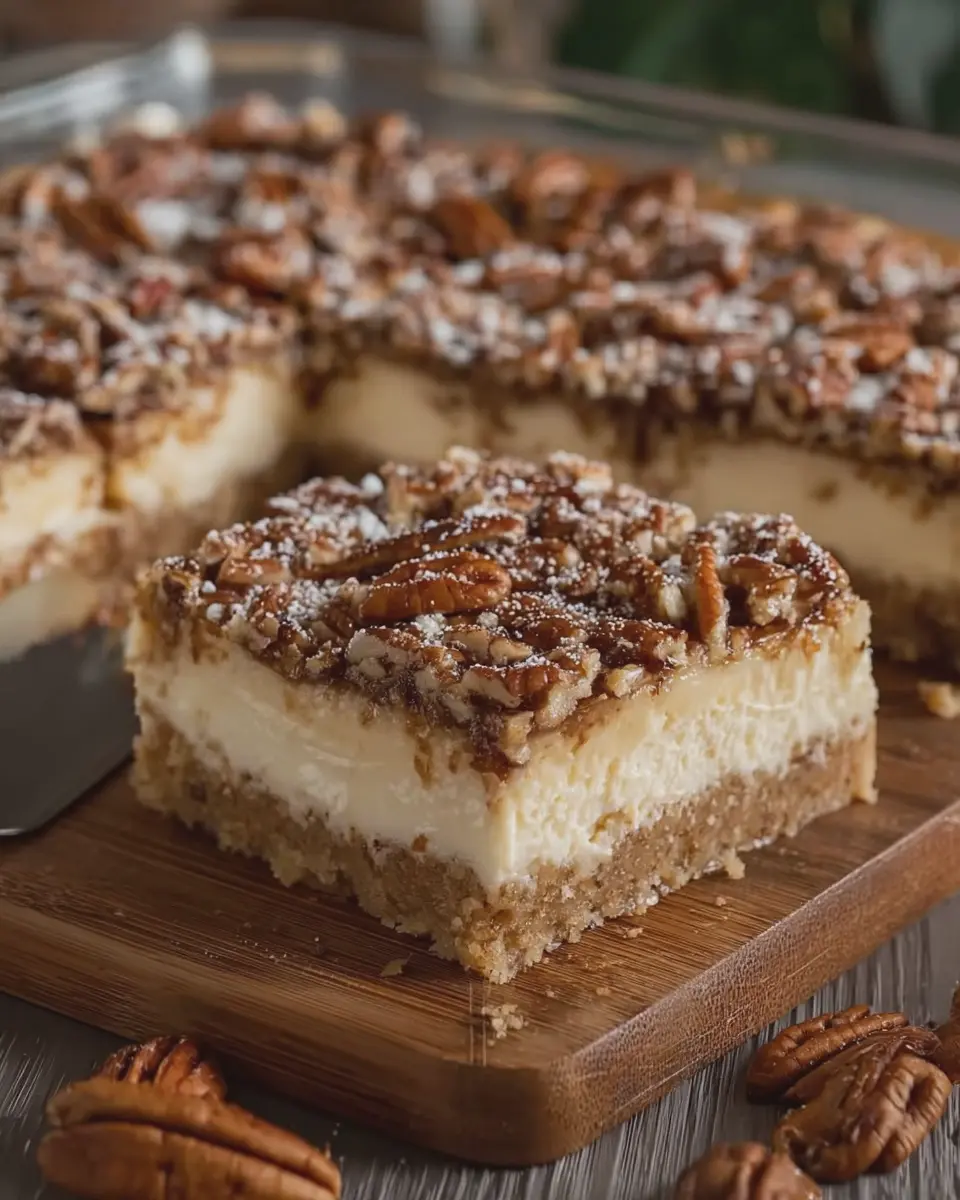
- Nut Mixture: Combine finely chopped pistachios, almonds, and walnuts with sugar and a dash of cinnamon. This classic combination adds fantastic crunch and richness.
- Fruit Preserves: Delve into the realms of fruity delights! Try fillings like apricot, orange blossom, or rosewater-infused fillings for a refreshing twist.
- Chocolate Hazelnut Spread: For a modern take, fill with chocolate hazelnut spread. Pairing the sweetness of chocolate with crispy dough is sure to delight.
- Cheese: Creamy, soft cheese, mixed with a hint of sugar, makes for a delectable filling that melts beautifully.
Each of these sweet options creates a decadent treat that pairs perfectly with a drizzle of syrup or a sprinkle of powdered sugar.
Savory Options for a Twist
Feeling adventurous? Savory Kataifi Dough Kunafa Dough options can offer an exciting flavor shift:
- Spiced Turkey Bacon or Chicken Ham: Sautéed with herbs and spices, this filling adds a hearty, savory element that’s full of flavor.
- Cheese and Spinach: A popular Mediterranean combo, mixing feta cheese with sautéed spinach creates a delightful balance of savory and creamy.
- Mushroom Medley: Sauté mushrooms with garlic and herbs for a filling that’s earthy and aromatic, perfect for those wanting a meatless option.
- Spiced Beef: For those craving something heartier, ground beef cooked with spices can add depth and satisfaction.
By thinking outside the box, your Kataifi Dough Kunafa Dough can easily transition from dessert to a main course. So why not experiment? There’s no wrong way to enjoy this delightful dish! Check out this guide on exploring authentic Middle Eastern flavors for more inspiration.
Cooking Tips and Notes for Kataifi Dough Kunafa Dough
Avoiding Common Mistakes
When working with Kataifi Dough Kunafa Dough, it’s essential to pay attention to a few common pitfalls to ensure your dessert comes out perfectly. Here are some tips to guide you:
-
Keep it Moist: The dough can dry out quickly. Always cover it with a damp cloth while you’re working to maintain the right moisture level, ensuring a tender final product.
-
Don’t Rush the Layers: Take your time when layering the dough. Spreading it evenly and not overpacking will provide the right texture and allow for that beautiful, flaky finish that everyone loves.
-
Temperature Matters: Ensure your butter is melted but not too hot; it’s best around room temperature. This helps to coat the strands gently, resulting in crispiness without burning.
-
Watch the Bake Time: Every oven behaves differently. Start checking your kunafa a few minutes before the recommended baking time. You want that golden-brown color that signals it’s ready.
For more techniques that chefs swear by, consider checking Cooking Light’s expert tips on dough handling or the Joy of Baking for advanced baking principles. What’s your go-to technique for working with delicate pastries? Happy cooking!
Serving Suggestions for Kataifi Dough Kunafa Dough
Perfect Pairings and Toppings
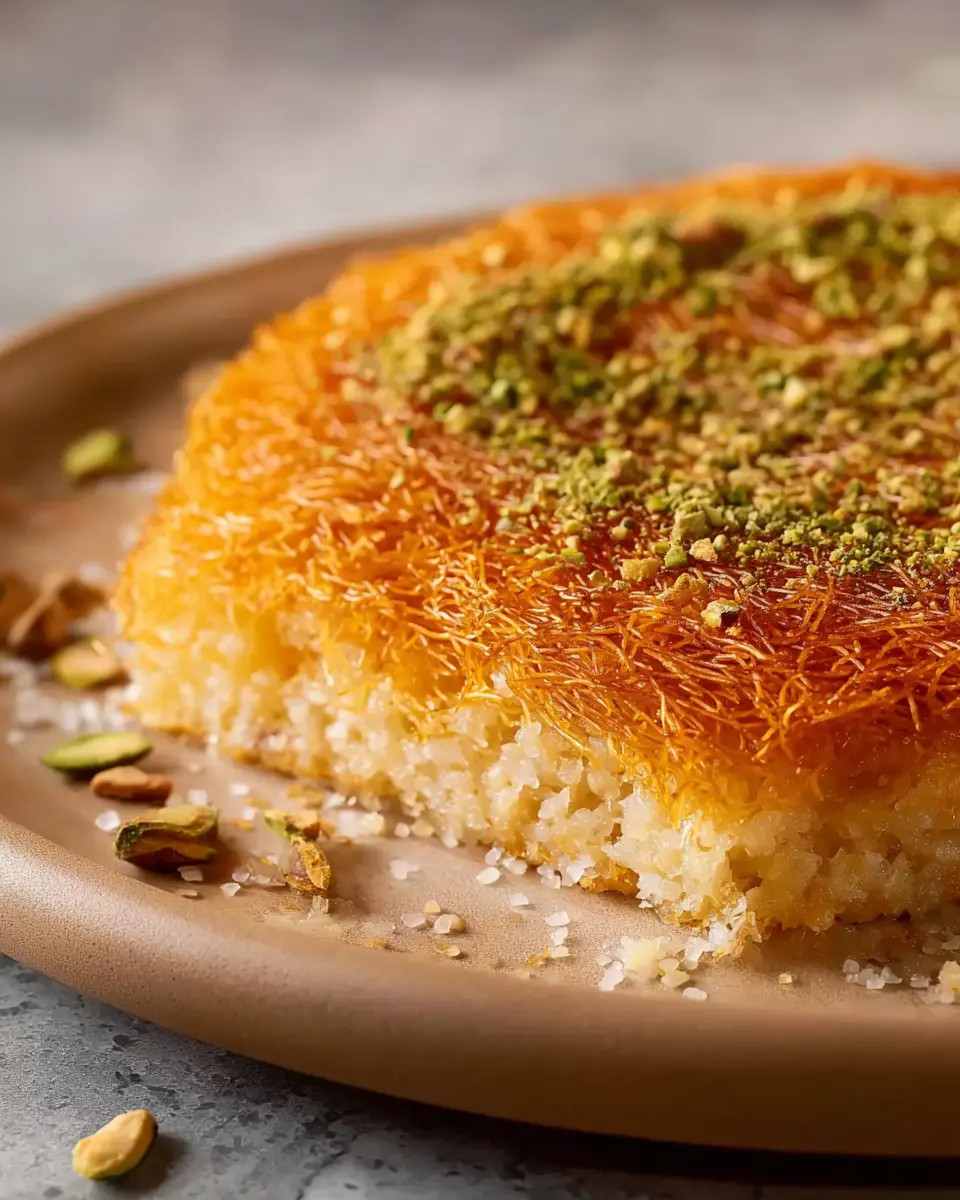
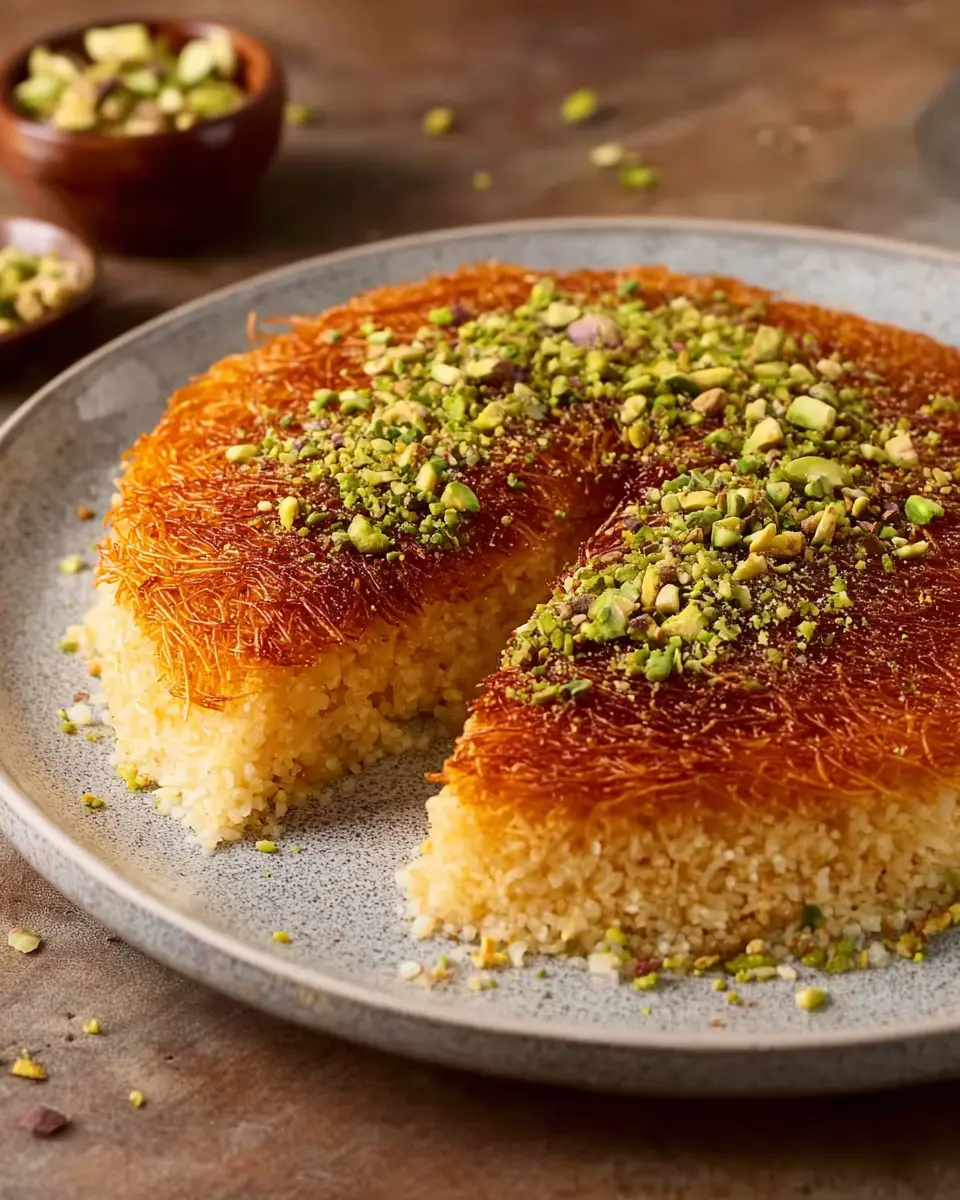
When it comes to serving Kataifi Dough Kunafa Dough, the possibilities are as vibrant as your imagination! This delightful dessert pairs exquisitely with various toppings that can elevate its rich, nutty flavors. Consider these delightful options:
- Sweet Syrups: Drizzle with rose or orange blossom syrup for a fragrant finish.
- Nuts Galore: Sprinkle chopped pistachios or walnuts on top for an extra crunch. These not only add texture but enhance the overall presentation.
- Fresh Fruits: Slices of strawberries, mango, or even a side of pomegranate can add a refreshing touch, balancing the richness of the kunafa.
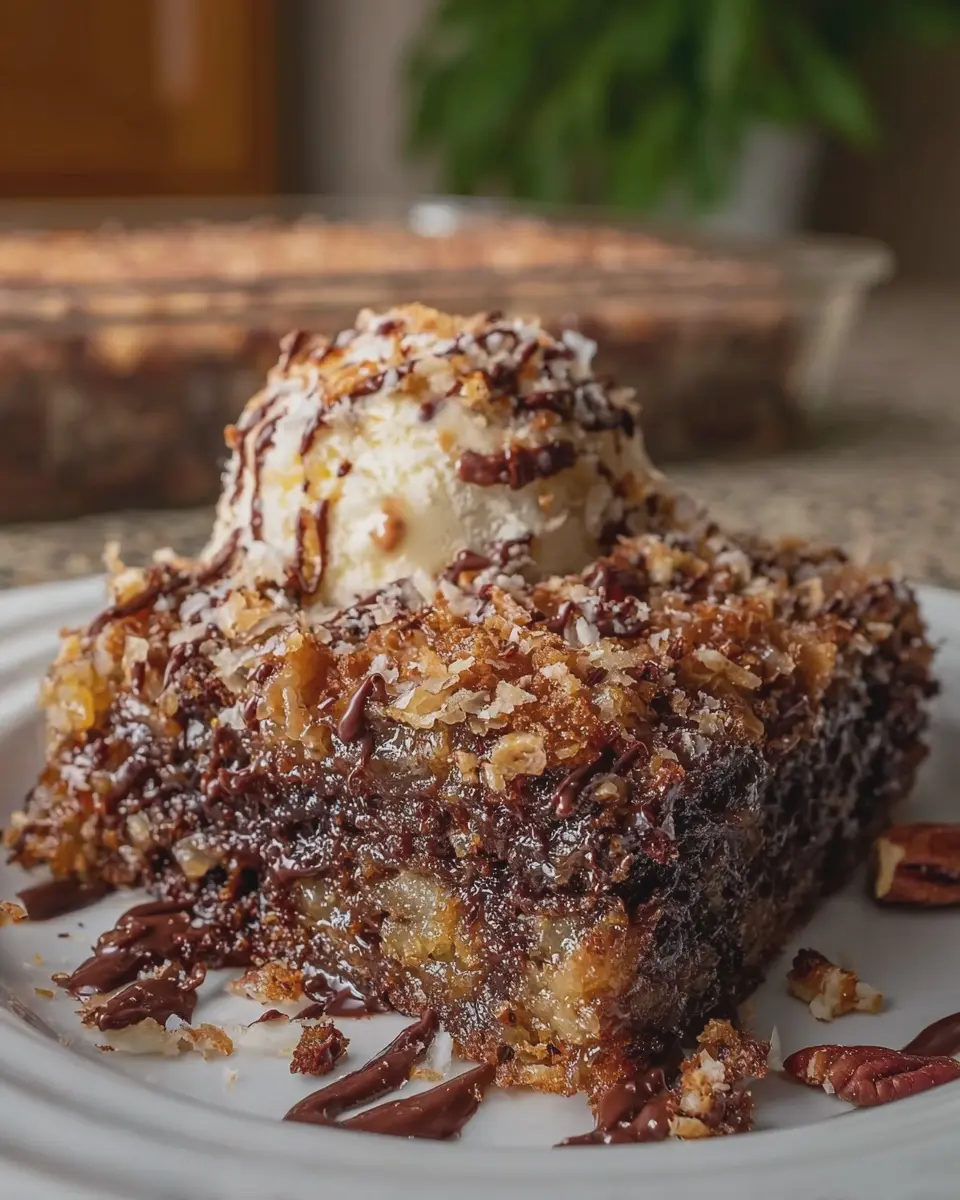
- Creamy Companions: Serve with a dollop of whipped cream or a scoop of vanilla ice cream to create a contrast that delights the palate.
You might also explore pairing your kunafa with flavored teas or aromatic coffees for a cozy afternoon treat. For a savory twist, consider using Kataifi Dough Kunafa Dough as a wrapper for fillings like turkey bacon or chicken ham. This creative take can transform a traditional dessert into a unique appetizer at your next gathering.
Curious about more creative ways to enhance your dishes? Check out The Spruce Eats for versatile serving ideas!
Time Breakdown for Kataifi Dough Kunafa Dough
When ready to explore the delectable world of Kataifi Dough Kunafa Dough, understanding the time commitment is essential. Here’s a quick breakdown that will help you plan your cooking adventure more efficiently!
Preparation Time
Getting everything set up is crucial. Expect to spend about 20–30 minutes prepping the dough. This includes measuring ingredients, mixing, and letting the dough rest before use.
Cooking Time
When it’s showtime, the actual cooking will take around 15–25 minutes. Keep an eye on your dough as it transforms into a beautifully golden and crispy treat!
Total Time
In total, you’re looking at 35–55 minutes from start to finish, making this an achievable yet delightful recipe for busy young professionals. So gather your ingredients, and let’s make something delicious! For more tips and tricks, check out culinary resources like Serious Eats or Bon Appétit for additional insights on dough preparation and cooking techniques!
Nutritional Facts for Kataifi Dough Kunafa Dough
Understanding the nutritional profile of Kataifi Dough Kunafa Dough can help you enjoy this delicious treat while being mindful of your health. Here’s a quick breakdown:
Calories per serving
A typical serving of Kataifi Dough Kunafa Dough contains around 150 calories. This makes it a light yet satisfying dessert option, especially when paired with fresh fruits or a drizzle of honey.
Key nutrients
When indulging in Kataifi Dough Kunafa Dough, you’ll also gain some valuable nutrients:
- Carbohydrates: A good source of energy, primarily from the dough.
- Fat: Contains some healthy fats, depending on how it’s prepared.
- Protein: While not high, the dough does provide a minimal protein boost.
For more insights on the nutritional benefits and to explore healthier alternatives, check out resources from the USDA or Healthline.
Balancing your meals with knowledge about what you’re consuming can enhance your culinary experience while keeping your health in check!
FAQs about Kataifi Dough Kunafa Dough
Can I store extra kataifi dough?
Absolutely! One of the best aspects of kataifi dough kunafa dough is its versatility and ease of storage. If you have leftovers, simply wrap the dough tightly in plastic wrap or store it in an airtight container. Refrigerated, it can last for up to one week. For longer storage, consider freezing it—just make sure to separate the strands with parchment paper to prevent sticking. When you’re ready to use it, thaw it in the refrigerator for several hours before working with it.
What dishes can I make with kataifi dough?
Kataifi dough kunafa dough isn’t just for traditional kunafa! Here are some delicious dishes you might want to try:
- Baklava: Layer it with nuts and honey for a delightful twist on this classic dessert.
- Savory pies: Incorporate spinach and feta for a stunning appetizer that will impress your guests.
- Sweet rolls: Stuff the dough with chocolate or custard and bake them for a yummy treat.
- Mini birds’ nests: Shape the dough into little nests and fill with sweetened cream or whipped cream for a beautiful presentation.
How do I troubleshoot a failed batch?
We’ve all been there—an ambitious recipe that didn’t go as planned. If your kataifi dough kunafa dough isn’t quite right, here are a few tips to help you troubleshoot:
- Texture issues: If it’s too dry, add a touch of melted butter to enrich the strands. For overly moist dough, try spreading it out on a baking sheet for a bit to dry out.
- Sticking: Ensure you’re using enough oil or butter in your preparation. This not only helps with adherence but also adds flavor.
- Burning: If the dough browns too quickly, lower your oven temperature. Finishing at a lower heat allows for more even cooking without burning the edges.
For more tips on handling dough and common kitchen hacks, check out resources from food experts like America’s Test Kitchen. Remember, cooking is all about experimentation, so don’t hesitate to make adjustments and try again!
Conclusion on Kataifi Dough Kunafa Dough
Embracing Homemade Delights
Creating your own Kataifi Dough Kunafa Dough at home is a rewarding experience that elevates your dessert game. Not only does it allow for creativity, but it also instills a sense of pride in crafting something uniquely delicious.
By mastering this delightful dough, you unlock a world of possibilities—think of the golden, crispy textures, and the sweet, syrupy flavors that await. Plus, making this dough from scratch ensures there’s no mystery ingredients, just pure enjoyment.
Whether you’re hosting a dinner party or simply indulging yourself, homemade kunafa is bound to impress. So roll up your sleeves and embrace the joy of baking—your taste buds will thank you! For more on mastering the art of homemade desserts, check out Serious Eats for expert tips.
PrintKataifi Dough Kunafa Dough: Indulgent Desserts You’ll Love
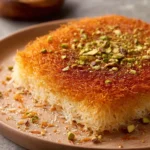
Create delicious desserts with Kataifi Dough, also known as Kunafa Dough, a perfect base for sweet treats.
- Prep Time: 20 minutes
- Cook Time: 35 minutes
- Total Time: 55 minutes
- Yield: 8 servings 1x
- Category: Desserts
- Method: Baking
- Cuisine: Middle Eastern
- Diet: Vegetarian
Ingredients
- 1 package Kataifi dough
- 1 cup melted butter
- 2 cups shredded mozzarella cheese
- 1 cup sugar
- 2 cups water
- 1 tablespoon lemon juice
- 1 teaspoon vanilla extract
Instructions
- Preheat your oven to 350°F (175°C).
- Mix the melted butter with the Kataifi dough until well coated.
- Spread half of the dough mixture in a greased baking dish.
- Evenly distribute the shredded mozzarella cheese over the dough.
- Add the remaining Kataifi dough on top of the cheese.
- Bake for about 30-35 minutes until golden brown.
- While the dough is baking, prepare the syrup by boiling sugar, water, and lemon juice for 10 minutes.
- Once the dough is baked, pour the syrup over it and let it soak for a few minutes.
- Serve warm, garnished with crushed pistachios if desired.
Notes
- For added flavor, consider infusing the syrup with rose water.
- Use a mixture of nuts for variety.
Nutrition
- Serving Size: 1 slice
- Calories: 300
- Sugar: 20g
- Sodium: 150mg
- Fat: 15g
- Saturated Fat: 8g
- Unsaturated Fat: 5g
- Trans Fat: 0g
- Carbohydrates: 36g
- Fiber: 1g
- Protein: 6g
- Cholesterol: 40mg
Keywords: Kataifi Dough, Kunafa Dough, desserts, sweet treats