Introduction to Banana Pudding Cheesecake Cones
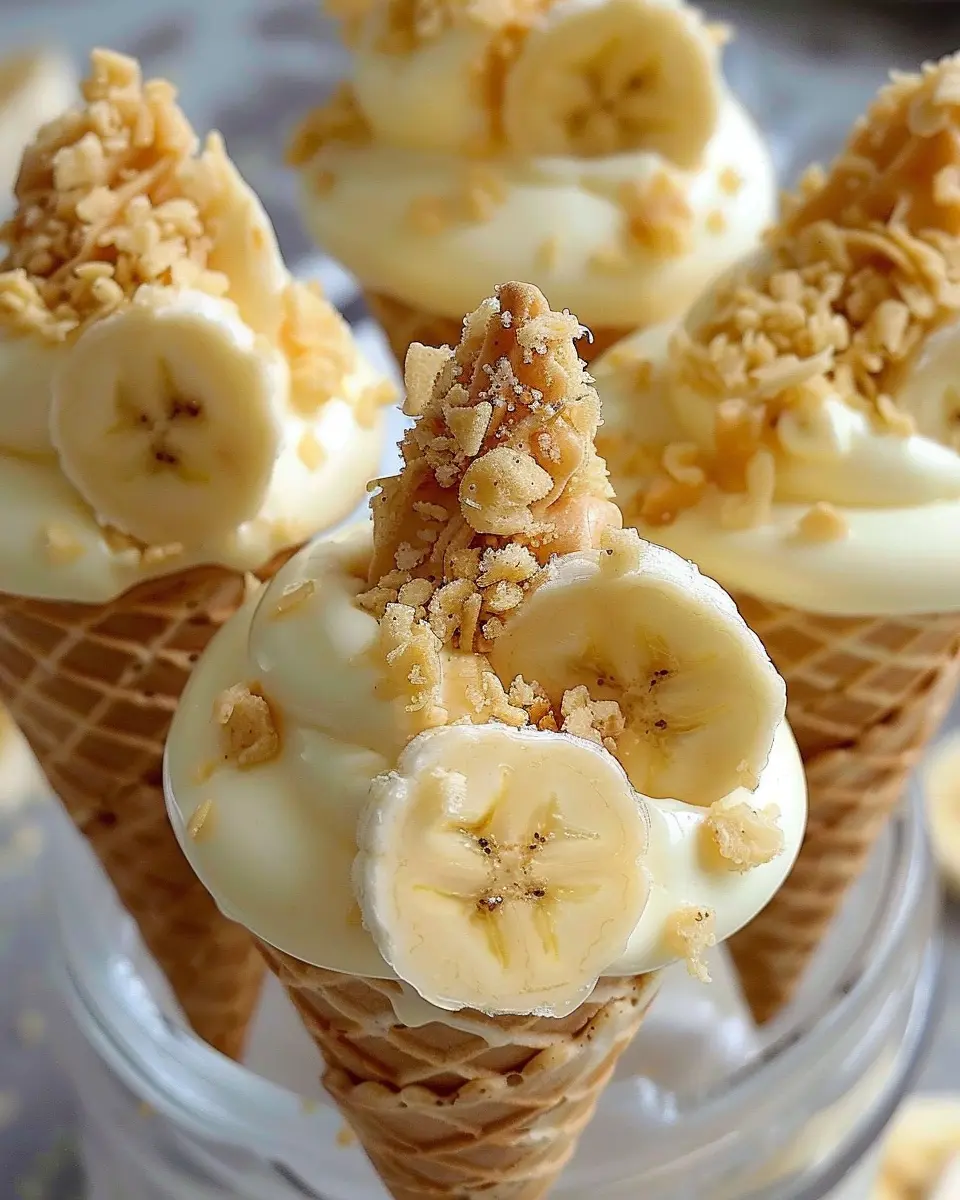
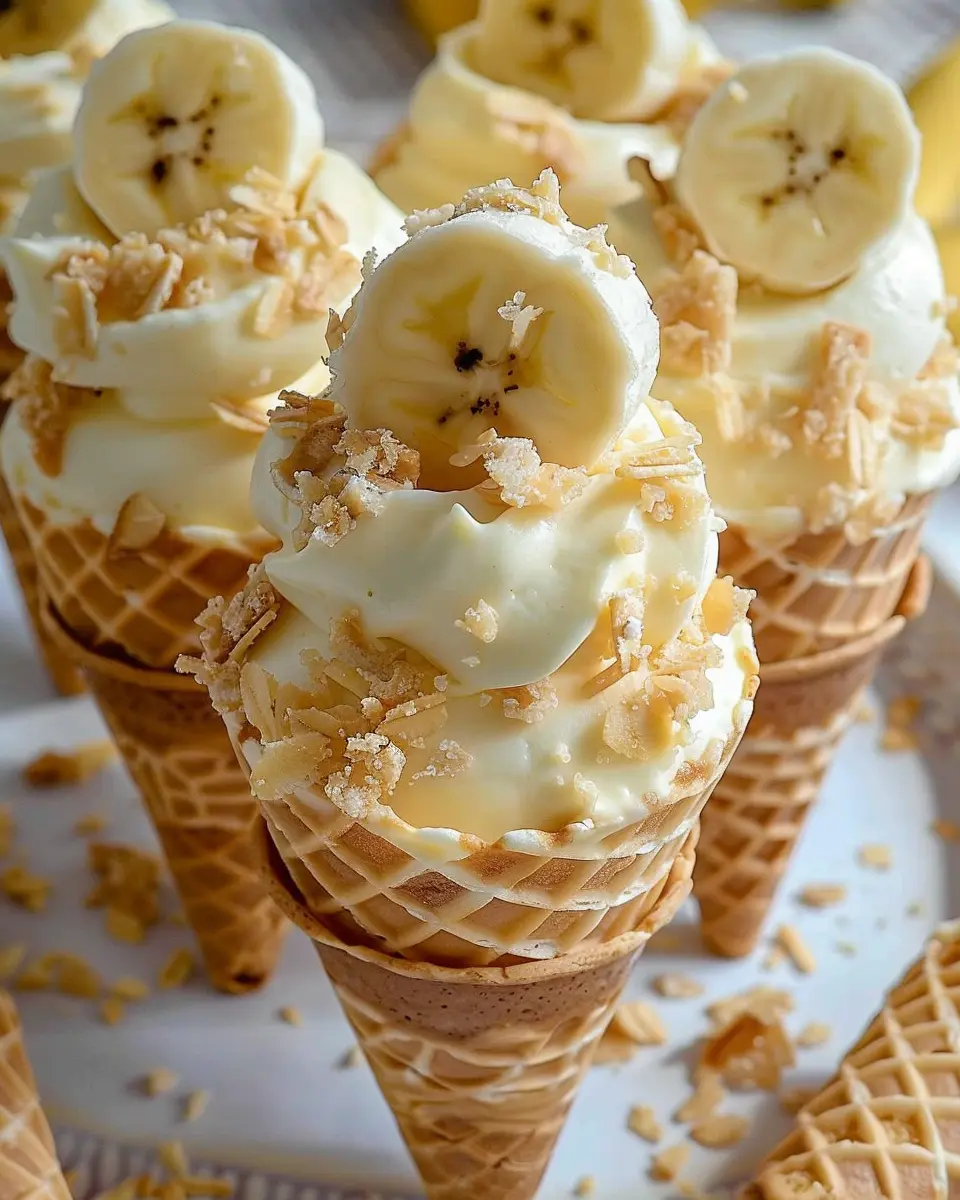
If you’re on the lookout for a sweet treat that marries nostalgia with modern flair, look no further than banana pudding cheesecake cones. These delightful desserts take the classic Southern banana pudding and give it a fun twist, making them perfect for picnics, parties, or just a cozy night in. Imagine creamy cheesecake layered with slices of ripe bananas and a crunchy wafer cone – it’s the kind of dessert that is bound to make your taste buds dance with joy!
A Delicious Twist on a Classic Dessert
Banana pudding has a cherished place in many households, often evoking memories of family gatherings and summertime barbecues. But while traditional banana pudding is undeniably delicious, the banana pudding cheesecake cones elevate this timeless treat to new heights. By infusing cheesecake flavors and serving them in cone form, you introduce a playful element that is sure to surprise and delight your guests.
What makes these cones stand out? For starters, the combination of silky cream cheese, whipped cream, and sweet bananas creates a creamy texture that contrasts beautifully with the crunch of the cone. Plus, the individual servings are not only adorable but also perfect for portion control—no more fighting over who gets the last scoop!
These cones also open the door to customization. You could sprinkle some crushed vanilla wafers on top, drizzle with chocolate sauce, or even enjoy them with a dollop of whipped cream. The possibilities are endless! If you’re curious about different variations, consider checking out The Pioneer Woman for ideas on how to incorporate different flavors or ingredients.
Perfect for a summer gathering or just a weeknight dessert fix, banana pudding cheesecake cones are easy to assemble and hold up well, making them great for any occasion. So grab your ingredients and prepare to bring a little sunshine into your kitchen—it’s time to indulge in this fun and flavorful dessert treat that’s bound to impress.
Ingredients for Banana Pudding Cheesecake Cones
Creating banana pudding cheesecake cones is a delightful process that brings together creamy cheesecake filling, sweet bananas, and a crunchy cone. Let’s gather the essential ingredients that will help you whip up this treat in no time!
Essential ingredients you’ll need
To make these delicious cones, you’ll want to round up the following items:
- Cream Cheese: The heart of your cheesecake filling. Make sure it’s softened for easy blending.
- Sugar: For that perfect touch of sweetness.
- Whipped Topping: This will lighten the cheesecake and give it that airy texture we all love.
- Vanilla Extract: A splash brings out the flavor beautifully.
- Bananas: Fresh, ripe bananas for that classic banana pudding taste.
- Nilla Wafers: For crumbling over your filling, adding that crunch which makes every bite magical!
- Ice Cream Cones: The perfect vessel for all your delicious layers.
Feeling inspired? Check out this article on why bananas are so great for you to enhance your culinary knowledge—who said cooking can’t be educational?
Step-by-Step Preparation of Banana Pudding Cheesecake Cones
Creating delightful banana pudding cheesecake cones is a fun and engaging process that can turn any gathering into a memorable event. With a creamy cheesecake filling, hints of banana, and a crunchy wafer base, these cones are as delicious as they are visually appealing. Let’s dive in!
Gather and prepare your ingredients
Before we get our hands dirty, let’s ensure you have all the ingredients ready. This makes the cooking process smoother and more enjoyable. For these banana pudding cheesecake cones, you’ll need:
- Cream cheese – 16 ounces, softened
- Granulated sugar – ½ cup
- Heavy cream – 1 cup
- Bananas – 2 ripe, pureed
- Vanilla extract – 1 teaspoon
- Banana-flavored pudding mix – 1 box (about 3.4 ounces)
- Nilla Wafers or your preferred cookie – crushed
- Ice cream cones – 12 medium-sized
Make sure to cream your ingredients to the optimal texture. Room-temperature cream cheese blends more smoothly than cold cream cheese; it’s an essential step towards achieving that luminous cheesecake filling.
Create the cheesecake filling
Now that we have everything lined up, let’s whip up that creamy cheesecake filling! Using an electric mixer, beat the softened cream cheese and granulated sugar together in a mixing bowl until you achieve a smooth and creamy consistency. This typically takes about 2-3 minutes. Adding the heavy cream and vanilla extract brings a rich flavor to the mix—whip this until you hit medium peaks.
If you’re curious about the science behind mixing the ingredients, it’s worth noting that incorporating air while beating adds fluffiness to your filling, which is key for a light texture in our banana pudding cheesecake cones.
Incorporate banana puree and wafers
Once your cheesecake filling is looking splendid, it’s time to fold in the banana puree you prepared. This infusion gives the cheesecake the beloved banana flavor and enhances the overall experience. Don’t rush this step; gently fold in the banana to maintain that airy quality.
Now, let’s add in the crushed Nilla Wafers. This step is crucial! Not only do they add crunch, but they also tie in that classic banana pudding flavor. Mix until incorporated, but avoid overmixing to keep the light and fluffy texture intact.
Chill the mixture for the perfect texture
Once you’ve combined all the ingredients, cover the bowl with plastic wrap and pop it into the fridge. This step is not just an afterthought; it’s vital for letting the flavors meld together and for thickening the filling. A good chill of about 30 to 60 minutes will give you a better texture when piping into your cones.
Simultaneously, you might want to pre-slice some fresh bananas for garnishing later. It’s always best to grab a few extra bananas since they can brown quickly once cut, so having some on standby is a good idea.
Pipe the filling into the cones
After the chilling time is up, it’s time for some fun! Grab a piping bag (or a ziplock bag with a corner snipped off) and fill it with your delicious cheesecake mixture. Carefully pipe the filling into each ice cream cone. Fill them generously but avoid overstuffing to prevent any spillage.
Make sure you enjoy this part—you’ll be amazed at how delicious these banana pudding cheesecake cones look once they’re filled!
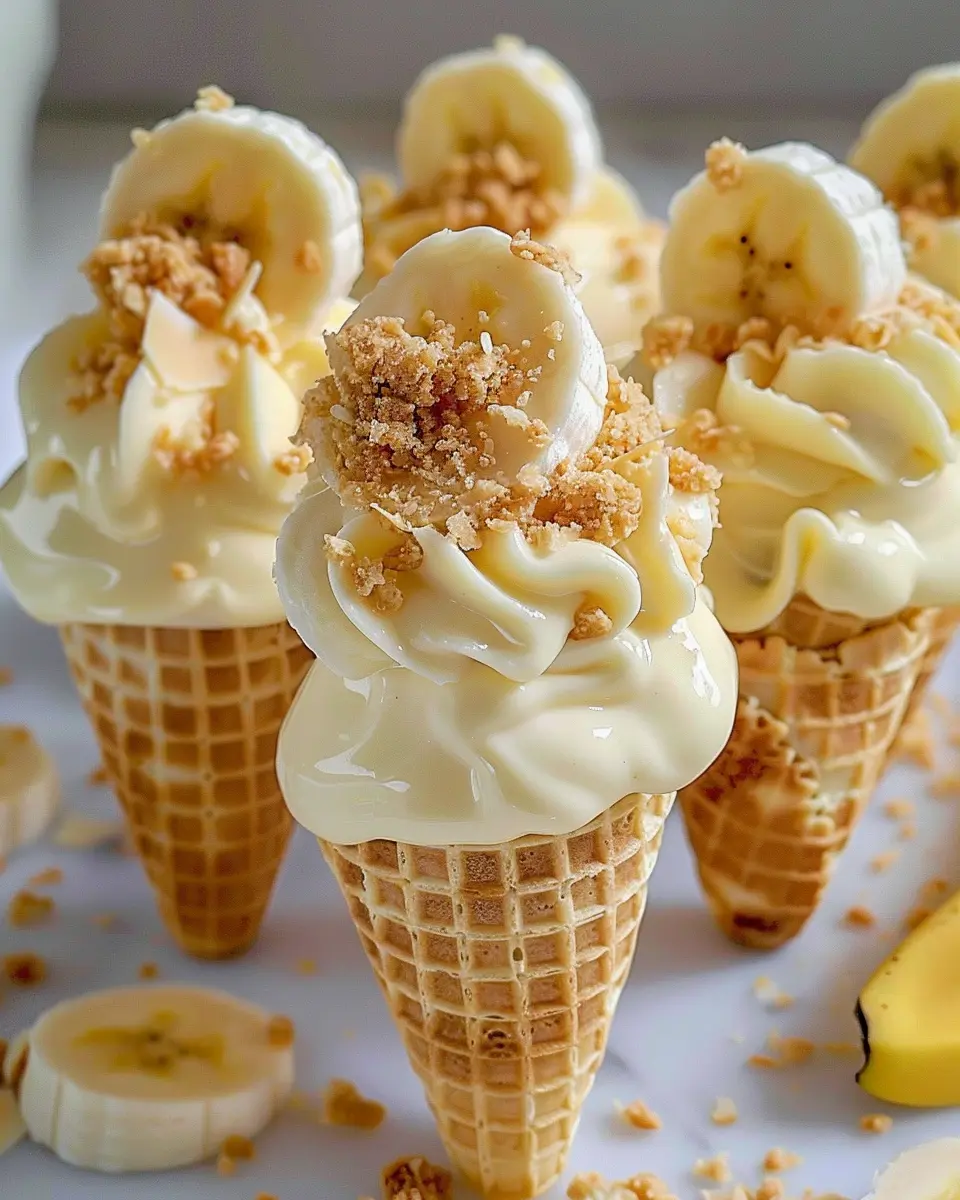
Garnish and serve
The final touch is where your creativity shines! You can garnish your cones with sliced bananas, a drizzle of caramel sauce, or even a dollop of whipped cream. If you’re feeling adventurous, sprinkle some crushed Nilla Wafers on top for an added crunch.
Now, it’s time to enjoy your beautiful banana pudding cheesecake cones. These little creations are perfect for parties, picnics, or simply treating yourself after a long day. The compliments will surely roll in!
By following these steps, you’ve mastered the art of making banana pudding cheesecake cones. Happy baking!
Fun Variations on Banana Pudding Cheesecake Cones
If you think the delightful flavors of banana pudding cheesecake cones can’t get any better, think again! Here are some exciting variations that will take your dessert game to a whole new level.
Chocolate Banana Cheesecake Cones
For chocolate lovers, this variation will have you dreaming sweet dreams. Start by mixing some cocoa powder into your cheesecake batter. This adds a rich chocolatey depth that beautifully complements the banana flavor. To enhance the experience, consider drizzling melted chocolate over your cones. Top them with mini chocolate chips and crushed chocolate wafer cookies for an irresistible crunch.
If you’re feeling adventurous, try a dip in the chocolate coating first, allowing it to harden before adding your cheesecake mixture. It creates a unique chocolate shell, making each bite even more delightful. So, how about a chocolate banana pudding cheesecake cone tonight?
Nutty Banana Pudding Cones
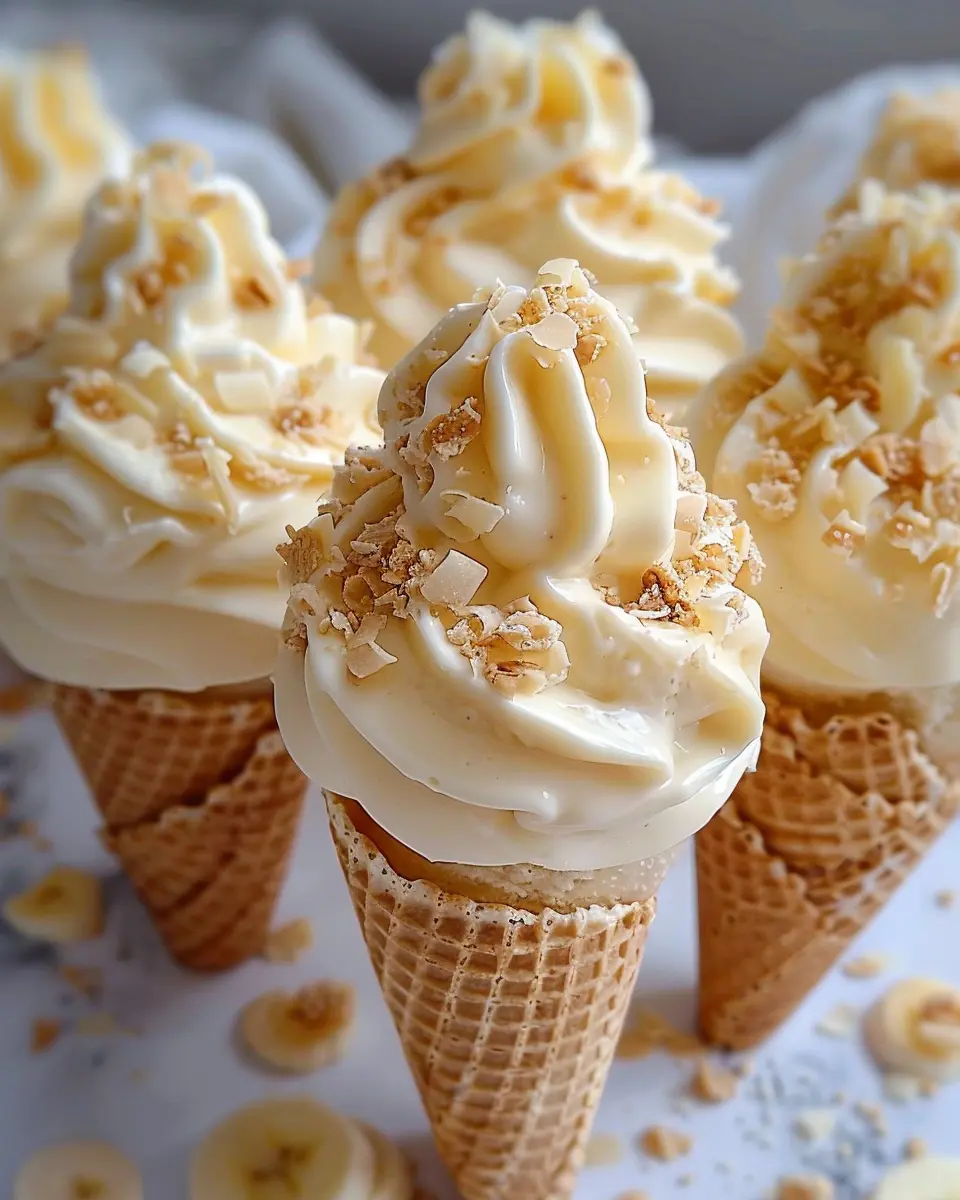
Take your delicious banana pudding cheesecake cones to a new dimension by incorporating nuts. Ground pecans or walnuts mixed into the crust adds a welcome crunch and a hint of earthy flavor that pairs wonderfully with bananas.
For added texture, chop up some roasted almonds or sprinkle on toasted coconut flakes as a topping. To tie it together, mix nut butter into your cheesecake filling for a smooth, creamier finish. This could easily become your new favorite way to enjoy the classic banana pudding flavor.
With these options, you won’t just be serving dessert; you’ll be creating memorable experiences! For more inspiration, check out The Joy of Baking for various cheesecake recipes that can transform your next dessert gathering.
Cooking Tips and Notes for Banana Pudding Cheesecake Cones
Achieving the Ideal Filling Consistency
To create memorable banana pudding cheesecake cones, the filling’s texture is key. You want it creamy yet sturdy enough to hold its shape within the cone. Here are some tips to help you get it just right:
-
Cream Cheese Temperature: Start with softened cream cheese. This helps it blend smoothly, avoiding lumps. Using room temperature ingredients can also make a significant difference.
-
Whip the Cream: When incorporating the whipped cream, fold it gently into the mixture. Overmixing can lead to a dense filling, while careful folding keeps it light and fluffy.
-
Chill Before Assembling: Allow the cheesecake mixture to chill for at least an hour before filling the cones. This helps it firm up, making it easier to pipe or scoop.
-
Taste Test: Don’t forget to taste your filling! Adjust sweetness or add more banana flavor as needed. Remember, it’s all about your personal preferences!
For extra tips on dessert textures and techniques, check out resources like Serious Eats or Bon Appétit. Enjoy your sweet creation!
Serving Suggestions for Banana Pudding Cheesecake Cones
Pairing Options to Elevate Your Dessert
When indulging in your delightful banana pudding cheesecake cones, don’t shy away from adding a few complementary flavors and textures to elevate the experience! Here are some fun ideas to get those taste buds tingling:
-
Fresh Fruit Garnish: Top with additional sliced bananas or seasonal berries for a pop of color and freshness. Strawberries and raspberries add a vibrant contrast, while giving a refreshing bite.
-
Crunchy Toppings: Consider a sprinkle of crushed vanilla wafers or almond slivers on top. They add a perfect crunch that balances the creamy texture of the cheesecake.
-
Whipped Cream Delight: A dollop of homemade whipped cream on each cone can make your dessert look even more appealing. Opt for a slightly sweetened version with a hint of vanilla.
-
Sweet Drizzles: Drizzle with caramel or chocolate sauce for an extra layer of flavor. These will not only enhance the taste but will also make your dessert visually stunning.
Remember, the goal is to enjoy the process, so feel free to get creative! For more culinary tips, check out Food Network or Epicurious. Happy indulging!
Time Breakdown for Banana Pudding Cheesecake Cones
Preparation Time
To whip up these delightful banana pudding cheesecake cones, you’ll need about 20 minutes for preparation. This includes gathering your ingredients, mixing up the cheesecake filling, and layering it into your cones. Just think of it as a brief pause in your day where you create something uniquely delicious!
Total Time
In total, you’re looking at approximately 45 minutes from start to finish. This includes chilling time for the cheesecake mixture, so it’s perfectly creamy. And hey, if you enjoy multitasking, this is a great opportunity to catch up on a podcast or put on your favorite tunes while the flavors meld together.
Why not make your banana pudding cheesecake cones ahead of time for a gathering? They can be stored in the fridge, which means you have more time to enjoy with family and friends. For more tips on prepping desserts in advance, check out resources like Food Network or AllRecipes.
Nutritional Facts for Banana Pudding Cheesecake Cones
Calories per cone
Indulging in banana pudding cheesecake cones doesn’t mean sacrificing your health goals. Each delightful cone packs approximately 180 calories, making it a satisfying yet moderate treat for your sweet cravings. It’s a perfect balance of flavor and caloric content, so you can enjoy every bite without the guilt.
Key nutritional components
These cones bring a delightful mix of nutrients that are beneficial for your overall wellness:
- Protein: Each cone contains around 5 grams of protein, thanks to the cream cheese and Greek yogurt, which can help keep you feeling full longer.
- Carbohydrates: With approximately 24 grams, these are primarily from bananas and vanilla wafers, giving you quick energy.
- Fats: Featuring about 7 grams of healthy fats, primarily from cream cheese, providing richness while still being light on calories.
Incorporating ingredients like bananas not only enhances the flavor but also adds essential vitamins and minerals. The potassium in bananas contributes to heart health and muscle function, making these banana pudding cheesecake cones a smart choice for a sweet snack. For more insights on healthy eating, check out Healthline and Nutrition.gov.
FAQs about Banana Pudding Cheesecake Cones
Can I prepare these cones a day in advance?
Absolutely! One of the best things about banana pudding cheesecake cones is how flexible they are. You can prepare the filling and scoop it into the cones a day in advance, which saves you time if you’re entertaining. Just keep in mind that the cones may get a bit soft if left filled too long, so it’s ideal to assemble them close to serving time. If you do prepare them in advance, consider keeping the filling stored separately in the fridge and filling the cones just before serving.
What can I substitute for cream cheese?
If you’re looking for alternatives to cream cheese in your banana pudding cheesecake cones, you have a few options. Mascarpone is a silky and rich option that will give your filling a similar texture. If you’re looking for a lighter choice, Greek yogurt can work well too—just choose the full-fat kind for that creamy consistency. Silken tofu is another great dairy-free alternative that will blend smoothly and still provide a delightful taste.
How should I store leftovers?
If you find yourself with leftover banana pudding cheesecake cones (which is a great problem to have!), store them in an airtight container in the refrigerator. However, it’s best to keep the cones separate from the filling if you want to maintain their crunch. You can store the filling in a separate container, and when you’re ready to enjoy your leftovers, simply fill the cones again! For more tips on storage and freshness, you might check out resources like The Kitchn.
Remember, enjoying these delicious treats is all about making them work for you!
Conclusion on Banana Pudding Cheesecake Cones
Why you’ll love making these cones at home
Creating banana pudding cheesecake cones at home is not just about the delicious flavors, but also about the joy of crafting something unique. These cones are a perfect blend of creamy cheesecake and rich banana pudding, ideal for a fun dessert at any gathering. The best part? You can customize them to suit your tastes—think chocolate drizzles or extra whipped cream. Plus, making them from scratch allows you to control the ingredients, ensuring they’re as fresh as can be. So why not roll up your sleeves and impress your friends with this delightful treat? Happy cooking!
For more fun dessert ideas, check out this guide on unique ice cream toppings and elevate your dessert game!
PrintBanana Pudding Cheesecake Cones: Indulgent Treats for Everyone
Delight in the creamy and sweet flavors of banana pudding combined with rich cheesecake, all served in a fun cone.
- Prep Time: 20 minutes
- Cook Time: 0 minutes
- Total Time: 20 minutes
- Yield: 12 servings 1x
- Category: Dessert
- Method: No-Bake
- Cuisine: American
- Diet: Vegetarian
Ingredients
- 1 package vanilla pudding mix
- 2 cups milk
- 8 ounces cream cheese, softened
- 1 cup powdered sugar
- 1 teaspoon vanilla extract
- 2 cups whipped topping
- 3 ripe bananas, sliced
- 12 waffle cones
Instructions
- In a bowl, whisk together the vanilla pudding mix and milk until smooth.
- In another bowl, beat the softened cream cheese, powdered sugar, and vanilla extract until creamy.
- Fold in the whipped topping until well combined.
- Add the pudding mixture to the cream cheese mixture and mix until smooth.
- Layer the sliced bananas in each waffle cone.
- Fill the cones with the banana pudding cheesecake mixture.
- Top with extra whipped topping and banana slices before serving.
Notes
- For added flavor, consider adding crushed vanilla wafers in the cone.
- Make sure to serve immediately to avoid sogginess.
Nutrition
- Serving Size: 1 cone
- Calories: 250
- Sugar: 15 grams
- Sodium: 160 mg
- Fat: 10 grams
- Saturated Fat: 5 grams
- Unsaturated Fat: 3 grams
- Trans Fat: 0 grams
- Carbohydrates: 35 grams
- Fiber: 1 gram
- Protein: 3 grams
- Cholesterol: 20 mg
Keywords: Banana Pudding Cheesecake Cones, Banana Desserts, Cheesecake Recipes