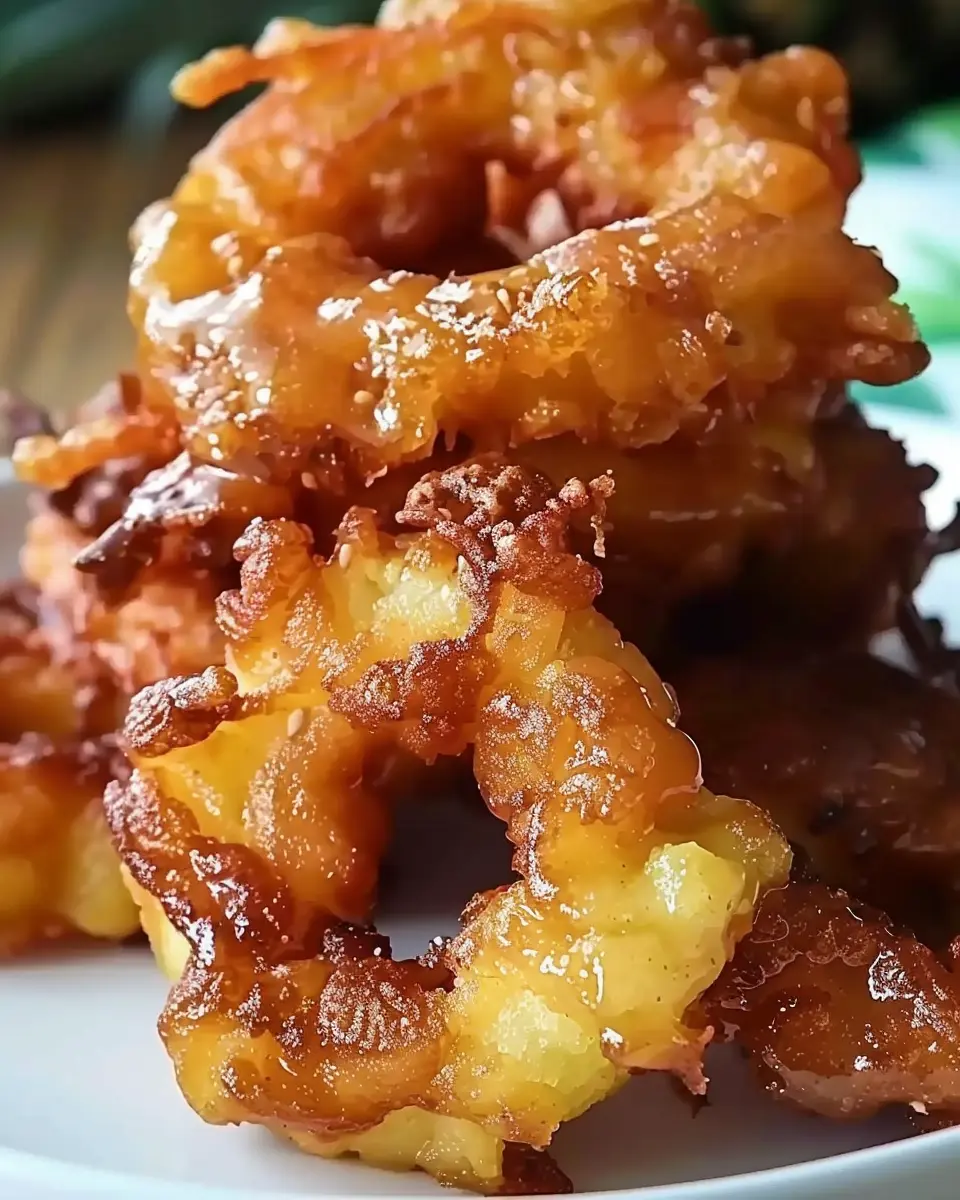
Introduction to Ham and Cheese Sticks
If you’re like many young professionals juggling a busy lifestyle, finding time to prepare delicious snacks can feel like a daunting task. Enter homemade snacks: the ultimate game-changer! Preparing ham and cheese sticks at home not only gives you control over the ingredients but also allows you to customize the flavor and quality to your preference. No more settling for processed alternatives; when you take the time to create snacks yourself, you can enjoy fresher, tastier options that will fuel you throughout the day.
When crafting your ham and cheese sticks, you can choose high-quality ingredients that reflect your taste. By opting for chicken ham and a delightful blend of cheeses, you elevate the ordinary into something extraordinary. Why take a gamble with pre-packaged snacks that might contain preservatives and unhealthy additives? A recent survey by the National Snack Food Association found that 97% of consumers prefer snacks made with real ingredients—people value both health and flavor. This is where your homemade snack game steps in.
Not only do homemade snacks stand out in taste, but they can also save you money in the long run. Consider this: by making batches of ham and cheese sticks, you’ll have a hearty snack ready to go whenever hunger strikes. Plus, you can explore countless variations! Want a spicier kick? Try adding jalapeños or a sprinkle of chili powder. Interested in going gourmet? Add a drizzle of honey or fig preserves to give it that fancy twist.
And let’s not forget the satisfaction that comes from making your own food. There’s something truly rewarding about pulling a fresh batch of ham and cheese sticks out of the oven, the smell wafting through the kitchen, and knowing you created something from scratch. Not only will you satisfy your cravings, but you will also impress friends and family with your culinary skills.
Excited to dive into this tasty endeavor? Let’s get started with the recipe below!

Ingredients for Ham and Cheese Sticks
Essential ingredients you’ll need
To whip up delightful ham and cheese sticks, gather the following essential ingredients:
- Chicken Ham: Opt for a good quality chicken ham, finely sliced for easy rolling.
- Turkey Bacon: This will add a savory crunch and an extra layer of flavor.
- Cheese: Choose your favorite melty cheese—cheddar and mozzarella are excellent choices.
- Puff Pastry: Store-bought puff pastry sheets work perfectly for that flaky texture.
- Egg Wash: Beat an egg with a splash of water for a shiny golden finish.
Tips for selecting the best ingredients
When shopping for ingredients, consider these helpful tips:
- Freshness Matters: Always pick fresh chicken ham and turkey bacon; check expiration dates to ensure quality.
- Cheese Selection: For a rich taste, select high-quality cheese. A blend can offer a delightful depth of flavor—try combining cheddar with mozzarella for the ultimate experience.
- Puff Pastry: Thaw frozen puff pastry in the fridge overnight for even better results. Check out articles on puff pastry options for tips on making your own if you’re feeling adventurous.
Feeling a bit unsure? Remember, good ingredients can make all the difference in bringing your ham and cheese sticks to life!
Preparing Ham and Cheese Sticks
Making ham and cheese sticks is as much about the experience as it is about the flavors. Whether you’re gearing up for a cozy night in or planning snacks for friends, these savory delights are sure to impress. Let’s dive into the steps for bringing this delicious recipe to life!
Gather and prepare your ingredients
To kick things off, gather all your ingredients to ensure a smooth cooking process. Here’s what you’ll need:
- Crescent roll dough: 1 tube
- Chicken ham: Sliced thinly, around 8 ounces
- Cheese: You can use cheddar, mozzarella, or your favorite blend—about 1 cup shredded
- Turkey bacon: A great alternative if you want a twist on the classic recipe
- Butter: 2 tablespoons, melted
- Garlic powder: 1 teaspoon for enhanced flavor
- Parsley: Fresh or dried, about 1 tablespoon
Having everything prepped and within reach makes it much easier to create these tasty ham and cheese sticks. Plus, prepping ingredients can also help you feel more relaxed while cooking!
For more on using fresh ingredients, consider reading about the benefits of fresh herbs on the USDA website.
Preheat the oven and prepare the baking sheet
Before diving into the fun part—assembling the sticks—preheat your oven to 375°F (190°C). This step is essential and will ensure that your ham and cheese sticks become beautifully golden and crispy.
While the oven heats up, line a baking sheet with parchment paper. This not only makes for easy cleanup but also prevents the dough from sticking. Trust me, this small step can save you a lot of hassle later!
Cut the crescent dough and layer the fillings
Once your dough is prepped and your oven is warming up, carefully unroll the crescent dough on a clean surface. Use a knife or pizza cutter to slice it into rectangular pieces. Each piece should be large enough to hold the delicious filling but not too big or they won’t cook evenly. Generally, aim for about 4×4-inch squares.
Now, take a slice of chicken ham and place it in the center of each piece, followed by a generous sprinkle of shredded cheese. If you’re adding turkey bacon, lay a few strips on top too. This layering not only elevates the flavors but also makes for an appetizing presentation.
Roll and seal the dough
After you’ve layered the fillings, it’s time to roll! Gently fold the triangle of dough over the filling, starting from the wide end, and roll it up toward the point. Make sure each stick is sealed by pinching the edges to prevent any cheesy goodness from escaping during baking.
This step is critical; a tight seal ensures you’ll bite into a warm, cheesy center instead of a flaky mess!
Create the savory butter mixture
In a small bowl, combine melted butter, garlic powder, and parsley. This savory butter mixture will add an extra layer of flavor to your ham and cheese sticks. Once combined, you’ll brush this mix generously over each rolled stick before they hit the oven.
Brush and bake the sticks to perfection
Place your filled and brushed sticks on the prepared baking sheet, making sure they have some space in between for even cooking. Bake them in the preheated oven for about 12-15 minutes, or until the dough is beautifully golden brown.
After removing them from the oven, allow them to cool for a few minutes before serving. You’ll be rewarded with crispy, cheesy, and utterly delicious ham and cheese sticks that are perfect for sharing—or not!
And there you have it! A straightforward guide to preparing your own ham and cheese sticks. With each step, you’ll enjoy the act of creating something delicious from scratch. Remember, cooking is as much about the journey as it is about the destination, and what could be better than enjoying your culinary creation with friends or family? Happy cooking!

Variations on Ham and Cheese Sticks
When it comes to delicious ham and cheese sticks, there’s so much room to play around with ingredients. Let’s explore some exciting variations that can elevate your snack game and cater to different taste preferences.
Spicy Ham and Cheese Sticks with Jalapeños
If you crave a little kick, try adding jalapeños to your ham and cheese sticks. The combination of chicken ham and melted cheese pairs perfectly with jalapeños’ heat. Simply dice some fresh jalapeños and mix them into your cheese blend before spreading it onto your dough. Not only will this enhance the flavor profile, but it will also provide a delightful crunch that elevates the overall experience. Pair your spicy creation with homemade ranch or yogurt dip for a cooling effect!
Veggie-Packed Ham and Cheese Sticks for a Twist
Want to sneak in some veggies? Mix grated zucchini, spinach, or roasted red peppers into your ham and cheese sticks. This twist not only adds nutrition but also a burst of color and flavor to your dish. Plus, it’s a fantastic way to use up leftover vegetables. Consider adding some herbs like basil or oregano for an aromatic touch, making your snack not just tasty but also visually appealing.
Gluten-Free Options for the Dough
For those following a gluten-free diet, don’t worry—you can still enjoy ham and cheese sticks! Substitute traditional flour with alternatives like almond flour or gluten-free all-purpose flour. Many brands offer ready-made gluten-free dough that works splendidly for these sticks. Check out resources like King Arthur Baking for tips on gluten-free baking that will keep your sticks flavorful and fun!
By experimenting with these variations, you’ll keep your ham and cheese sticks fresh and exciting, turning simple ingredients into delightful snacks that impress your friends at gatherings or satisfy your late-night cravings. So why not give these ideas a try? Your taste buds will thank you!
Cooking Tips and Notes for Ham and Cheese Sticks
Ensuring a Golden Crust
Achieving that golden-brown crust on your ham and cheese sticks is all about temperature and technique. Start by making sure your oven is preheated to the correct temperature—usually around 400°F (200°C). This helps the dough rise and crisp up properly. Another tip is to brush the sticks with a little melted butter or an egg wash before baking. This adds an extra sheen and color that will make your sticks irresistible. Did you know that using a baking stone can also create a beautifully crisp crust? It distributes heat evenly and eliminates sogginess.
How to Avoid Soggy Sticks
To prevent soggy ham and cheese sticks, make sure to drain any excess moisture from the chicken ham and cheese you use. Excess moisture can compromise that delightful texture you’re after. You can also opt for drier cheeses or even a blend of cheeses for added flavor without excess moisture. Baking at the right temperature and placing your sticks on a wire rack can also help ensure even baking and avoid that dreaded soggy bottom. For more tips, check out resources like Serious Eats for insights on perfecting baked goods.
By following these simple suggestions, you’re on your way to crafting the perfect batch of ham and cheese sticks that will impress your friends and family!

Serving suggestions for Ham and Cheese Sticks
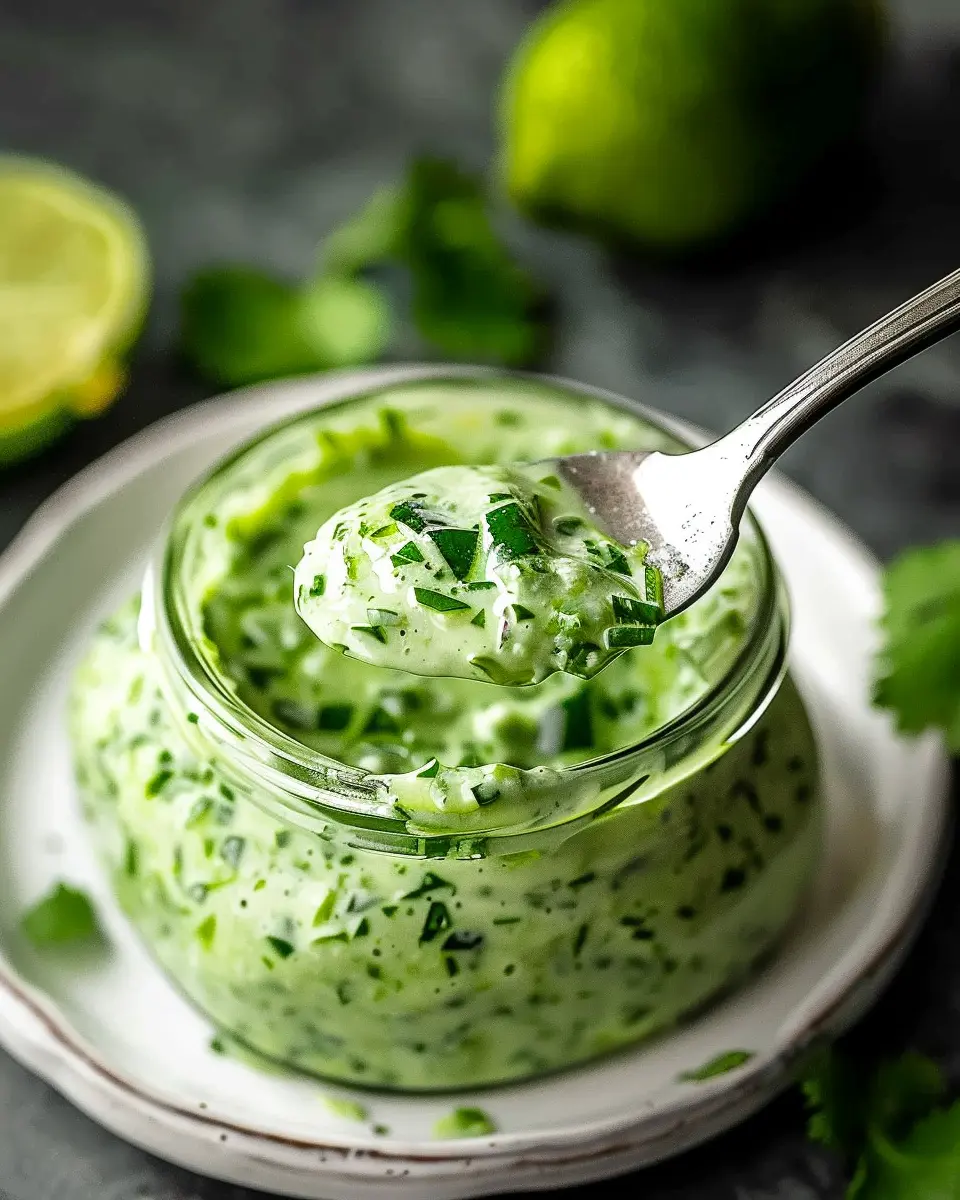
Creative dipping sauces to elevate your snack
You can take your ham and cheese sticks to the next level with some delicious dipping sauces. Why settle for anything ordinary? Try a tangy honey mustard for a hint of sweetness, or whip up a zesty ranch dressing for a creamy finish. If you’re feeling adventurous, consider a spicy sriracha mayo or even a herbed yogurt dip to add a fresh kick. Each of these options complements the savory flavors of the chicken ham and cheese beautifully!
Pairing ideas for a complete meal
For a satisfying meal, think about what side dishes can accompany your ham and cheese sticks. A crisp side salad drizzled with a light vinaigrette can balance the richness of your snack. Alternatively, some roasted vegetables or a warm bowl of tomato soup can provide comforting warmth. Feeling extra fancy? Pair your sticks with a refreshing fruit platter for a touch of sweetness. You can mix and match to your heart’s content and create an experience that’s as delightful as it is filling. For more pairing tips, check out Food Pairing for inspiration!
Incorporating these serving suggestions elevates your snacking game and ensures that every bite is worth savoring!
Time breakdown for Ham and Cheese Sticks
Preparation time
When you’re ready to whip up some ham and cheese sticks, you’ll want to allocate about 15 minutes for preparation. This includes gathering your ingredients, slicing your chicken ham, and layering everything neatly.
Baking time
Once your sticks are assembled, they’ll need to bake for around 20 minutes at 375°F (190°C). This is where the magic happens—the cheese gets melty, and the wraps turn golden and crispy.
Total time
All in all, you’re looking at 35 minutes from start to finish. Perfect for a quick snack or an addition to your meal prep, right? Ready to dig in? Consider pairing these with a fresh side salad for a balanced dish! You can explore more about food pairings at sites like Serious Eats for some delicious ideas.
Nutritional information for Ham and Cheese Sticks
Calories per serving
When indulging in our ham and cheese sticks, each serving boasts approximately 250 calories. This makes them a relatively satisfying snack or appetizer without breaking the calorie bank. Perfect for a mid-afternoon pick-me-up or an easy dinner side!
Breakdown of macros
Let’s explore the macros of these yummy bites:
- Protein: Around 15 grams, mainly from the chicken ham and cheese, helping keep you full and energized.
- Carbohydrates: About 20 grams, primarily from the breading, making them perfect for a quick energy boost.
- Fats: Roughly 12 grams, derived from the cheese, contributing to that delightful creaminess.
These ham and cheese sticks not only taste great but can also be part of a balanced diet, especially when paired with a fresh side salad for added nutrients.
For more detailed nutritional insights, consider checking resources like the USDA FoodData Central or the Nutrition Data website for comprehensive information.
FAQs about Ham and Cheese Sticks
How do I reheat leftover ham and cheese sticks?
Reheating ham and cheese sticks is as simple as pie! You want to maintain that delightful crunch while warming the inside. Here’s how you can do it:
- Oven Method: Preheat your oven to 350°F (175°C). Place the sticks on a baking sheet and heat for about 10-15 minutes, or until they’re hot and crispy.
- Microwave Method: If you’re in a hurry, the microwave can work too! Just pop them in for about 30 seconds to 1 minute, but be warned—this might make them a bit chewy rather than crispy.
Keeping a few leftover sticks in your fridge can make for a quick lunch or snack option, especially with a dab of mustard or your favorite sauce!
Can I freeze ham and cheese sticks?
Absolutely! Freezing ham and cheese sticks is a fantastic way to save them for later. Here are some quick tips for successful freezing:
- Cool Down: Allow the sticks to cool completely before freezing to prevent sogginess.
- Wrap It Up: Use plastic wrap or aluminum foil to wrap each stick individually, then place them in a resealable freezer bag. This way, they’ll last up to 2-3 months!
- Reheat with Care: When you’re ready to enjoy them, just follow the reheating guidelines mentioned above after allowing them to thaw overnight in the fridge.
What are some ideal pairings with ham and cheese sticks?
Pairing your ham and cheese sticks can elevate your snacking experience. Consider these tasty combinations:
- Fresh Veggies: Crunchy carrot or celery sticks add a refreshing crunch next to the rich flavors of the sticks.
- Dipping Sauces: Explore zesty options like ranch, honey mustard, or even a tangy BBQ sauce for a delightful contrast.
- Fruits: Apple slices or grapes provide a sweet complement, enhancing the overall flavor profile.
Whether you’re serving them at a party or enjoying a cozy evening at home, these combinations are sure to impress!
Conclusion on Ham and Cheese Sticks
Recap of the joys of homemade snacks
Homemade snacks like ham and cheese sticks are more than just tasty—they’re a labor of love. Crafting these delicious treats in your kitchen allows you to control ingredients, experiment with flavors, and savor the delightful aromas wafting through your home. There’s something special about creating a snack that’s not only enjoyable but also made with fresh, wholesome ingredients. Plus, they’re perfect for any occasion, whether it’s a casual movie night or an elegant gathering.
Encouragement to experiment and enjoy!
Don’t hesitate to put your spin on these ham and cheese sticks! Try different cheeses or switch up the fillings with your favorite meats. Maybe add some spices or herbs to enhance the flavor. The beauty of homemade snacks lies in their versatility, and it’s all about what makes your taste buds dance. Share your creations with friends and family (or keep them all to yourself) and take your snacking game to the next level! For more inspiration, check out Unsplash for food photography tips or explore culinary blogs focused on innovative snack ideas.
PrintHam and Cheese Sticks with Turkey Bacon: Easy and Delicious Treats

Enjoy these easy and delicious ham and cheese sticks made with turkey bacon for a tasty treat.
- Prep Time: 15 minutes
- Cook Time: 20 minutes
- Total Time: 35 minutes
- Yield: 4 servings 1x
- Category: Appetizers
- Method: Baking
- Cuisine: American
- Diet: Low Carb
Ingredients
- 4 slices of turkey bacon
- 8 ounces of mozzarella cheese sticks
- 1 cup of flour
- 2 eggs
- 1 cup of breadcrumbs
- 1 teaspoon of garlic powder
Instructions
- Preheat your oven to 400°F (200°C).
- Wrap each mozzarella stick with a piece of turkey bacon.
- Set up a breading station with flour, beaten eggs, and breadcrumbs mixed with garlic powder.
- Dredge each bacon-wrapped mozzarella stick in flour, dip in eggs, then coat with breadcrumbs.
- Place on a baking sheet and bake for 15-20 minutes until golden and crispy.
Notes
- For a spicier kick, add cayenne pepper to the breadcrumbs.
Nutrition
- Serving Size: 2 sticks
- Calories: 250
- Sugar: 1g
- Sodium: 600mg
- Fat: 16g
- Saturated Fat: 6g
- Unsaturated Fat: 8g
- Trans Fat: 0g
- Carbohydrates: 18g
- Fiber: 1g
- Protein: 18g
- Cholesterol: 100mg
Keywords: Ham and Cheese Sticks, Turkey Bacon, Easy Recipes, Delicious Treats