Homemade Kimchi: A Flavorful Adventure
Why Make Homemade Kimchi?
Have you ever delved into the world of homemade kimchi? If not, you’re missing out on an exciting culinary journey that’s not just delicious but also healthful. Making kimchi at home allows you to unleash your creativity while crafting this iconic Korean dish, which is a fermented blend of vegetables (often napa cabbage) and spices.
One of the greatest reasons to choose homemade kimchi over store-bought versions is freshness. Think about it—when you prepare it yourself, you’re in control of the ingredients. You can choose organic produce, experiment with spice levels, or even opt for gluten-free options, making it especially accommodating for various diets. Plus, it’s incredibly satisfying to make something from scratch. You get to decide on a flavor profile that resonates with your taste buds—who wouldn’t want to dive into a jar filled with vibrant colors and zesty aromas?
Not only is homemade kimchi a treat for your palate, but it’s also a powerhouse of probiotics. Fermented foods, such as kimchi, have been linked to improved gut health. In fact, research suggests that a diet rich in probiotics can enhance digestion and even boost your immune system. If you’re interested in the science behind this, there are some fascinating studies from reputable sources that discuss the benefits of fermentation on gut flora.
Another perk? You can save money! Buying fresh ingredients in bulk and preparing kimchi at home can keep your grocery bill down. With just a few staples—like napa cabbage, garlic, ginger, and your choice of seasoning—you create jars of zesty goodness that keep well in your fridge.
So, why not embark on this flavorful adventure? Gather your ingredients, experiment boldly, and enjoy not only the process but also the rewards of your homemade delicacy! When it comes to kimchi, the journey from kitchen to table is as rich as the taste itself. If you’re looking for some inspiration or tips on perfecting your recipe, check out organizations like the Korean Food Foundation for authentic methods and variations!
Ingredients for Homemade Kimchi
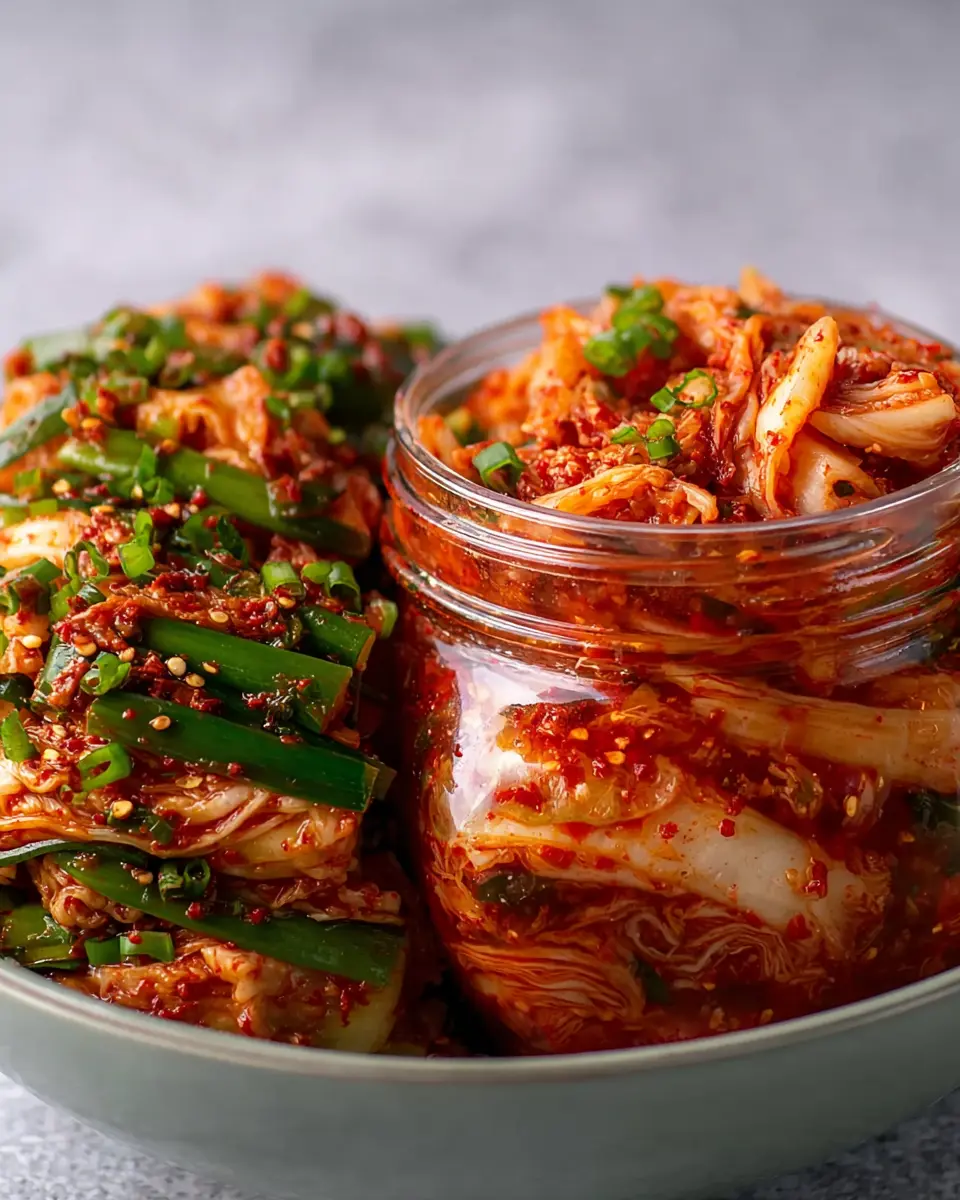
Homemade kimchi is a delightful and tangy dish that brings a kick of flavor to any meal. To get started, gather these essential ingredients that will transform simple vegetables into a probiotic powerhouse.
Base Ingredients:
- Napa Cabbage: The star of your kimchi, it provides the perfect crunch and absorbs the briny flavors beautifully.
- Korean Radish: Also known as mu, it adds a subtle sweetness and texture that balances the dish.
Spice Blend:
- Korean Red Pepper Flakes (Gochugaru): This is crucial for that iconic heat and vibrant color. Choose a quality brand for the best flavor.
- Garlic & Ginger: Freshly minced garlic and ginger pack a punch of flavor and are great for digestion.
Seasoning:
- Fish Sauce (or a vegetarian alternative): Adds an umami depth, making your kimchi irresistibly savory. You can opt for soy sauce if you prefer.
- Sugar: Just a touch helps to balance the saltiness of the fish sauce and adds a slight sweetness.
Extras:
- Green Onions: Chopped fine for an aromatic touch.
- Sesame Seeds: Optional, but a lovely garnish that adds nuttiness in the end.
Once you have these ingredients ready, you’re halfway to creating your own homemade kimchi! For more ideas or specific measurements, consider checking this comprehensive guide from Korean Bapsang, which offers various recipes and tips. Happy fermenting!
Step-by-step Preparation of Homemade Kimchi
Making homemade kimchi is not just a cooking experience; it’s a delightful journey into Korean culture and flavors. With its tangy, spicy, and umami-packed profile, kimchi is a fantastic addition to many dishes. Plus, it’s known for its health benefits! Ready to dive in? Let’s break down each step together.
Prepare the Cabbage for Salting
To kick things off, you need about a medium Napa cabbage (or two smaller ones). The process starts by cutting the cabbage in half lengthwise and then into quarters. What you want to achieve here is manageable, bite-sized pieces. Once you’ve done that, take each quarter and remove the core.
Now for the salting: sprinkle salt between the leaves liberally. Use about ½ cup of salt for a full cabbage, ensuring you get into all the crevices. This process will draw out water, creating a crunchier texture in your homemade kimchi. It’ll take about 1-2 hours—turn the cabbage every 30 minutes or so for the salt to work its magic.
Rinse and Drain the Cabbage
After the cabbage has soaked up that salty goodness, it’s time to rinse it off. You don’t want your kimchi to be overly salty, do you? So, rinse the cabbage under cold water a couple of times and let it drain in a colander for about 20-30 minutes. Pat it gently with a clean towel to ensure it’s not soggy.
This rinsing step is crucial, as it sets the stage for the harmony of flavors later on. You can even toss in braised tofu or crispy turkey bacon if you’re looking to enhance your dish’s depth even further!
Make the Flavor-Packed Paste
While the cabbage drains, let’s whip up that unforgettable kimchi paste. In a mixing bowl, combine the following:
- ½ cup of gochugaru (Korean red pepper flakes)
- 1 tablespoon of sugar (or honey for a sweet twist)
- 4-5 cloves of garlic, minced
- 1 tablespoon of grated ginger
- 2-3 green onions, chopped
- 2 tablespoons of fish sauce or soy sauce for a vegetarian option
Mix these ingredients until they form a thick paste. The vibrant red color should bring a smile to your face—it’s a reminder of the bold flavor that’s about to come!
Combine and Mix the Ingredients
Once your cabbage is drained, it’s mixing time! In a large bowl, add the drained cabbage and then pour on your flavor-packed paste. Put on some kitchen gloves to avoid any unwanted heat from the chili flakes and get in there! Massage the paste into the cabbage thoroughly, ensuring each leaf is fully coated.
If you fancy a little crunch, you can toss in some julienned carrots or radishes at this stage for extra texture.
Pack the Mixture into Jars
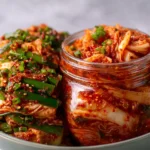
Now, it’s jar time. Grab a few glass jars (mason jars work beautifully) and begin packing your kimchi mixture tightly into them. Leave about an inch of space at the top of each jar to allow for fermentation gases. As you pack, really push the kimchi down to minimize air bubbles, which will help prevent spoilage.
Ferment the Kimchi
Fermentation is where the magic happens. Seal the jars with their lids, but don’t tighten them completely—this allows gases to escape. Leave your jars at room temperature for 1-5 days, depending on your taste preference. The longer you let it sit, the more potent the flavor will become.
Check on your homemade kimchi daily, and after reaching your ideal flavor, move the jars to the fridge. You can expect the flavors to continue developing, making that first bite an experience you won’t forget.
By following these simple steps, you’ll have delicious, homemade kimchi that’s perfect for enjoying with rice, in a stew, or on its own as a zesty snack. So, are you ready to create your own flavors? Happy fermenting!
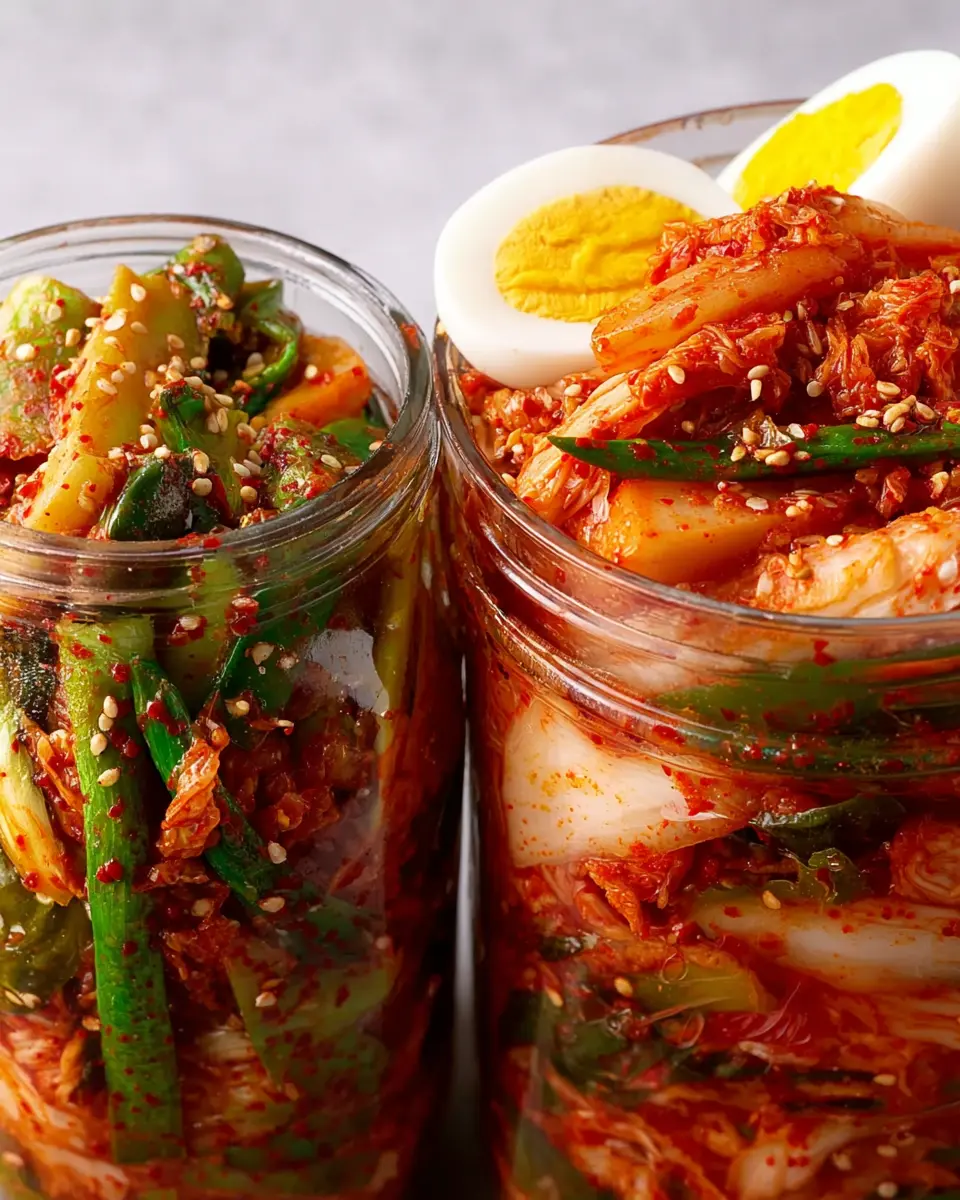
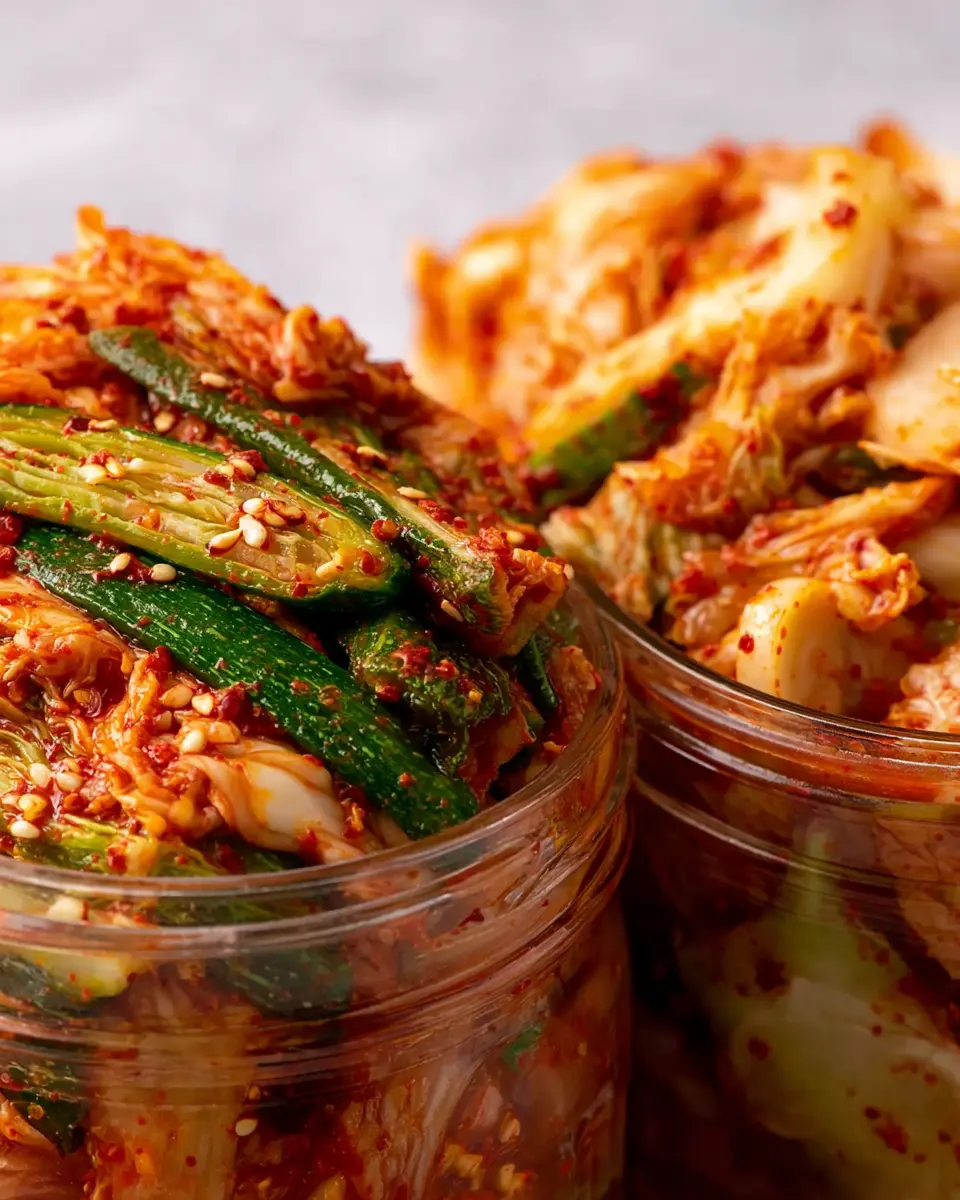
Variations on Homemade Kimchi
Kimchi is an incredibly versatile dish, and once you grasp the basics of making your own, the world of homemade kimchi variations opens up! Let’s explore a couple of exciting alternatives that you can whip up in your kitchen.
Spicy Radish Kimchi
If you’re a fan of a crisp, refreshing kick, you must try spicy radish kimchi. This variation swaps traditional napa cabbage for daikon radish, yielding a crunchy texture that’s simply irresistible. The robust flavors compliment a variety of dishes, making it a perfect side.
Ingredients:
- Daikon radish, sliced into sticks
- Korean red pepper flakes (gochugaru)
- Garlic
- Ginger
- Fish sauce or a vegetarian substitute
In a mixing bowl, combine the sliced radish with salt, allowing it to sweat out excess moisture. Then, mix in the remaining ingredients and let it ferment in a jar. This version is fantastic with rice or on sandwiches!
Vegetarian-friendly Kimchi
Thinking of going meat-free? Don’t worry; homemade kimchi can easily be vegetarian-friendly without sacrificing flavor. Instead of fish sauce, opt for soy sauce or a fermented soybean paste (doenjang) for depth.
Key Ingredients:
- Napa cabbage
- Green onions
- Carrots
- Soy sauce
- Vegan-friendly gochugaru
This delicious option boasts all the classic qualities of traditional kimchi, making it perfect for anyone looking to enjoy the umami without animal products.
Experimenting with different veggies and spices allows for an endless number of homemade kimchi profiles. Want to learn more? Check out resources like The Kitchn and Serious Eats for further inspiration on kimchi recipes!
Cooking Tips and Notes for Homemade Kimchi
Making homemade kimchi is a rewarding culinary adventure. Here are some helpful tips to enhance your fermentation journey!
Pick the Right Ingredients
- Fresh veggies: Look for high-quality vegetables. Napa cabbage and Korean radish are staples, but don’t hesitate to experiment with cucumbers or green onions.
- Sea salt: Use coarse sea salt for brining; it helps draw out moisture effectively. Just remember, no table salt!
Customize Your Flavor
- Each batch of homemade kimchi is your canvas. Consider adding spices like gochugaru (Korean chili powder) or ginger for a delightful kick.
- A splash of fish sauce or a plant-based alternative can elevate the umami levels.
Monitor Fermentation
- Keep an eye on the fermentation process. Start tasting it after a few days at room temperature; you might find your perfect tang sooner than expected!
- For longer storage, move it to the fridge to slow down the fermentation.
Storage Tips
- Use airtight jars to keep your kimchi fresh. Remember, it gets better over time—just be patient!
Curious about the health benefits of fermented foods? Check out this Nutritional Science article for more information. Happy kimchi-making!
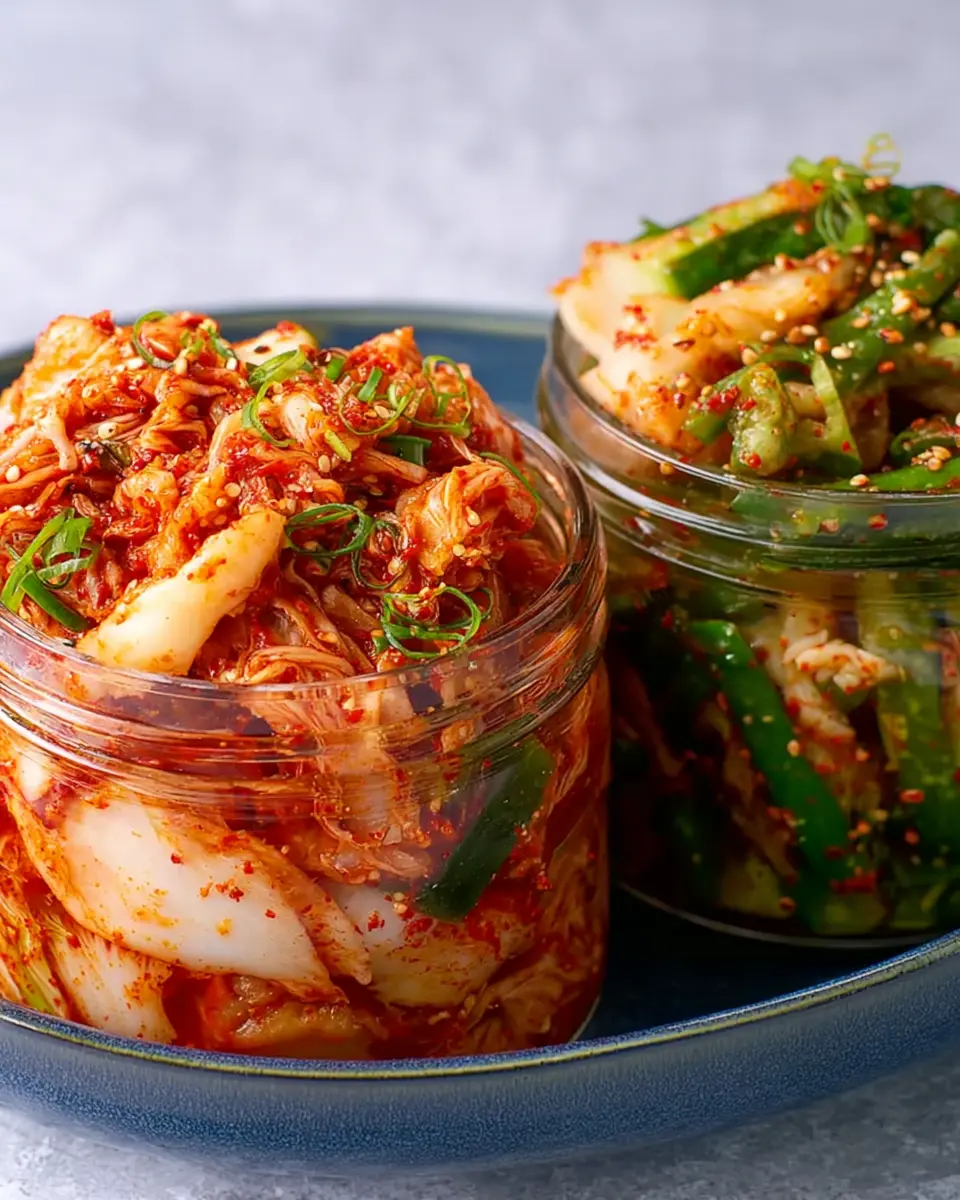
Serving Suggestions for Homemade Kimchi
Homemade kimchi isn’t just a fantastic condiment; it’s a versatile ingredient that can elevate many dishes. Here are some easy and delicious serving suggestions to explore.
As a Side Dish
Serve your homemade kimchi alongside grilled meats or fish. The tangy kick complements turkey bacon and chicken ham, balancing rich flavors beautifully. You could even add it to a traditional beef barbecue spread for that extra zest.
In Tacos and Wraps
Imagine biting into a soft taco filled with grilled veggies, chicken ham, and a generous scoop of homemade kimchi. It’s a fresh twist that will surely impress your friends at any gathering. The crunch and spice add layers of flavor to each bite!
Breakfast Boost
Why not incorporate kimchi into your morning routine? Stir some into scrambled eggs or enjoy it with avocado toast for added texture and zest. It’s a fun way to kickstart your day with probiotics that benefit gut health.
For more creative ideas, you might find this guide to fermented foods helpful. Remember, the possibilities are endless with homemade kimchi!
Time Breakdown for Homemade Kimchi
Preparation Time
Creating homemade kimchi starts with about 30 minutes of preparation. You’ll need to wash and chop your vegetables, mix your spices, and combine everything into a flavorful blend. Don’t rush—this part is crucial for ensuring each bite is bursting with flavor!
Fermentation Time
After you’ve mixed all the ingredients, the real magic happens during fermentation. Allow your kimchi to sit at room temperature for about 1 to 5 days, depending on how tangy you like it. Make sure to taste occasionally; you can feel like a fermentation artist!
Total Time
In total, you’re looking at anywhere from 1 hour to over a week for your homemade kimchi. The prep is quick, but the fermentation is where the flavor deepens, resulting in that crave-worthy taste you’ll love! For more tips on fermentation, check out resources from The Kitchn.
Nutritional Facts for Homemade Kimchi
Creating homemade kimchi not only delivers robust flavors but also packs a nutritional punch. Let’s dive into why this fermented dish deserves a regular spot on your plate.
Calories
A standard serving of homemade kimchi typically contains around 25 calories. This makes it an excellent choice if you’re looking to add flavor without adding too many calories to your meals. Plus, because it’s rich in probiotics, it supports gut health while being low in calories. How’s that for a win?
Fiber
Each serving of homemade kimchi provides about 1-2 grams of dietary fiber. This may seem modest, but it’s key for digestive health and can help keep you feeling full longer. For those striving for a daily fiber intake of 25-30 grams, kimchi can be a tasty addition to your overall diet.
Vitamins
Packed with vitamins A, C, and K, homemade kimchi is a fantastic way to boost your nutrient intake. Vitamin C, for instance, is vital for a strong immune system, while Vitamin K is essential for bone health. The balance of these vitamins makes kimchi not just a side dish, but a health-enhancing powerhouse.
For more information on the health benefits of fermented foods, check out sources like Healthline or Medical News Today.
Homemade kimchi is not only delicious; it’s a step towards better health you can enjoy every day!
FAQs about Homemade Kimchi
How long does homemade kimchi last?
One of the great things about homemade kimchi is its longevity! When stored properly in an airtight container in the fridge, it can last anywhere from 1 to 3 months—sometimes even longer! The fermentation process continues, so don’t be surprised if it gets tangier over time. Just keep an eye (and a nose) on it; if it smells off, it’s better to err on the side of caution.
Can I make kimchi without fish sauce?
Absolutely! There are plenty of alternatives if you want to skip fish sauce. You can use soy sauce, miso, or even vegetable broth for that umami kick. There are also vegan fish sauce recipes available online. Just remember, the flavor may vary slightly, but you’ll still get that delicious, spicy punch in your homemade kimchi.
What are the health benefits of eating kimchi?
Kimchi is not just tasty; it’s also packed with health benefits! Here are a few highlights:
- Probiotics: The fermentation process produces beneficial bacteria that can aid digestion, keeping your gut healthy.
- Nutrient-Rich: Ingredients like cabbage are high in vitamins A, C, and K, while ingredients such as garlic may strengthen your immune system.
- Low in Calories: A perfect addition to any meal, especially if you’re watching your calorie intake.
Incorporating homemade kimchi into your diet can be as simple as adding it to rice bowls, tacos, or even sandwiches! Curious to learn more about the health benefits? Check out resources from health organizations like the American Heart Association for deeper insights.
With these tips, you’ll not only master making delicious kimchi but also enjoy all its incredible benefits!
Conclusion on Homemade Kimchi
In summary, making homemade kimchi is not just about delicious flavors; it’s about embracing a culinary tradition that promotes health and creativity. From the crisp texture of fresh vegetables to the complex tang of fermentation, each batch can be uniquely yours.
Don’t hesitate to experiment with different ingredients; you can add things like turkey bacon or chicken ham for some protein or even swap out veggies based on what’s in season. Wondering where to start? Check out this guide for tips and variations. Now, grab your jar and enjoy the probiotic benefits and flavorful bursts that homemade kimchi brings to your meals!
PrintHomemade Kimchi: The Best Recipe for Bold Flavors and Crunch
Learn how to make authentic homemade kimchi with bold flavors and a satisfying crunch.
- Prep Time: 15 minutes
- Cook Time: 2 hours
- Total Time: 2 hours 15 minutes
- Yield: 2 quarts 1x
- Category: Side Dish
- Method: Fermentation
- Cuisine: Korean
- Diet: Vegetarian
Ingredients
- 2 napa cabbages
- 1 cup sea salt
- 5 cups water
- 1 tablespoon grated ginger
- 1 tablespoon minced garlic
- 1 tablespoon sugar
- 1/2 cup Korean red pepper flakes (gochugaru)
- 4 green onions, chopped
- 1 medium carrot, julienned
- 1 tablespoon fish sauce
Instructions
- Prepare the napa cabbages by cutting them in half lengthwise and sprinkling them with sea salt. Let them sit for 1-2 hours.
- In a large bowl, mix water, ginger, garlic, sugar, gochugaru, green onions, carrot, and fish sauce to create the kimchi paste.
- Rinse the salted cabbages under cold water and drain well.
- Blend the cabbages with the paste and pack tightly into a jar.
- Seal the jar and let it ferment at room temperature for 1-5 days depending on your preference.
- Once fermented, store the kimchi in the refrigerator.
Notes
- Adjust the spice level by adding more or less gochugaru.
- Fermentation time will vary based on temperature and personal preference.
Nutrition
- Serving Size: 1/2 cup
- Calories: 50
- Sugar: 1g
- Sodium: 2000mg
- Fat: 0g
- Saturated Fat: 0g
- Unsaturated Fat: 0g
- Trans Fat: 0g
- Carbohydrates: 10g
- Fiber: 2g
- Protein: 2g
- Cholesterol: 0mg
Keywords: Homemade Kimchi, Kimchi Recipe, Fermented Vegetables