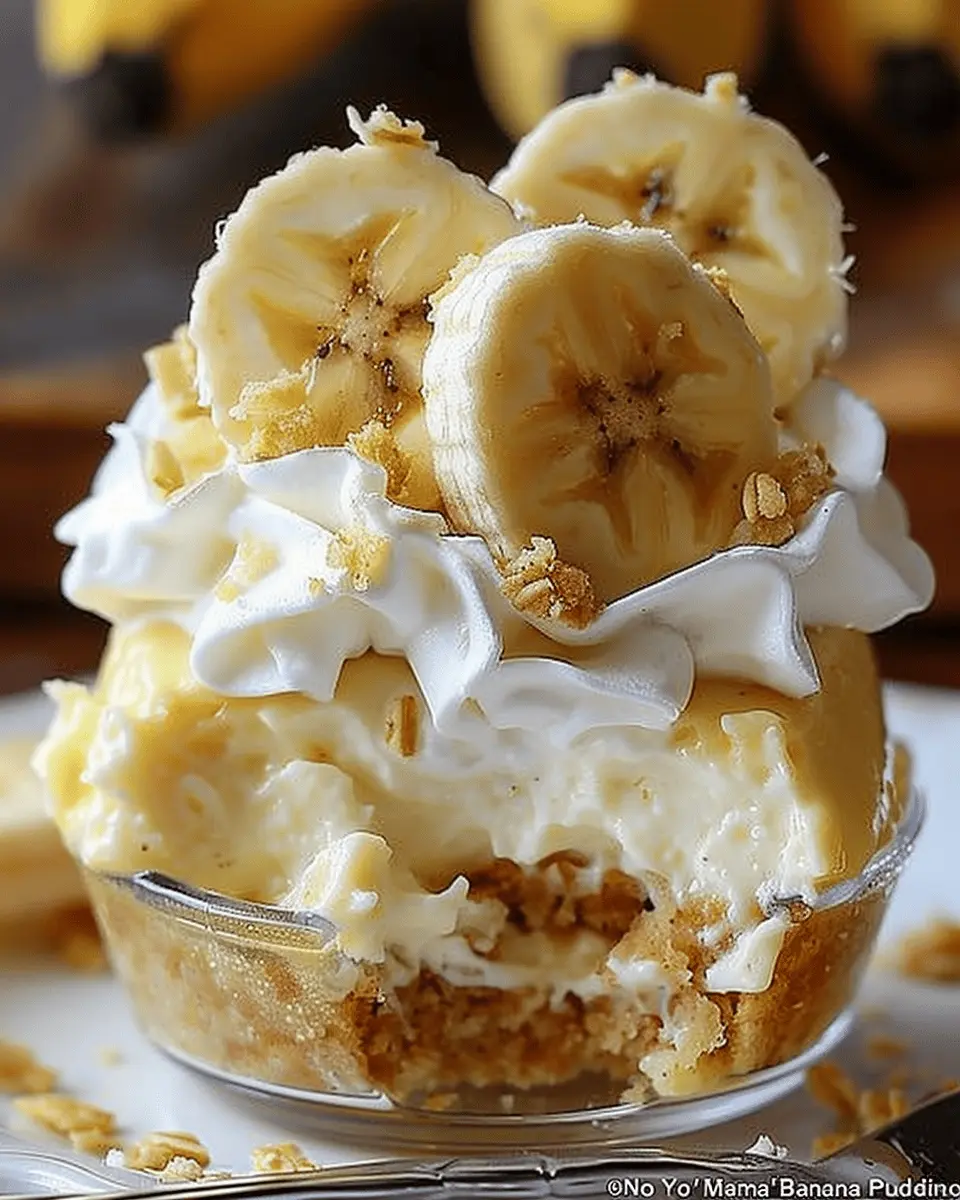
Introduction to Paula Deen’s “Not Yo’ Mama’s Banana Pudding”
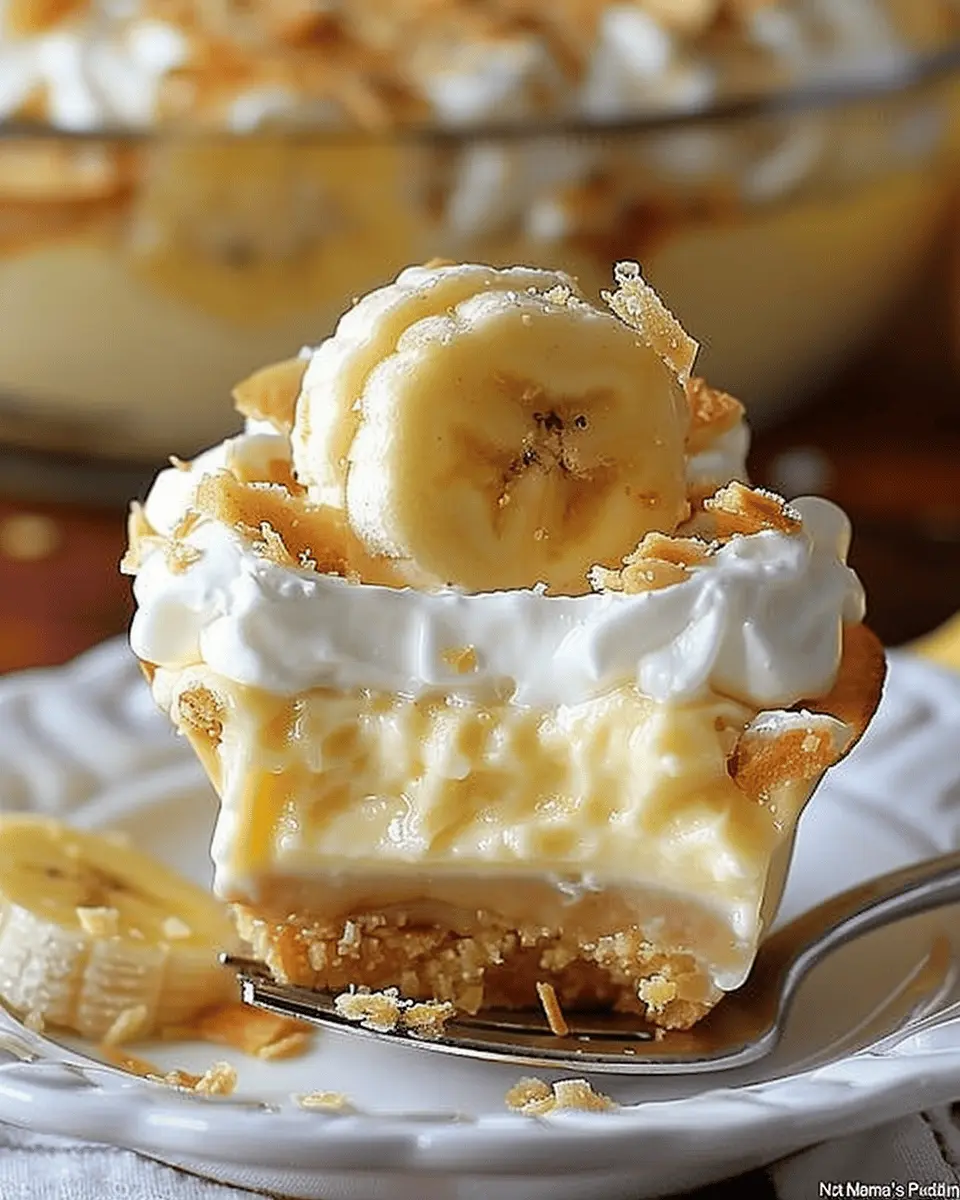
If there’s a dessert that can evoke fond memories and bright smiles, it’s definitely banana pudding. But when you hear the words “Not Yo’ Mama’s Banana Pudding” by Paula Deen, you know you’re in for a delightful twist on a beloved classic. This dessert has become a favorite not only for its indulgent flavor but also for how easy it is to make—it’s perfect for busy young professionals!
Why This Dessert is a Must-Try for Young Professionals
In today’s fast-paced world, time is a precious commodity. You may think you don’t have the time to whip up a homemade dessert after a long day at work, but Paula Deen’s “Not Yo’ Mama’s Banana Pudding” proves otherwise. With just a few easy-to-find ingredients and a short prep time, this recipe is an excellent option for anyone wanting to impress family or friends without spending hours in the kitchen.
Here are a few reasons why you should give this delightful pudding a shot:
- Satisfies Your Sweet Tooth: It’s a comforting dessert that brings joy, complete with layers of creamy goodness, crispy cookies, and the sweetness of bananas.
- Quick to Prepare: With a straightforward process and minimal cooking, you can have this decadent treat ready in no time. Perfect for weeknight entertaining or even weekend brunch!
- Opportunity to Experiment: This recipe is a canvas. Feel free to customize it with your favorite flavors or toppings. Consider adding some turkey bacon crumble on top for a savory twist that balances the sweetness.
On top of that, it encourages you to gather your friends and create a warm, inviting atmosphere. Sharing food has been shown to foster connection and community, giving us all the more reason to whip up a batch of this banana pudding.
If you’re looking to impress your guests or want a nostalgic taste of home to relish after a hectic week, this recipe is calling your name! Dive into Paula Deen’s Not Yo’ Mama’s Banana Pudding, and enjoy every creamy, delicious bite. For a step-by-step guide, check out Paula Deen’s official site for more inspiration!
Ingredients for Paula Deen’s Banana Pudding
Essential ingredients for a creamy delight
When you’re trying out Paula Deen’s “Not Yo’ Mama’s Banana Pudding,” the key to its signature taste lies in the ingredients you choose. Here’s what you need for a truly creamy dessert:
- Vanilla pudding mix: This is the foundation for that luscious filling.
- Milk: Use whole milk for extra creaminess.
- Bananas: Choose ripe, but not overripe, bananas for the perfect balance of sweetness and texture.
- Whipped topping: A light and airy topping makes it all come together beautifully.
- Graham crackers: These add that delightful crunch and layer nicely in the dish.
Optional add-ins for personalization
Want to put your own twist on this classic dessert? Consider these optional additions:
- Chocolate chips: Sprinkle them between the layers for a touch of richness.
- Peanut butter: Stir in a dollop for a deliciously nutty flavor.
- Cinnamon: A dash can elevate the overall taste, adding warmth.
Feel free to experiment! The beauty of this recipe is that you can make it your own while still enjoying that comforting essence of Paula Deen’s “Not Yo’ Mama’s Banana Pudding.”
For more creative variations, check out Food Network for inspiration.
Step-by-step Preparation of Paula Deen’s Banana Pudding
Are you ready to dive into the decadent world of Paula Deen’s “Not Yo’ Mama’s Banana Pudding”? This rich, creamy dessert is sure to impress and become a staple at your gatherings. Follow these step-by-step instructions to whip up your own bowl of bliss guaranteed to satisfy any sweet tooth.
Gather Your Ingredients and Prep the Cookies
Before we get started, make sure you have all your ingredients ready:
- Vanilla wafers (a must for that classic crunch)
- Ripe bananas (the riper, the better for flavor)
- Vanilla pudding mix
- Milk
- Cream cheese
- Powdered sugar
- Whipped topping
Now, let’s prep our cookies—these will act as a delicious base and layering element in your pudding. Crumble or layer the vanilla wafers in the bottom of your dish. Be generous; they are the hidden gems of this recipe!
Achieving the Creamiest Pudding
Next up is mixing our pudding. In a mixing bowl, combine your vanilla pudding mix with the milk according to the package instructions. Mix well until you achieve a smooth, lump-free consistency. This step is crucial; the texture of your pudding will dictate the overall creaminess of your dessert. For an extra creamy touch, consider using whole milk instead of low-fat options.
Make the Creamy Filling with Cream Cheese
To create that indulgent texture, let’s turn our attention to the filling. In another bowl, soften your cream cheese at room temperature, then add powdered sugar to it. Beat this mixture until it’s fluffy and smooth, which usually takes about 2-3 minutes. This is where the magic happens—the cream cheese adds richness that takes your banana pudding to the next level.
Fold in the Whipped Topping
Now that you’ve created a lush cream cheese mixture, it’s time to fold in the whipped topping. The folding method keeps the mixture airy and light, enhancing your pudding’s overall texture. Use a rubber spatula for this; gently incorporate the whipped topping until you see a nice consistency without over-mixing. You want to preserve that delightful fluffiness!
Merging the Pudding and Creamy Mixtures
It’s time to bring everything together! Gently combine your pudding mixture and the creamy filling. Take your time here to ensure they marry well, creating a smooth blend. The final mixture should have a consistent color and texture, free from streaks. If you’ve ever tried to mix two colors together in art, you’ll know this feels oddly satisfying!
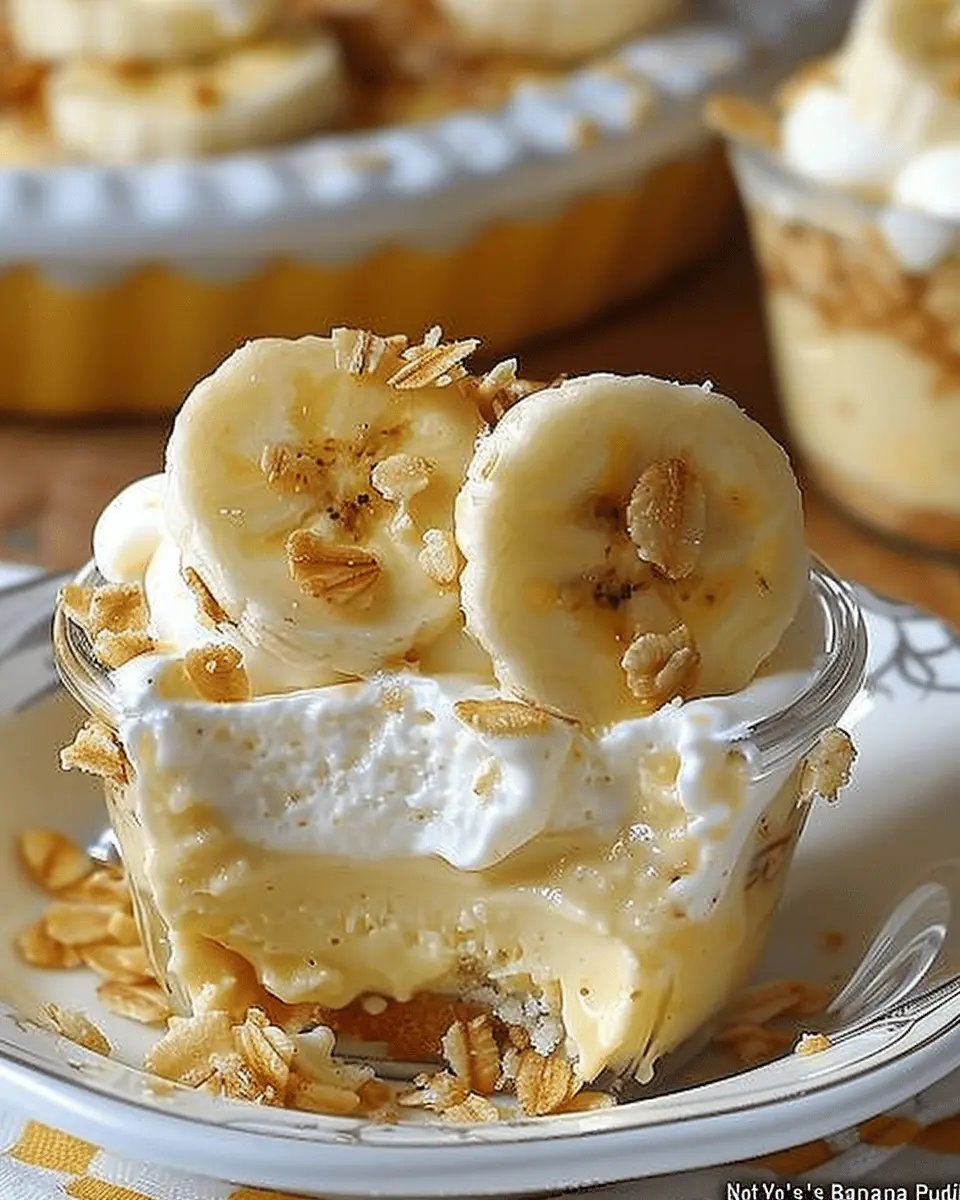
Layering the Deliciousness
Let’s assemble our beautiful layers. In a large glass dish or individual serving cups, start with a layer of the crumbled vanilla wafers. Then, add a layer of your pudding mixture, followed by sliced bananas. Repeat these layers until you reach the top of your dish, finishing with a lovely dollop of whipped topping. If you’re feeling fancy, sprinkle extra crumbled wafers on top for that added crunch!
Chill and Let the Flavors Meld
Now, patience is key. Cover your assembled banana pudding with plastic wrap and place it in the refrigerator to chill for at least 4 hours, or overnight if you can wait that long. This step lets the flavors blend beautifully, making each bite even more delectable.
In conclusion, making Paula Deen’s “Not Yo’ Mama’s Banana Pudding” is an adventure in flavor but also a chance to connect with friends and family over a dish that is as nostalgic as it is satisfying. For more sweet inspiration, check out Food Network or Taste of Home. Enjoy your culinary journey, and don’t forget to share your creations!
Variations on Paula Deen’s Banana Pudding
Substituting cookies for unique textures
When it comes to Paula Deen’s “Not Yo’ Mama’s Banana Pudding,” think of cookies as your canvas. While the classic Nilla Wafers provide that delightful crunch, why not mix it up? Try using:
- Ginger Snap Cookies: The spicy flavor adds a delightful contrast to the bananas.
- Chocolate Sandwich Cookies: If you’re a chocolate lover, this will turn your pudding into a rich dessert experience.
- Shortbread Cookies: For a buttery twist that melts in your mouth.
These substitutions can bring exciting textures and flavors, making your banana pudding uniquely yours.
Mixing in different fruits for versatility
Experimenting with fruits can add a refreshing twist to Paula Deen’s “Not Yo’ Mama’s Banana Pudding.” Here are some delicious additions:
- Fresh Berries: Strawberries or blueberries introduce tartness and a pop of color.
- Peaches or Nectarines: These stone fruits provide a juicy sweetness that pairs beautifully with bananas.
- Kiwi: For a tropical vibe, the tangy taste of kiwi adds a fun twist.
Don’t hesitate to get creative! Mixing various fruits not only enhances the flavor but also transforms the nutritional profile of your pudding. After all, a good dessert doesn’t have to be all about indulgence.
As you explore these variations, remember that cooking is about finding joy and flair in your creations. So, which unique twist will you try first? The options are endless! For even more inspiring ideas, check out resources on food innovation and dessert creativity.
Cooking Tips and Notes for Paula Deen’s Banana Pudding
When you’re diving into Paula Deen’s Not Yo’ Mama’s Banana Pudding, a few smart cooking tips can elevate your dessert game!
Best practices to enhance flavor
- Fresh Ingredients: Start with ripe bananas and freshly whipped cream. These small upgrades amplify the pudding’s flavor significantly.
- Alternate Layers: For a delightful texture, alternate layers of vanilla wafers, banana slices, and pudding. This technique ensures that every bite is packed with deliciousness.
- Chill Time: Allow the pudding to rest in the refrigerator for at least four hours before serving. This helps the flavors meld beautifully!
Common pitfalls to avoid
- Overripe Bananas: While you want fruity flavor, overly brown bananas could overpower the dish. Aim for bananas that are just past ripe.
- Soggy Wafers: To keep your wafers from becoming too mushy, layer them just before serving. They should retain a bit of crunch!
- Skipping the Vanilla: Don’t skimp on the vanilla extract! This ingredient is vital for enhancing the pudding’s overall depth.
Exploring these flavorful tips will make your experience with Paula Deen’s Not Yo’ Mama’s Banana Pudding more enjoyable and satisfying. If you want to dive deeper into the world of pudding, check out Serious Eats for an array of pudding recipes and techniques!
Serving Suggestions for Paula Deen’s Banana Pudding
Perfect Occasions for This Delightful Dessert
Paula Deen’s “Not Yo’ Mama’s Banana Pudding” is an ideal crowd-pleaser for a variety of gatherings. Think about serving it at:
- Family reunions: It’s a nostalgic treat that reminds everyone of home.
- Summer barbecues: Its chilled nature complements grilled dishes perfectly.
- Holiday celebrations: Whether it’s Thanksgiving or Christmas, this dessert adds a sweet touch to your festivities.
Imagine your friends gathered around, delighting in each creamy spoonful—what could be better?
Presentation Tips That Wow
Aesthetics can elevate your banana pudding from merely delicious to stunning! Here are some simple tricks:
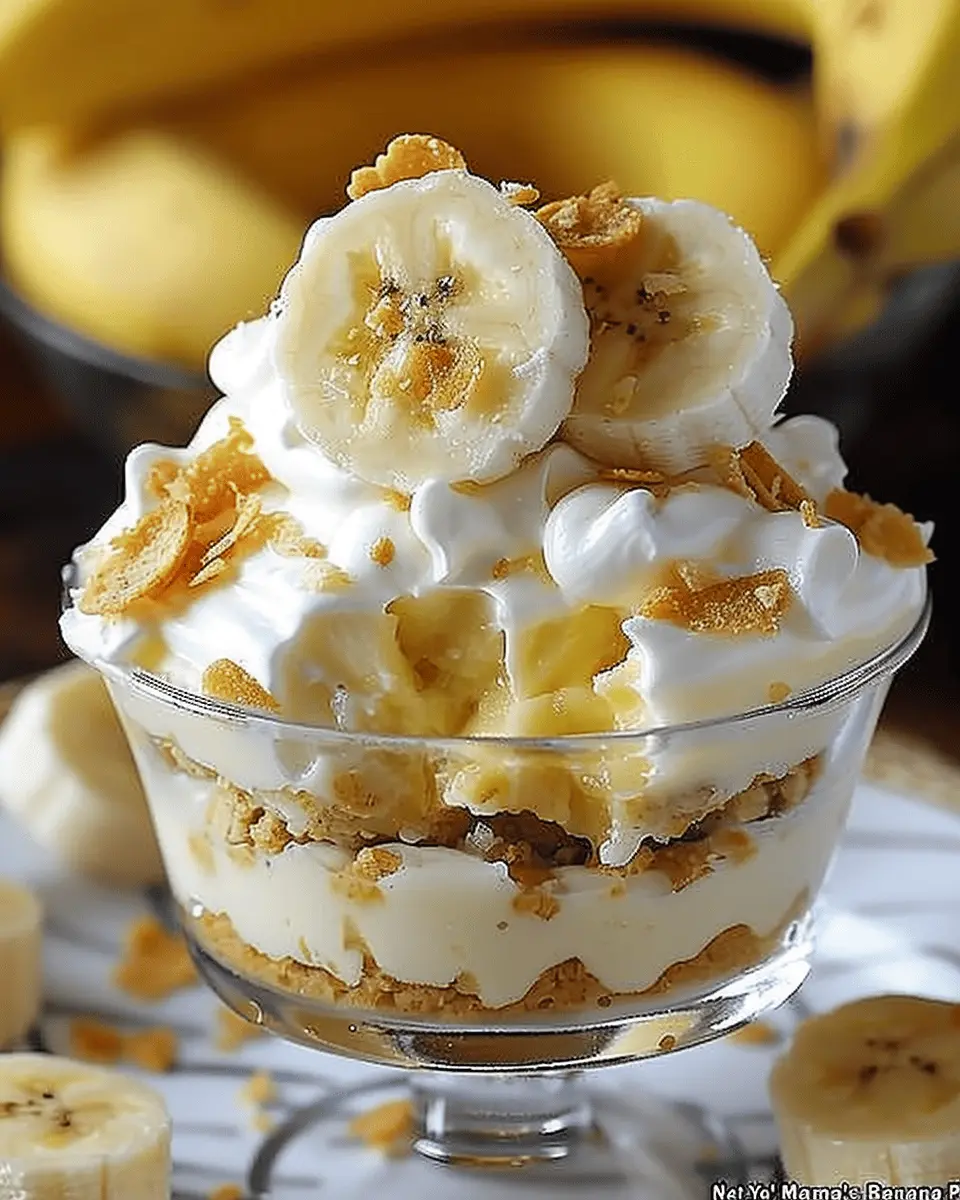
- Layered Glasses: Serve the pudding in individual clear glasses to showcase its delicious layers and vibrant bananas.
- Fresh Garnishes: Top each serving with whipped cream and a sprinkle of crushed vanilla wafers or a few banana slices for visual appeal.
- Personalized Touch: Consider adding little flags with fun phrases or even place cards to make each guest feel special.
For more tips on food presentation, check out Food52 where they share fantastic ideas on making simple dishes look extraordinary. Your guests will be raving about not just the taste, but the beautiful presentation of Paula Deen’s banana pudding!
Time Breakdown for Paula Deen’s Banana Pudding
When you’re in the mood for something sweet, Paula Deen’s “Not Yo’ Mama’s Banana Pudding” deserves a spot on your dessert table. Let’s break down the timing for this indulgent treat so you can plan accordingly.
Preparation Time
Gather your ingredients and whip this delightful dessert together in about 30 minutes. You’ll want to slice those bananas and layer everything perfectly for that classic, comforting taste.
Chilling Time
The magic happens during the chilling process. Allow your banana pudding to set in the fridge for at least 4 hours, or ideally overnight. This step is crucial for achieving that creamy texture that has everyone coming back for seconds!
Total Time
In total, you’re looking at around 4.5 to 5 hours from start to finish. Trust me, the wait is worth it! Serve it up at your next gathering, and watch as it becomes the star of the show. For more delicious dessert ideas, check out BBC Good Food for inspiration.
Nutritional Facts for Paula Deen’s Banana Pudding
Calories per serving
When you’re diving into Paula Deen’s “Not Yo’ Mama’s Banana Pudding”, one serving typically packs around 300 calories—perfect for treating yourself without going overboard on your dietary goals.
Fat content
This delicious dessert has about 12 grams of fat per serving. While it’s always good to watch your fat intake, these fats mainly come from the creamy components, adding to that indulgent texture we all love.
Sugar levels
As for sugar, each serving contains roughly 20 grams. It’s worth keeping an eye on your sugar consumption, as the sweetness is a big draw in this classic recipe. If you’re looking for alternatives, consider using natural sweeteners; they can bring down the sugar while still providing that delightful taste!
For more detailed nutrition information, you can check out reliable sources like the USDA FoodData Central or nutrition blogs that focus on wholesome recipes. Balancing indulgence with nutrition can make your culinary adventures both satisfying and mindful!
FAQs about Paula Deen’s Banana Pudding
Can I make this dessert a day in advance?
Absolutely! In fact, Paula Deen’s “Not Yo’ Mama’s Banana Pudding” tastes even better when it sits for a few hours or overnight. This allows the flavors to meld together beautifully. Just remember to keep the dessert covered in the refrigerator to maintain that delicious creaminess. If you’re making it in advance, consider adding the banana slices closer to serving time to keep them fresh and prevent browning.
What if I can’t find certain ingredients?
Don’t sweat it! While the classic version of Paula Deen’s “Not Yo’ Mama’s Banana Pudding” calls for specific ingredients like instant pudding mix and Nilla wafers, feel free to get creative. If you can’t find Nilla wafers, generic vanilla cookies can work too. For those who may have dietary restrictions, look for gluten-free or dairy-free alternatives for the pudding mix and whip. You can also use almond milk or oat milk instead of regular milk for added flair.
How should I store leftovers for freshness?
To keep your leftovers fresh, store any unused portions in an airtight container in the refrigerator. This helps maintain the pudding’s creamy texture. Typically, it lasts for about 2-3 days, but trust us, it’ll probably be gone long before then! If you want to get the most out of your pudding, check out these storage tips from The Kitchn that can help you make the most of your sweet treat.
Give it a try, and you might just discover that this delightful dessert becomes your go-to recipe for gatherings!
Conclusion on Paula Deen’s Banana Pudding
Why this dessert will become a staple in your kitchen
Paula Deen’s “Not Yo’ Mama’s Banana Pudding” is not just a dessert; it’s an experience that brings comfort and joy to the heart of your home. With its creamy texture and delicious layers, it’s bound to be the showstopper at your family gatherings or a cozy night in.
Try making this pudding for your next get-together, and watch as it quickly becomes a beloved favorite among friends and family. Plus, it’s simple enough to whip up on a weeknight!
For those eager to discover more delightful recipes, check out Taste of Home for inspiration and tips. You’ll find a treasure trove of dishes that can easily complement your banana pudding.
So why wait? Give Paula Deen’s iconic dessert a try and let it become a cherished part of your culinary repertoire!
PrintPaula Deen’s Not Yo’ Mama’s Banana Pudding: The Best Comfort Dessert
This banana pudding recipe is a delightful twist on a classic dessert, bringing joy and comfort to any occasion.
- Prep Time: 20 minutes
- Total Time: 4 hours 20 minutes
- Yield: 8 servings 1x
- Category: Dessert
- Method: No-Bake
- Cuisine: American
- Diet: Vegetarian
Ingredients
- 1 package vanilla wafer cookies
- 4 ripe bananas, sliced
- 1 can sweetened condensed milk
- 1 1/2 cups whole milk
- 1 package instant vanilla pudding mix
- 1 container whipped topping
- 1 teaspoon vanilla extract
Instructions
- In a large bowl, combine the sweetened condensed milk and whole milk.
- Add the instant pudding mix and whisk until fully combined.
- Layer the vanilla wafers, banana slices, and pudding mixture in a serving dish.
- Repeat the layers, finishing with the pudding on top.
- Spread the whipped topping over the top layer and drizzle with vanilla extract.
- Chill in the refrigerator for at least 4 hours before serving.
Notes
- For best flavor, use ripe bananas.
- This dessert can be made a day in advance.
Nutrition
- Serving Size: 1 serving
- Calories: 300
- Sugar: 10g
- Sodium: 130mg
- Fat: 12g
- Saturated Fat: 7g
- Unsaturated Fat: 3g
- Trans Fat: 0g
- Carbohydrates: 40g
- Fiber: 1g
- Protein: 4g
- Cholesterol: 20mg
Keywords: banana pudding, dessert, comfort food, Paula Deen