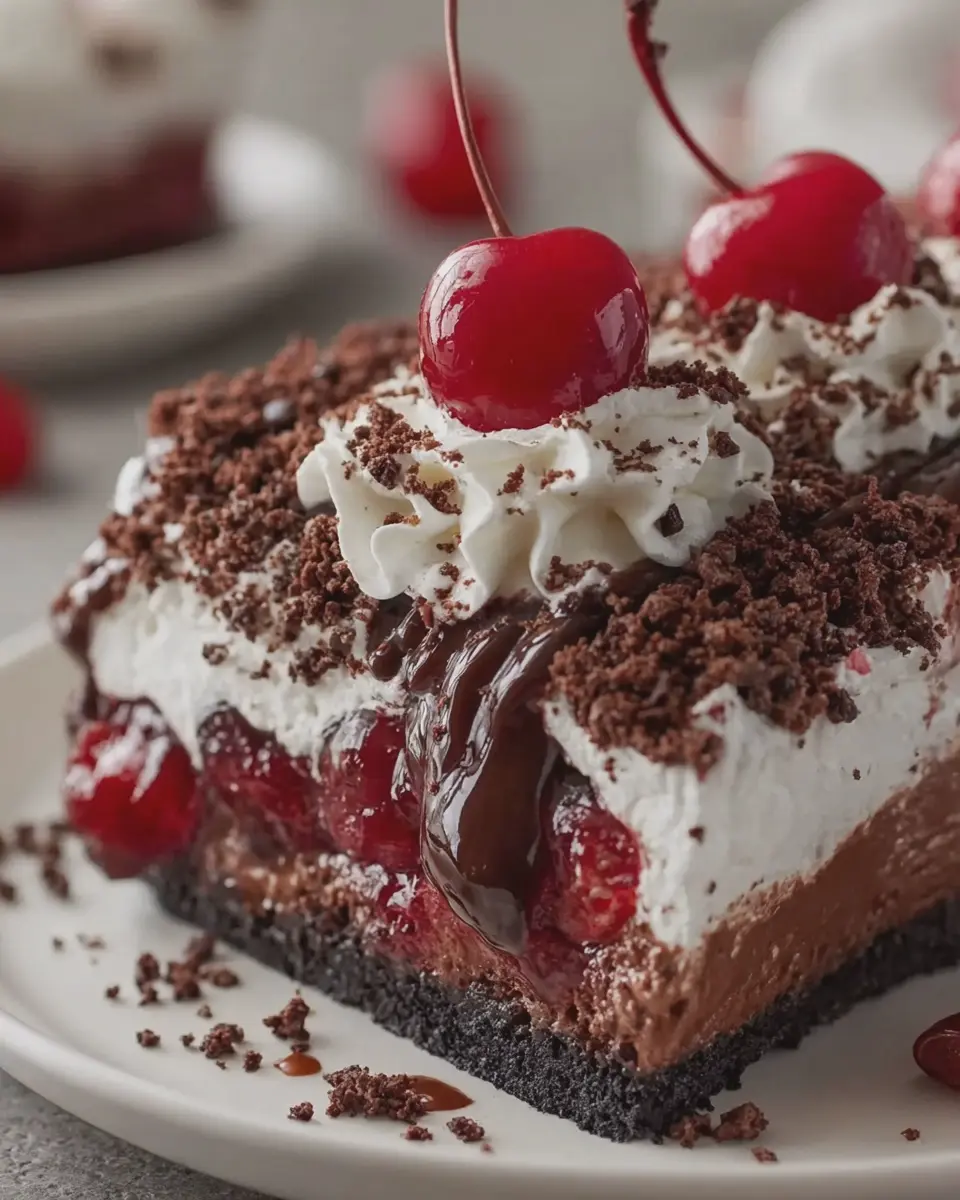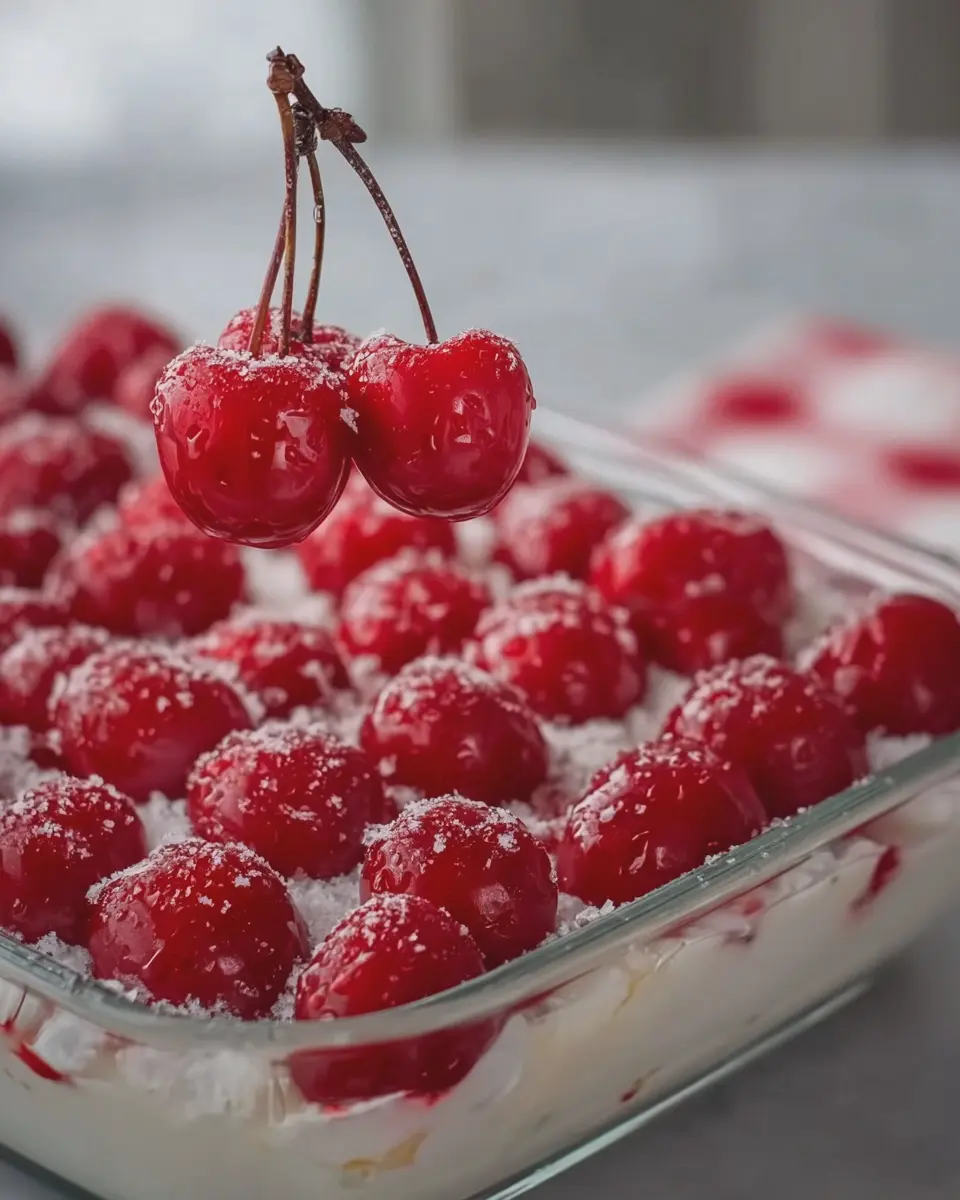
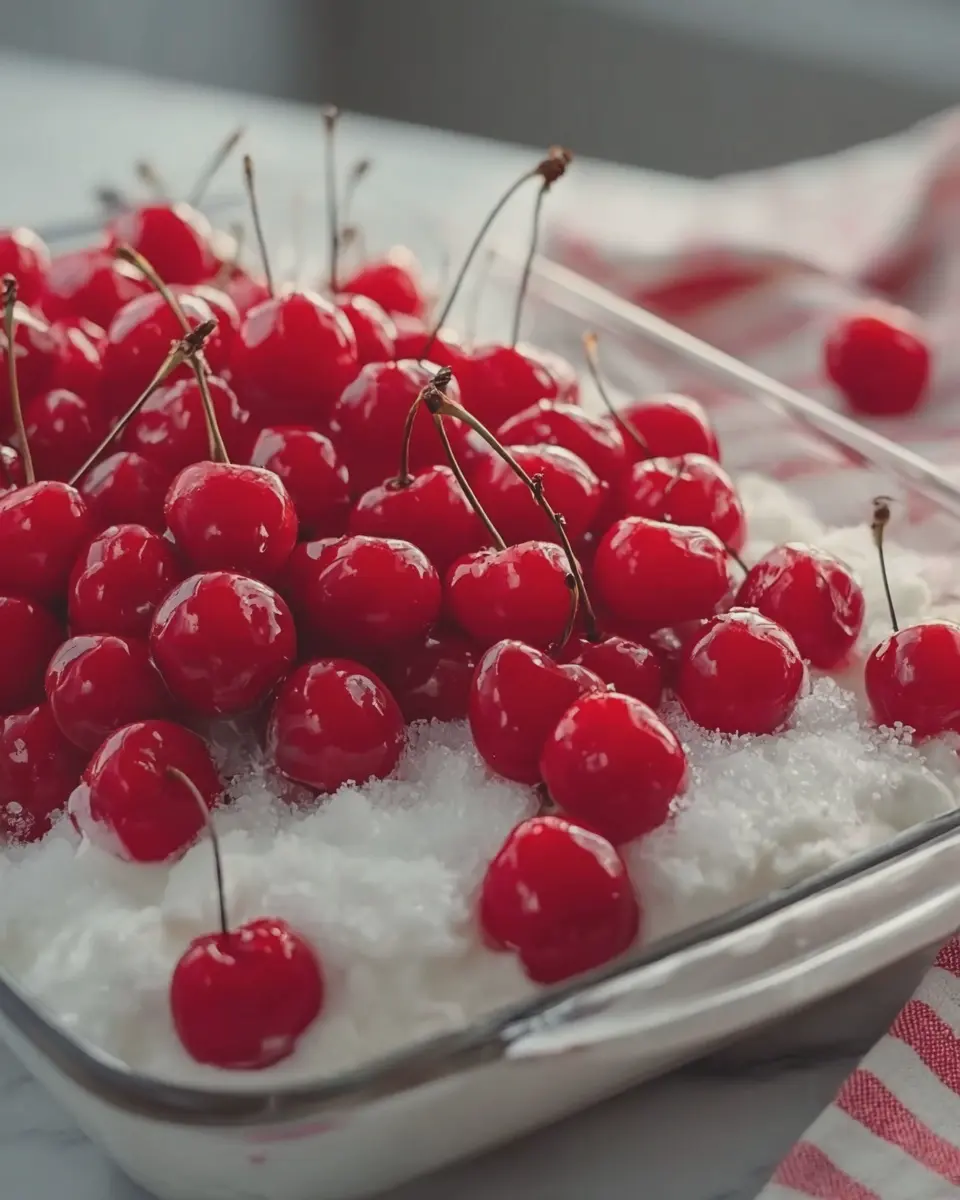
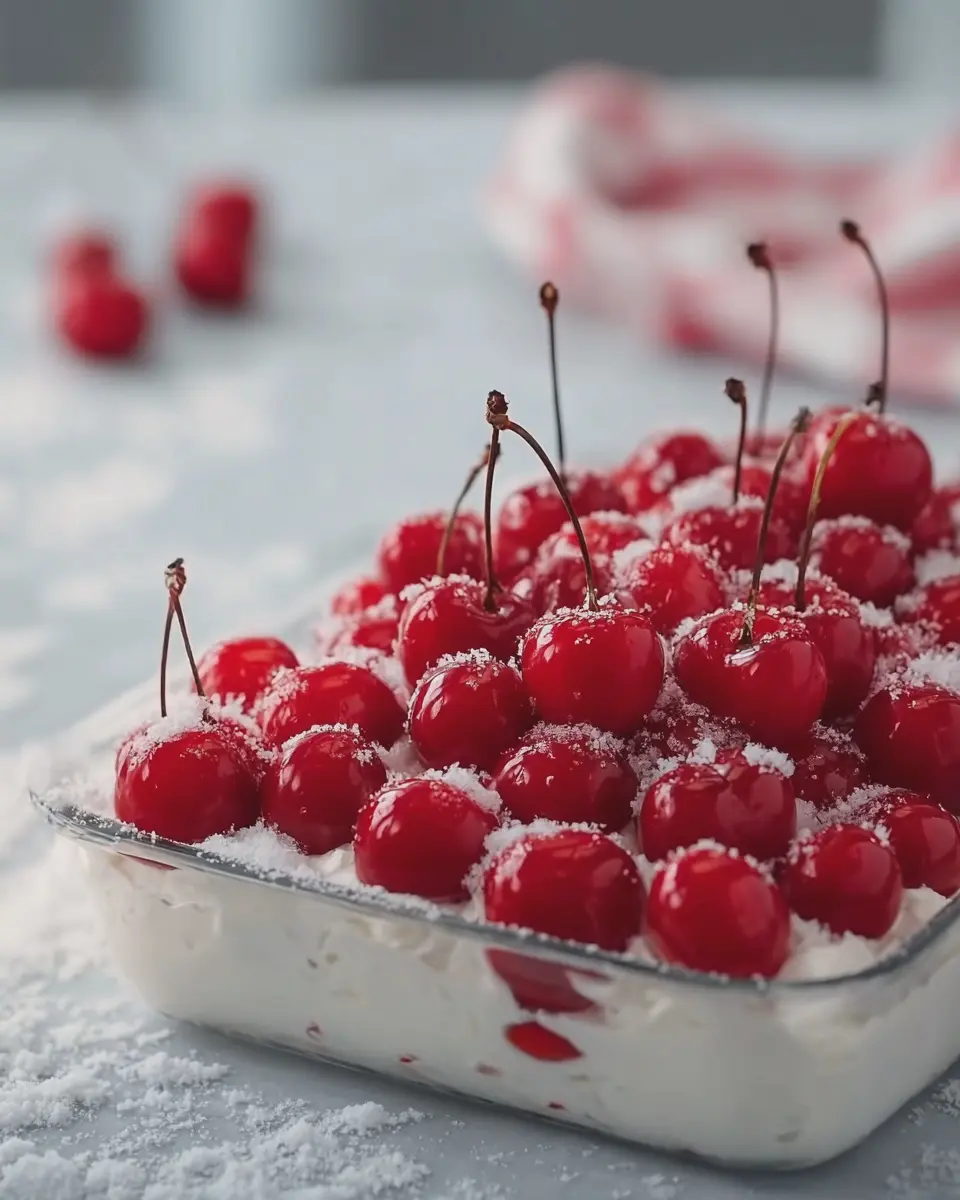
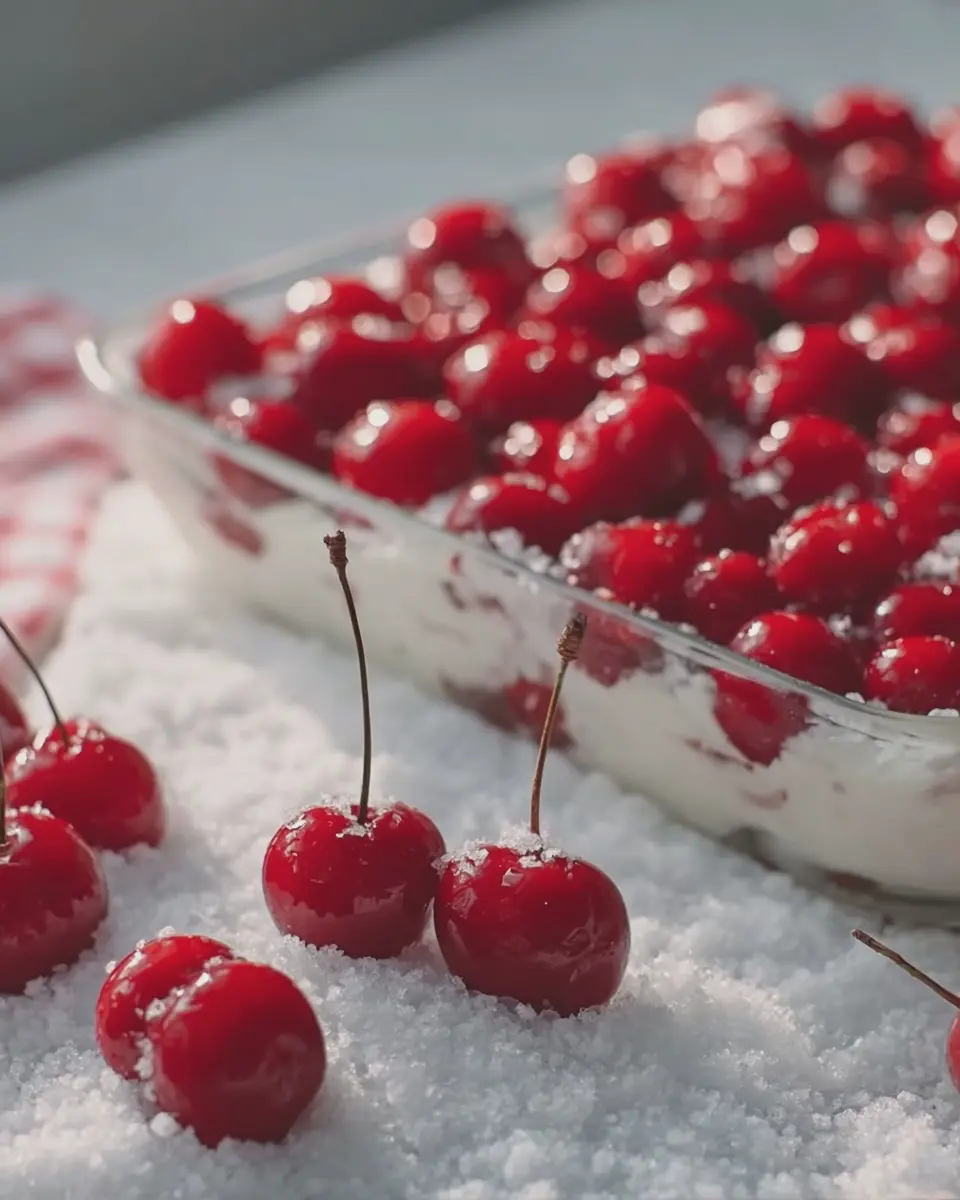
Introduction to Cherries in the Snow
If you’ve been searching for a delightful dessert that encapsulates the warmth of homemade cooking and the elegance of a sophisticated dish, look no further than cherries in the snow. This luscious treat offers a beautiful balance of flavors and textures, combining sweet, juicy cherries with a light, fluffy topping that feels both indulgent and refreshing.
The Perfect Dessert for Homemade Food Lovers
Why are cherries in the snow so special? For starters, the preparation is straightforward yet satisfying. It’s the ideal recipe for those who may be new to baking or seasoned pros looking to whip up something quick yet impressive. You can easily make this dessert for a last-minute dinner party or a cozy evening at home while watching your favorite movie.
One of the best aspects of this dish is the versatility of ingredients. You can use fresh, frozen, or even canned cherries, depending on what’s available to you. For health-conscious foodies, consider sweetening the dish with just a dash of honey or maple syrup instead of traditional sugar, allowing the natural cherry flavor to shine through.
The combination of vibrant, tart cherries topped with a pillowy cloud of whipped cream or yogurt is not just pleasing to the eye, but it’s also a delightful way to end any meal. According to a study from the U.S. Department of Agriculture, cherries are packed with antioxidants, making this dessert not only delicious but nutritious as well. Who says desserts can’t be wholesome?
This recipe is especially perfect for gathering friends and family around the table. Impress your loved ones with this stunning creation that’s perfect for any occasion. Whether it’s a summer picnic, a winter holiday feast, or just a special weekday treat, cherries in the snow will leave everyone wanting more.
Ready to take your dessert game to the next level? Let’s dive in and transform these beautiful cherries into a dish that tastes as good as it looks. For more tips and tricks on how to serve your cherries in the snow, check out this helpful guide on dessert presentation!
Ingredients for Cherries in the Snow
To create your delightful Cherries in the Snow, you’ll need a handful of simple yet flavorful ingredients that come together beautifully. Here’s a comprehensive list to guide your shopping:
List of ingredients you’ll need
- Fresh Cherries: About 2 cups, pitted. Look for deep red, juicy cherries for the best flavor.
- Cream Cheese: 8 ounces, softened. This adds a rich, creamy texture that complements the cherries perfectly.
- Whipped Topping: 1 cup, for that light, airy feeling. Feel free to use a dairy-free alternative if preferred.
- Powdered Sugar: 1/2 cup, to add just the right sweetness.
- Turmeric: A pinch, for a vibrant color and subtle warmth.
- Vanilla Extract: 1 teaspoon, for that classic flavor that ties everything together.
- Graham Cracker Crumbs: 1 cup, offering a delicious crunch to balance the creamy filling.
These ingredients come together seamlessly to make your Cherries in the Snow a standout dish for your next gathering. Got a knack for improvising? Consider adding some finely chopped nuts or a dash of cinnamon for an extra flavor boost!
For more cherry-based recipes, the Cherry Marketing Institute offers a variety of delicious ideas to keep your culinary creativity flowing.
Step-by-step preparation of Cherries in the Snow
When you think of desserts that are both delicious and easy to prepare, Cherries in the Snow often springs to mind. This delightful no-bake treat combines fluffy angel food cake, a rich cream cheese mixture, and sweet cherries to create a spectacular and impressive dish. In this guide, I’ll take you through the steps to make Cherries in the Snow, ensuring you have all the tips and tricks to achieve perfection.
Prepare the angel food cake
The foundation of your Cherries in the Snow is the angel food cake, and it’s best to start here. You have two options: buy a pre-made angel food cake from your local bakery or grocery store, or make one from scratch. If you opt for homemade, here’s a simple recipe to follow:
-
Ingredients:
-
1 cup cake flour
-
1 ½ cups egg whites (about 10-12 eggs)
-
1 ½ cups sugar
-
1 teaspoon cream of tartar
-
½ teaspoon salt
-
1 teaspoon vanilla extract
-
Instructions:
- Preheat your oven to 350°F (175°C).
- In a large bowl, beat the egg whites until frothy and add cream of tartar and salt, beating until soft peaks form.
- Gradually add sugar while continuing to beat until stiff peaks form.
- Carefully fold in the cake flour and vanilla until well combined.
- Pour the batter into an ungreased angel food cake pan, smoothing the top.
- Bake for 30-35 minutes or until the cake is golden brown and springs back when touched.
- Cool it upside down on a wire rack.
Once your cake is cool, cut it into bite-sized pieces to layer later.
Make the cream cheese mixture
Next up is the creamy layer that truly brings your Cherries in the Snow to life. Here’s how you can make a delightful cream cheese mixture that’s easy and velvety.
-
Ingredients:
-
8 oz cream cheese, softened
-
1 cup powdered sugar
-
1 teaspoon vanilla extract
-
1 cup sour cream
-
Instructions:
- In a mixing bowl, blend the softened cream cheese and powdered sugar until smooth.
- Mix in the vanilla and sour cream until you have a creamy texture.
This mixture is where the magic begins. The sweetness of the cream cheese combines with the tart cherries later, creating a delightful contrast!
Fold in the whipped topping
The final touch to your cream cheese mixture is the whipped topping. Use a store-bought variety or make your own. If you’re making it, simply chill some heavy cream and whip until soft peaks form. Here’s how to integrate it:
- Instructions:
- Gently fold the whipped topping into the cream cheese mixture. Be careful not to deflate the whipped topping; you want to maintain that airy texture.
- Set aside once mixed well.
This step adds lightness to your Cherries in the Snow and makes it feel like you’re indulging in a cloud of sweetness!
Layer the dessert in a baking dish
Now, it’s time to put everything together in a baking dish—let’s make this layered beauty shine!
- Instructions:
- In a 9×13 inch baking dish, layer half of your angel food cake pieces on the bottom.
- Spread half of the cream cheese mixture over the cake.
- Pour a layer of cherry pie filling on top (or fresh cherries, if you prefer).
- Repeat the layers, finishing with the cherry pie filling for a beautiful presentation.
Each layer should be evenly spread to ensure every bite is as delightful as the last.
Chill and let the flavors meld
Patience is a virtue, especially when it comes to this dessert. Cover your Cherries in the Snow with plastic wrap and refrigerate for at least 4 hours, or overnight if you can wait. This chilling time allows the flavors to meld and the cake pieces to absorb some of that creamy goodness.
Once chilled, slice and serve. You’ll find that this dessert, with its cloud-like texture and sweet cherry topping, is perfect for any occasion—whether it’s a casual weekday treat or a special celebration.
For a deep dive into more tips and techniques, consider visiting resources like Serious Eats or Bon Appétit for expert baking advice. Enjoy your Cherries in the Snow!
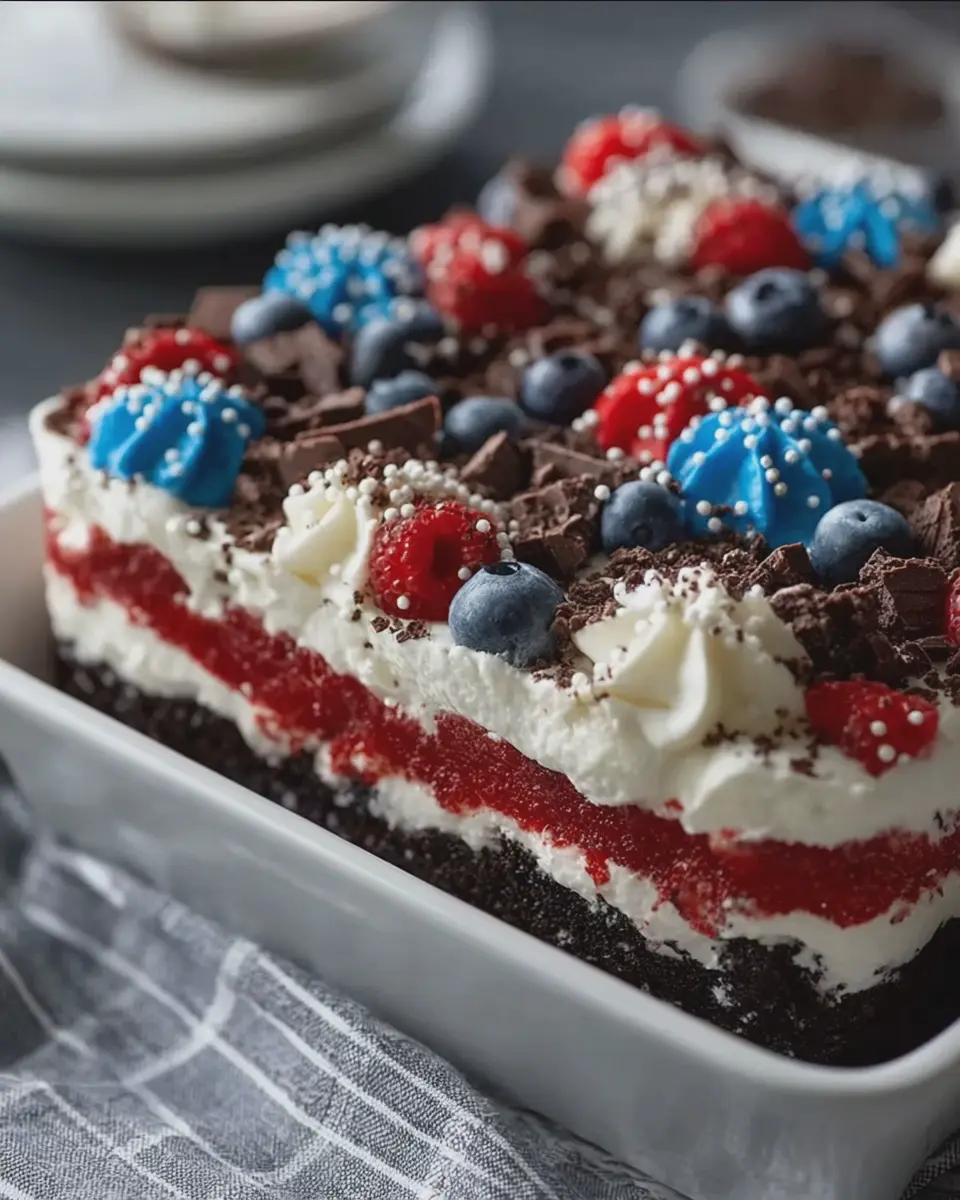
Variations on Cherries in the Snow
When it comes to Cherries in the Snow, creativity knows no bounds! This delightful dessert can be easily customized to suit your taste buds or the season. Let’s explore some fun variations to elevate your cherry experience.
Adding Different Fruit Toppings
While cherries are the star of this dish, you can enhance the experience by mixing in other fruits too! Consider these delicious options:
- Raspberries: Their tartness beautifully complements the sweetness of cherries.
- Sliced Strawberries: Add a fresh twist that screams summer.
- Peaches or Nectarines: These juicy fruits can introduce a lovely summer vibe.
You can also think outside the box with tropical fruits, like mango or pineapple, for an unexpected burst of flavor. For a detailed guide on seasonality, check out this resource from Seasonal Food Guide.
Experimenting with Flavored Cream Cheese
The cream cheese layer is where you can unleash your creativity further. A simple blend can be transformed into something extraordinary.
- Vanilla Bean Cream Cheese: Infuse your cream cheese with real vanilla bean or extract to enhance the creamy base.
- Cinnamon-Spiced Cream Cheese: For autumn vibes, add a touch of cinnamon and nutmeg. It’s like a warm hug in dessert form.
- Herbed Cream Cheese: For a savory twist, mix in some fresh herbs like basil or chives, especially if you’re pairing this dessert with a savory dish.
Each adaptation brings a unique flair to Cherries in the Snow, allowing you to impress guests (or yourself) with minimal effort. The beauty of this recipe is that it beckons experimentation—don’t hesitate to mix and match these ideas! Your perfect dessert is waiting.
Cooking tips and notes for Cherries in the Snow
Importance of chilling time
Chilling is essential when making your Cherries in the Snow. Allow the dessert to rest for at least 4 hours in the refrigerator. This not only enhances the flavors but also helps the cream set beautifully, creating that dreamy texture you want. The longer you let it chill, the more harmonious the flavors will become—so while you may be tempted to dig in early, patience is key!
Tips for a smooth cream cheese mixture
Achieving a velvety smooth cream cheese filling is easier than you might think! Here are some helpful tips:
- Room temperature is king: Let your cream cheese sit out for about 30 minutes before starting. This makes it far easier to mix without lumps.
- Blend it well: Use a hand mixer or stand mixer to whip the cream cheese until it’s fluffy and creamy. This step is crucial for that perfect consistency.
- Add ingredients gradually: When incorporating sugars or other ingredients, go slow. This helps prevent clumping and ensures everything blends seamlessly.
For more on mastering cream cheese, check out this helpful guide from Better Homes & Gardens. With these tips, your Cherries in the Snow will be a hit at your next gathering!
Serving suggestions for Cherries in the Snow
Ideal Occasions for Serving Cherries in the Snow
Cherries in the Snow is the perfect dessert for various occasions, effortlessly elevating any gathering. Whether it’s a cozy dinner party or a festive holiday feast, this dessert is sure to impress your guests. Consider serving it during:
- Birthdays: A sweet surprise for the birthday celebrant.
- Family Gatherings: A delightful end to a family meal.
- Brunches: An elegant addition to any brunch spread.
The creamy texture and fruity flavor make it an inviting option that appeals to both young and old. Who wouldn’t want to indulge in this luscious treat?
Refreshing Non-Alcoholic Beverage Pairings
To complement your Cherries in the Snow, consider serving it with refreshing non-alcoholic beverages that enhance the flavors. Here are a few suggestions:
- Sparkling Water with Lime: Adds a zesty kick.
- Herbal Iced Tea: A soothing complement, especially in warmer months.
- Lemonade: The tartness balances beautifully with the sweetness of the cherries.
With these pairings, your dessert experience will be elevated to an entirely new level. Mix and match to find your favorite combination! For more inspiration, check out these delicious mocktail recipes that will leave everyone satisfied.
Time breakdown for Cherries in the Snow
When you’re diving into Cherries in the Snow, knowing how to allocate your time can make all the difference. Let’s break it down!
Preparation time
You’ll need about 20 minutes for preparation. This includes gathering your ingredients and whipping up that delectable cream mixture to layer with the cherries. Don’t stress; it’s more about the love you put into it!
Chilling time
Once you’ve assembled everything, let it chill for at least 2 hours (or even overnight, if you can wait!). This is crucial for the flavors to meld beautifully and the texture to firm up.
Total time
In total, you’re looking at around 2 hours and 20 minutes from start to finish (not counting the overnight chill). Perfect for planning a cozy dinner or a sweet surprise for guests. Want more tips about timings? Check out this great guide on meal prep and efficiency in the kitchen. Happy cooking!
Nutritional facts for Cherries in the Snow
When whipping up a delightful dessert like Cherries in the Snow, understanding its nutritional profile can help you enjoy it mindfully. Here’s a quick breakdown of what you can expect.
Calories
A serving of Cherries in the Snow typically contains around 200 calories. This makes it a treat you can enjoy without the guilt, especially when you’re looking for a sweet yet balanced dessert.
Sugar Content
The natural sweetness from the cherries contributes to its sugar content, which is about 20 grams per serving. While that may seem a bit high, it’s important to remember that this sugar comes with vitamins and minerals, making it a much healthier option compared to processed sweets.
Servings Breakdown
For this recipe, one batch usually serves four people. So, if you’re planning a gathering or simply treating yourself and a few friends, this creamy delight is perfect for sharing. Want to know more about the health benefits of cherries? Check out this healthline article on cherries.
By keeping these nutritional facts in mind, you can savor every bite of Cherries in the Snow while maintaining a balanced diet. So what are you waiting for? Dive into your sweet creation guilt-free!
FAQs about Cherries in the Snow
When it comes to making Cherries in the Snow, it’s natural to have a few questions. Let’s dive into some common queries to help you make the best of this delightful dessert.
Can I make this dessert ahead of time?
Absolutely! Cherries in the Snow is a fantastic make-ahead dessert. You can prepare it a day or two in advance. Just be sure to store it in an airtight container in the fridge. This allows the flavors to meld beautifully and makes for a stress-free serving on special occasions. Just remember to wait to add any whipped cream or toppings until just before serving to keep everything looking fresh!
What if I can’t find cherry pie filling?
No cherry filling, no problem! You can easily whip up your own by simmering fresh or frozen cherries with a bit of sugar, cornstarch, and lemon juice. Not only does it taste better than store-bought, but you also get to control the sweetness. For a quick guide on making homemade cherry filling, check out this cherry filling recipe.
How long can I store leftover Cherries in the Snow?
Leftover Cherries in the Snow can be safely stored in your refrigerator for about 3 to 4 days. To maintain the texture and flavor of the whipped topping, it’s best to consume it within that timeframe. If you find you have too much left over, consider portioning it into single servings and sharing with friends or co-workers!
Feel free to ask more questions or share your experiences in the comments below! 🌟
Conclusion on Cherries in the Snow
Recap of Why This Dessert is a Must-Try
As we wrap up our journey through Cherries in the Snow, it’s clear that this dessert is a delightful blend of simplicity and sophistication. With its vibrant cherry topping contrasting against a fluffy, creamy base, every bite is a refreshing burst of flavor. This dish is not only visually stunning but also incredibly easy to make, making it perfect for both casual gatherings and special occasions.
Imagine impressing your friends at a dinner party or enjoying a sweet treat after a long day. For more inspiration on creative desserts, check out Dessert Magazine. In conclusion, if you haven’t yet embraced the magic of cherries in the snow, it’s time to add this classic recipe to your culinary repertoire!
PrintCherries in the Snow: A Delightfully Easy Dessert Recipe
A delightful and easy-to-make dessert that highlights the sweet flavor of cherries.
- Prep Time: 15 minutes
- Cook Time: 0 minutes
- Total Time: 2 hours 15 minutes
- Yield: 6 servings 1x
- Category: Desserts
- Method: No-Bake
- Cuisine: American
- Diet: Vegetarian
Ingredients
- 2 cups cherries, pitted and halved
- 1 cup whipped cream
- 1 package vanilla pudding mix
- 1 cup milk
- 1 teaspoon vanilla extract
- 1 cup crushed graham crackers
Instructions
- In a mixing bowl, combine the vanilla pudding mix, milk, and vanilla extract. Whisk until smooth.
- Fold in the whipped cream until well combined.
- In a serving dish, layer the crushed graham crackers, followed by the cherries, and then the pudding mixture. Repeat the layers as necessary.
- Chill in the refrigerator for at least 2 hours before serving.
Notes
- For a richer flavor, add a dash of almond extract to the pudding mixture.
- Garnish with additional cherries on top before serving.
Nutrition
- Serving Size: 1 serving
- Calories: 250
- Sugar: 22g
- Sodium: 150mg
- Fat: 10g
- Saturated Fat: 5g
- Unsaturated Fat: 3g
- Trans Fat: 0g
- Carbohydrates: 36g
- Fiber: 1g
- Protein: 3g
- Cholesterol: 25mg
Keywords: Cherries in the Snow, dessert, easy recipe